Sharing your musical tastes has never been easier! With the growing popularity of social platforms, learning how to add music to BeReal allows you to express yourself and connect with friends through your favorite tunes. Whether it’s a trending pop hit or an undiscovered indie gem, adding music to your BeReal account can make your social experience more engaging and personalized. Explore this feature to keep your friends in tune with what you’re listening to!
Can You Add Music to BeReal?
Yes, you can add music to BeReal. This feature, introduced to enhance user experience, allows individuals to share the music they’re listening to when they take a BeReal. It adds a personal touch to the content, reflecting the user’s mood or preferences. Compatible with various music platforms, this addition provides an engaging way to connect with others through music. Whether it’s a latest hit or a nostalgic favorite, the integration with BeReal is designed to resonate with your audience.
How to Connect BeReal to Spotify or Apple Music
BeReal is all about capturing the authentic moments of life, and music is often a key part of those moments. Connecting BeReal to Spotify or Apple Music allows users to enhance their shared experiences with the music they love. This integration brings your content to life, adding a musical dimension that resonates with the true spirit of being real. Follow the steps below to learn how to connect your music and create an enriched BeReal experience.

Steps to Connect BeReal to Spotify:
- Open BeReal App: Launch the BeReal app on your device.
- Navigate to Settings: Go to your profile, click on settings or the designated option for connections.
- Select Spotify: Choose Spotify from the list of available music services.
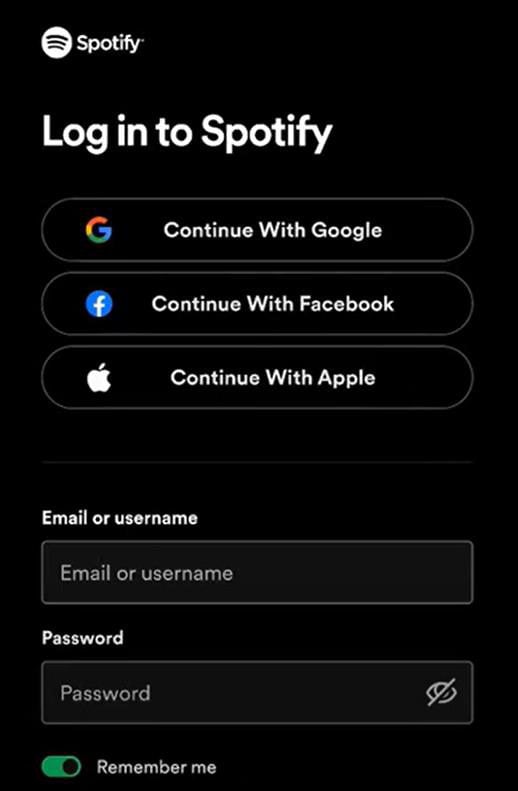
- Log in to Spotify on Browser: Ensure that you are logged into the correct Spotify account on your device’s web browser.
- Authorize Connection: Follow the prompts in the app to authorize BeReal to access your Spotify account.
Steps to Connect BeReal to Apple Music:
- Open BeReal App: Start the BeReal app on your device.
- Navigate to Settings: Go to your profile, then to settings or the connections option.
- Select Apple Music: Choose Apple Music from the list of available music services.
- Authorize Connection: Follow the on-screen instructions in the app to authorize BeReal to access your Apple Music account.
How to Add Music to BeReal
Adding music to your BeReal content is like setting a soundtrack to your genuine moments. It’s a creative way to enhance your posts, reflecting the mood or emotion of the situation. Whether it’s a song that motivates you during a workout or a calming melody that accompanies a beautiful sunset, integrating music allows you to share a more vivid picture of your real-life experiences. Here’s how to do it in super easy steps:
Steps on how to add music to my BeReal
- Play Your Preferred Music: Play your preferred music on Spotify or Apple Music.
- Open BeReal App: Launch the BeReal app on your device.
- Go to Create Post or Story: Navigate to the section where you want to create a new post or story.
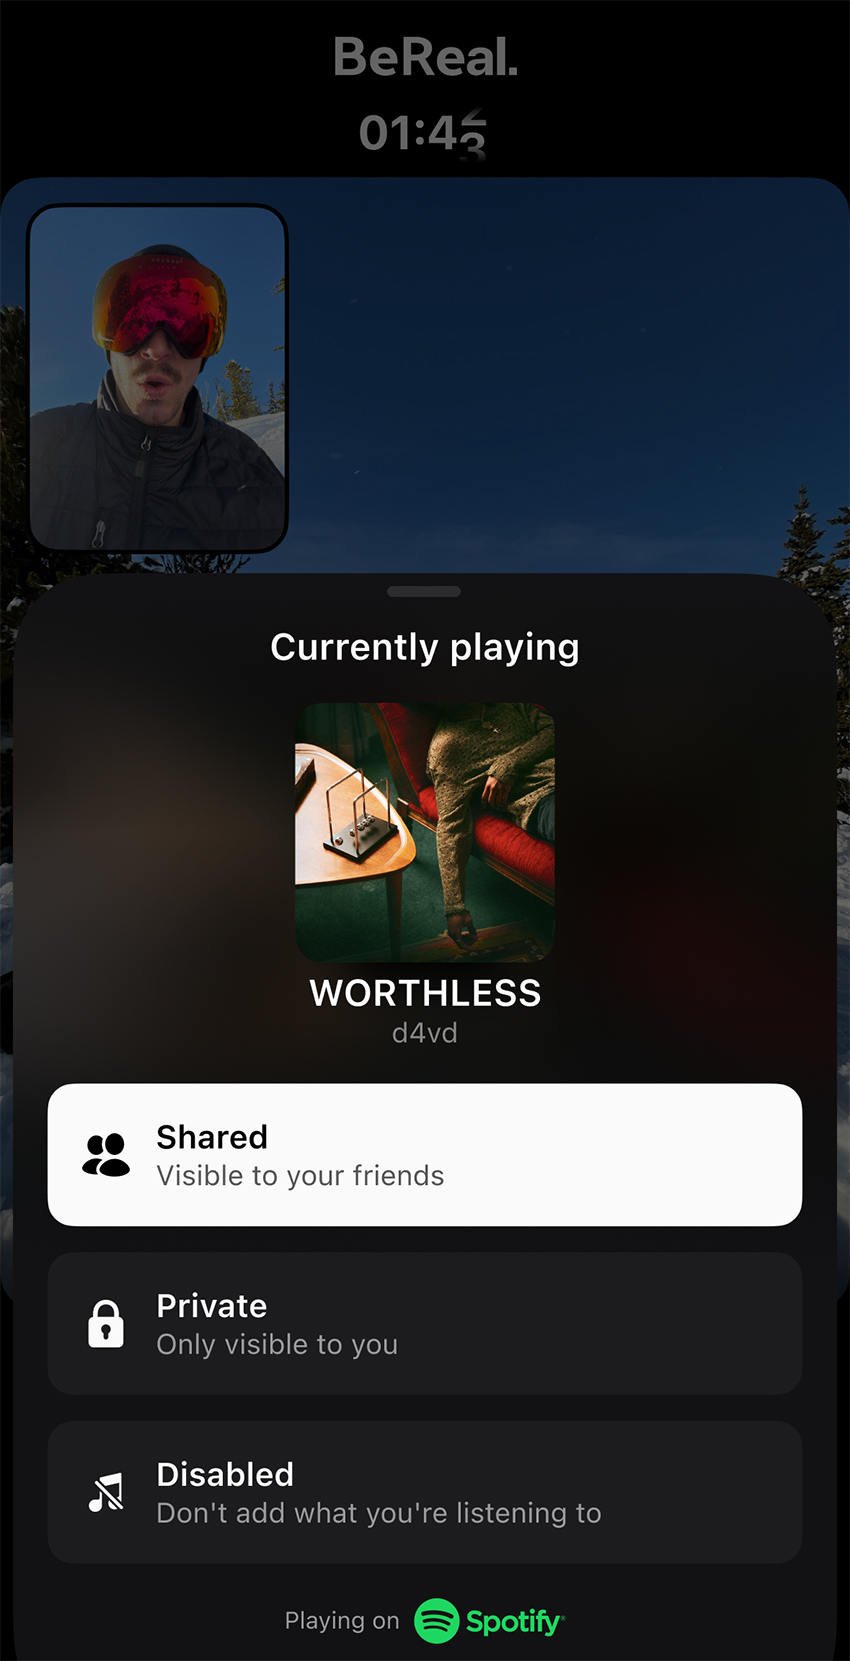
- Share Music: When you take a BeReal, the music that are currently playing will show up at the bottom of the screen. Tap on it and choose “Shared” to share the music to your friends.
Bonus: How to Recover Deleted Audio Files on iPhone
Losing cherished audio files on iPhone can be a distressing experience for many users. Thankfully, there’s a lifeline for those seeking to recover lost content: RecoverGo (iOS) by iToolab. Specially designed to restore deleted audio files on iPhone, even without a backup, RecoverGo comes as a saving grace. It’s a user-friendly tool that can quickly get your valuable audio content back, saving you from the disappointment of unintended deletion. Whether it’s a favorite song you shared or a special audio note, RecoverGo can help you retrieve it with ease.
✨ Ease of Use: RecoverGo offers a user-friendly interface, making the recovery process simple and accessible to everyone.
✨ No Backup Required: You can recover deleted audio files without needing a previous backup, providing flexibility.
✨ Preview Capability: Users can preview the audio files before recovery, ensuring the correct files are retrieved.
✨ Comprehensive Data Recovery: Not limited to audio, RecoverGo can recover various data types, including photos, messages, and contacts.
Step-by-Step Guide
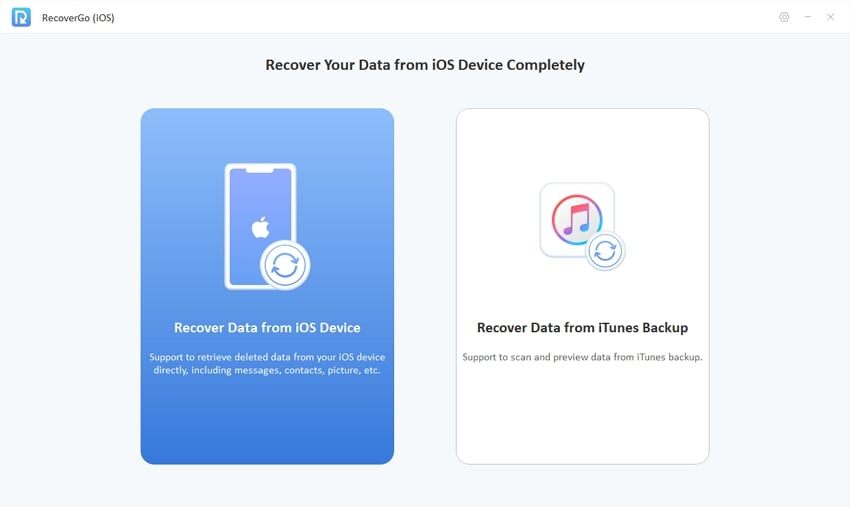
Step 1 Install and open RecoverGo, then connect your iOS device. Choose the “Recover Data from iOS Device” option.
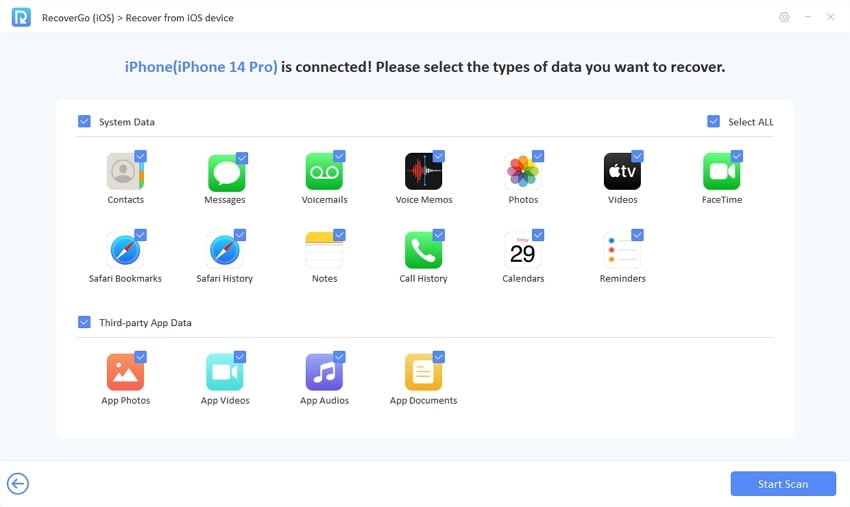
Step 2 Choose the types of data you want to recover. If focusing on audio, make sure to check the audio file option.
Step 3 The software will scan and display the recoverable audio files. You can preview them to verify which ones you want to restore.
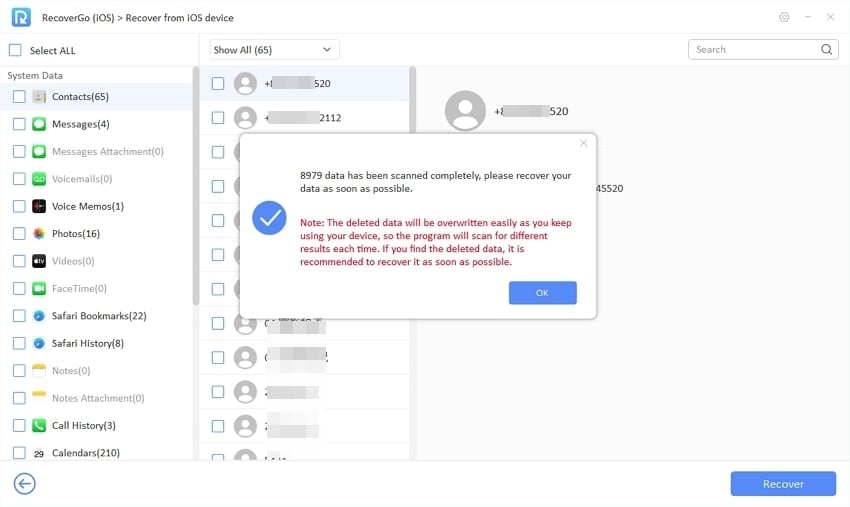
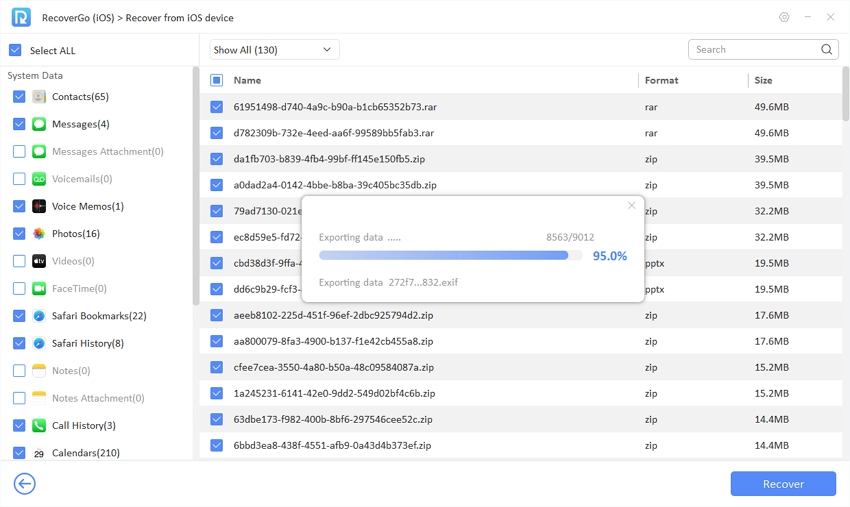
Step 4 Select the specific audio files you want and click the “Recover” button. The files will be saved to your designated location.
Bottom Line
The integration of music with BeReal posts has added a new dimension to social sharing, allowing users to express themselves through their favorite tunes. Learning how to add music to BeReal is a straightforward process, involving just a few steps to connect to platforms like Spotify or Apple Music. But what if you delete an essential audio file? That’s where RecoverGo (iOS) by iToolab comes into play. With features like ease of use, preview capability, and recovery without backup, it’s a recommended solution for BeReal users who wish to recover deleted audio files.

