Music is an integral part of many people’s daily lives, offering both comfort and entertainment. For Apple Music users, integrating personal collections with the streaming service can enhance the listening experience. If you’ve ever wondered how to add downloaded music to Apple Music, this guide is for you. We’ll explore the easiest steps to upload your favorite tracks from your computer or other sources directly into your Apple Music library, allowing you to enjoy your personal music collection alongside streaming content.
Can You Add Downloaded Music from Files App to Apple Music?
Unfortunately, you cannot directly add downloaded music from the Files app to Apple Music on your iPhone or iPad. The process requires the use of a computer. To integrate your downloaded music into your Apple Music library, you must first transfer the music files to a computer. From there, you can upload them to Apple Music using iTunes or the Music app, depending on your operating system. Once added, your tracks will sync across your devices where you use Apple Music.
How to Add Downloaded Music to Apple Music on iPhone
Adding downloaded music to your Apple Music library on an iPhone involves a few extra steps. To how to put downloaded music on Apple Music, you must first transfer the music files to a computer. Once uploaded through iTunes or the Music app, they will sync and become accessible on your iPhone through Apple Music.
Method 1: How to Add Downloaded Music to Apple Music on Windows
To add your downloaded music to Apple Music on a Windows PC, you’ll need to use iTunes, which serves as a bridge for uploading and managing your music library. By how to import songs to Apple Music, you enable the iCloud Music Library feature, which syncs your added tracks across all your Apple devices. This method is particularly useful for those who have a large collection of music not available on streaming services. Once your music is uploaded to Apple Music, it becomes accessible on any device logged into your Apple ID. Make sure you have the latest version of iTunes installed to ensure compatibility and smooth operation.
Here are the steps:
- Start by launching iTunes on your Windows computer.
- Go to the "File" menu, select "Add File to Library" or "Add Folder to Library", and choose the music files you want to upload.
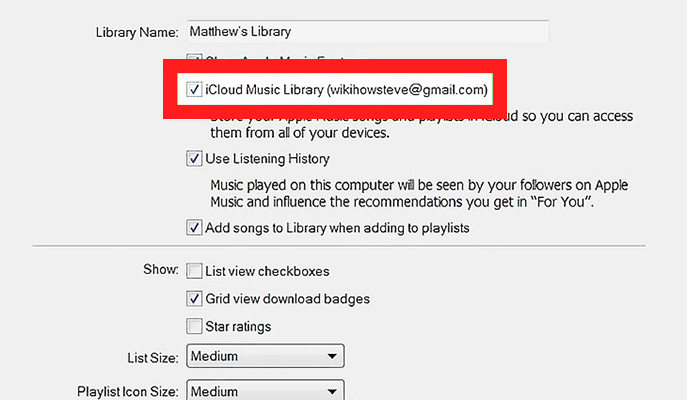
- Go to "Edit" > "Preferences" > "General" and check the box next to "iCloud Music Library" to enable it.
- Select your newly added music and drag them to your Apple Music library or create a new playlist that includes them.
- Once synced, your uploaded tracks should be available on all devices where you use Apple Music with the same Apple ID.
Method 2: How to Add Downloaded Music to Apple Music on Mac
Adding downloaded music to Apple Music on a Mac involves using the Music app, which replaced iTunes in macOS Catalina and later versions. This method allows you to how to put music on Apple Music for free by uploading your tracks directly into your library, which then syncs with your iCloud Music Library. This is especially beneficial for integrating rare or personal tracks that aren’t available on streaming platforms. Once added, your music will be accessible on any Apple device connected to your Apple ID. The process ensures your personal collection is available alongside the vast Apple Music catalog.
Here are the steps:
- Launch the Music application on your Mac.
- From the menu bar, click "File" then choose "Import". Select the files or folders you wish to add.
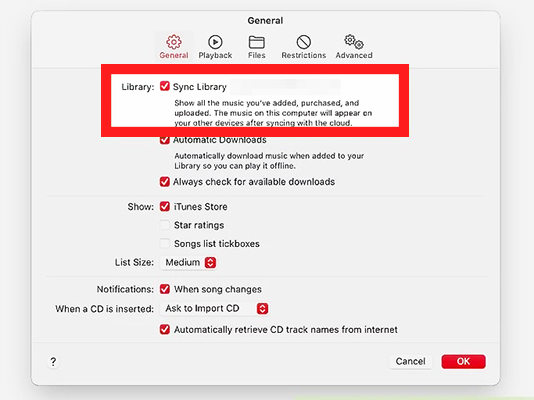
- Go to "Music" > "Preferences" in the menu bar. Under the "General" tab, ensure "Sync Library" is checked to enable your iCloud Music Library.
- After importing, you can create playlists or add tracks to existing playlists to organize your music as you prefer.
- Your added music will now sync across all devices using your Apple ID, making it available wherever you use Apple Music.
How to Upload Your Music to Apple Music
To upload your music to Apple Music, you need to prepare your tracks and their metadata, sign up with a music distributor, and potentially join a performing rights organization. The metadata should be comprehensive and accurate, including details like composer and performer credits, song title, and language of the lyrics. This is crucial for ensuring your music is searchable and gets approved by Apple.
To upload your music to Apple Music:
- Ensure that your songs are complete and that all the necessary metadata is accurate. This includes information about the song’s composer, performer, title, and language of the lyrics, among other details. For Apple’s complete metadata guidelines, visit their official style guide.
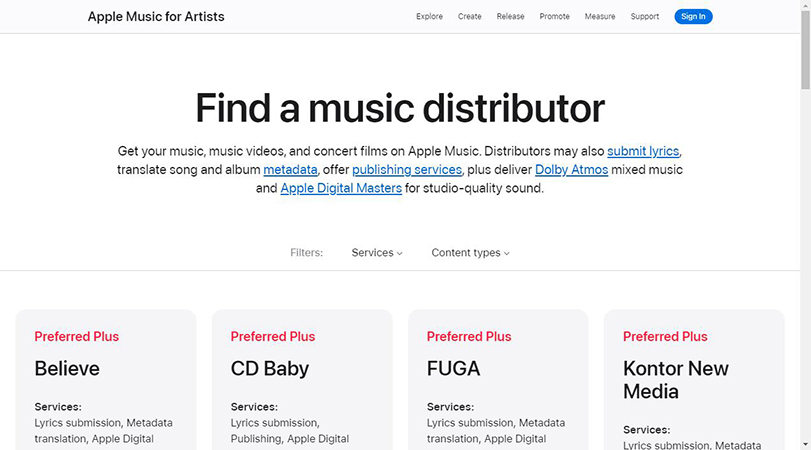
- Choose a distributor that aligns with your needs, particularly if you are focusing on Apple Music and iTunes. Apple provides a list of preferred distributors on their website. The distributor will handle the logistics of getting your music on Apple Music and collecting royalties for you.
Extra Tips. How to Retrieve Lost Music Files on iPhone
The methods discussed above are the most straightforward for adding music to Apple Music; however, they rely on already having access to your music files. If you’ve lost music files on your iPhone, and you haven’t backed them up, you might think they’re gone for good. But don’t panic yet there’s still a solution to recover your lost music files without a backup. This is where RecoverGo (iOS) steps in to help.
✨ Recover without Backup – Can recover your important app data even without a backup.
✨ Restores Various Data Types – Can restore various types of data, from images and videos to more.
✨ Preview and Selectively Recover – Once the tool recovers all your data, you can preview and select only the app data that you want to recover.
✨ High Success Rate – The turnover for RecoverGo iOS is highly successful, and you won’t be disappointed with its workings.
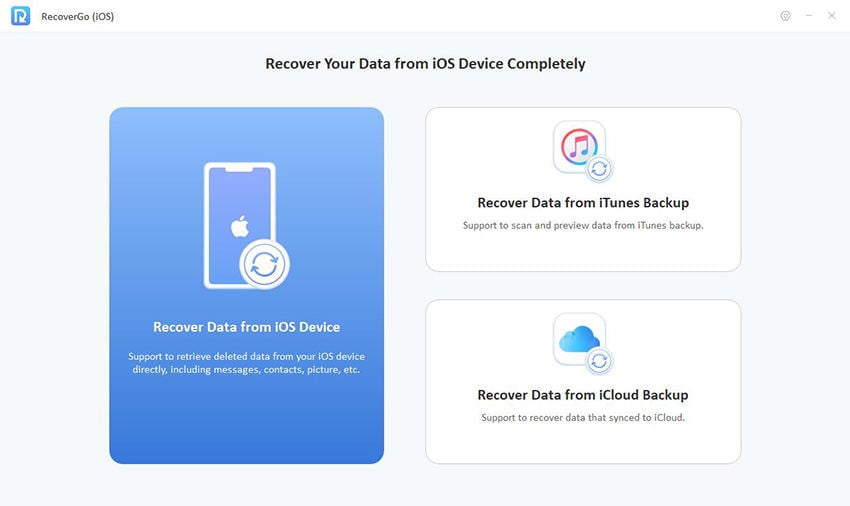
Step 1 Install and launch RecoverGo (iOS) on your computer. Connect your iPhone via USB and select the “Recover Data from iOS Device” from the main interface.
Step 2 After your device is connected and recognized, the software will prompt you to choose the types of data you wish to recover.
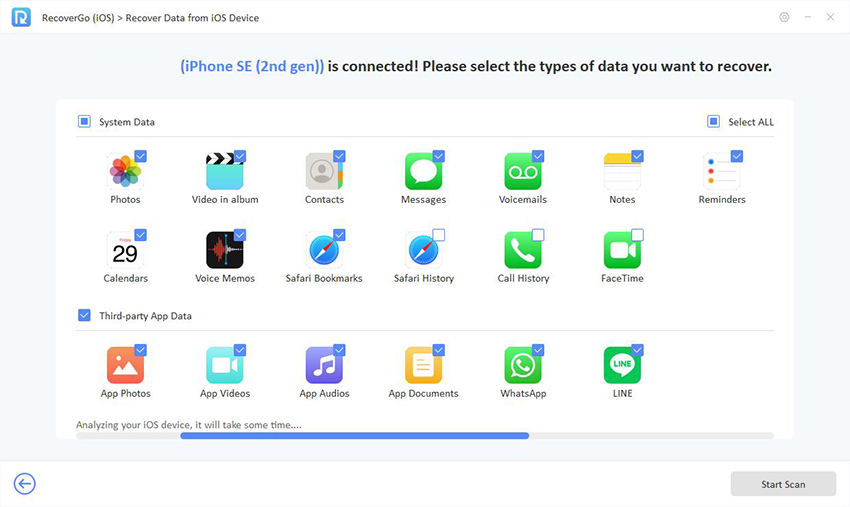
Step 3 The software will then perform a scan, and upon completion, it will display all recoverable files. You can preview these files to ensure they are the ones you want to restore.
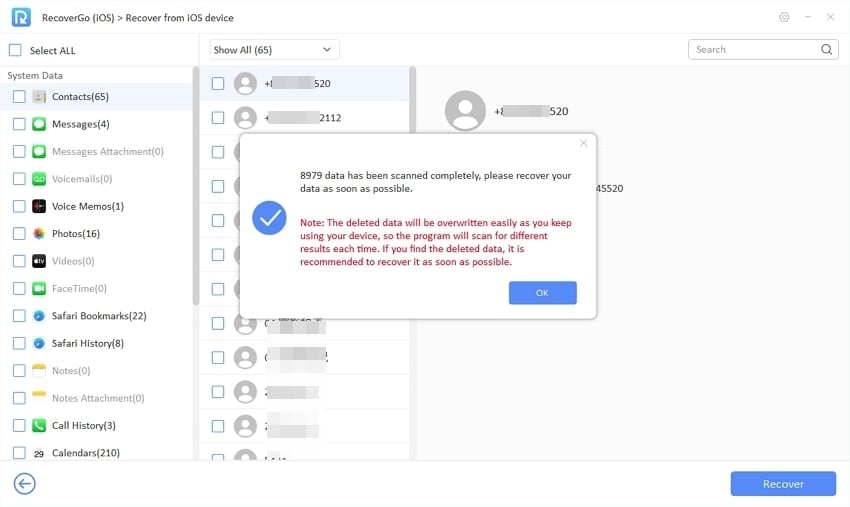
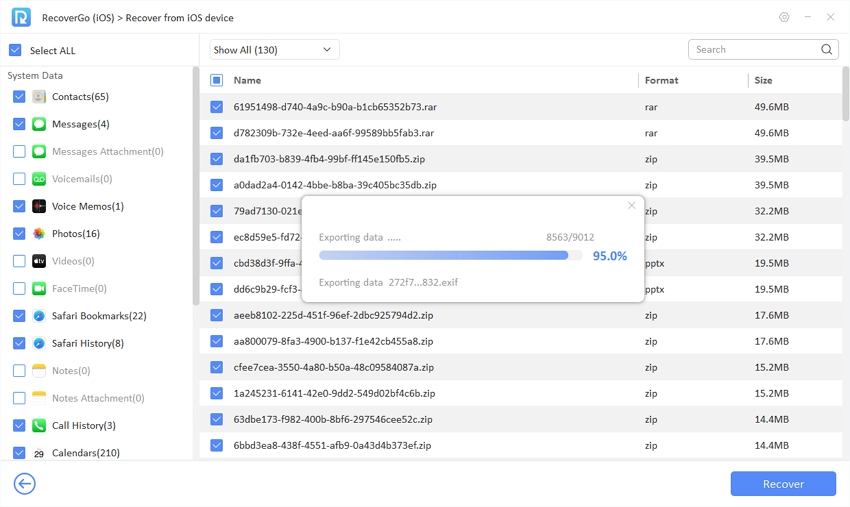
Step 4 Finally, once you have selected the desired music files, click on the “Recover” button to save them either directly back to your iPhone or to your computer, based on your preference.
In the End
While learning how to add downloaded music to Apple Music enhances your library, encountering lost music files can be frustrating. If you ever lose your files, consider using RecoverGo (iOS) to easily and securely recover them. It’s a reliable tool that ensures you never miss a beat, making it a valuable addition to your digital toolkit.

