Losing important data on our iPad can be a distressing experience. Whether it’s cherished photos, crucial documents, or valuable memories, permanently losing them can be devastating. That’s why knowing how to restore iPad from a backup is vital. It gives us a lifeline to retrieve those irreplaceable files and restore our device to a previous state.
This comprehensive guide will delve into the step-by-step process to restore backup on iPad. By following these instructions, you’ll be equipped with the knowledge to recover your precious data and bring your iPad back to life.
The Official Way to Restore iPad from Backup!
If you are wondering how to restore iPad from a backup by using the official method, this section will outline all of the necessities. Owing to it, you can retrieve your data and bring your iPad back to its previous state effortlessly.
Option 1: Restore iPad from iCloud Backup
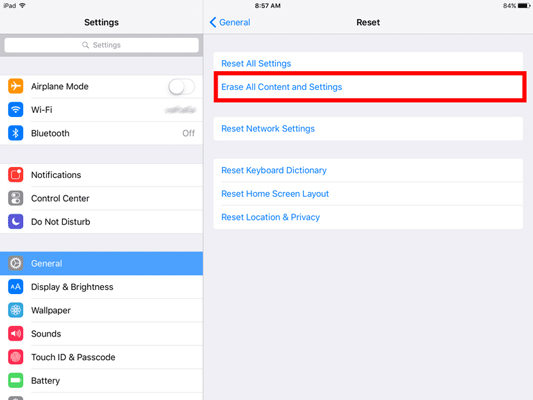
You can easily perform iPad restore backup, retrieving your data and settings from a previously created backup stored in iCloud. This option lets you set up a new or erased iPad using your existing data and apps. However, it’s important to note that restoring from an iCloud backup will overwrite any existing data on your iPad. Here are the steps to restore your iPad from an iCloud backup:
- Turn on your iPad and proceed through the setup process until you reach the Apps & Data screen. Select “Restore from iCloud Backup” and sign in to iCloud with your Apple ID.
- Choose the desired backup from the available options based on date and size. You can tap “Show All Backups” for more choices.
- Wait for the restore process to complete. Ensure your iPad remains connected to Wi-Fi and power until the progress bar finishes.
- After the restore, sign in with your Apple ID again to restore your apps and purchases.
Option 2: Restore iPad from iTunes Backup
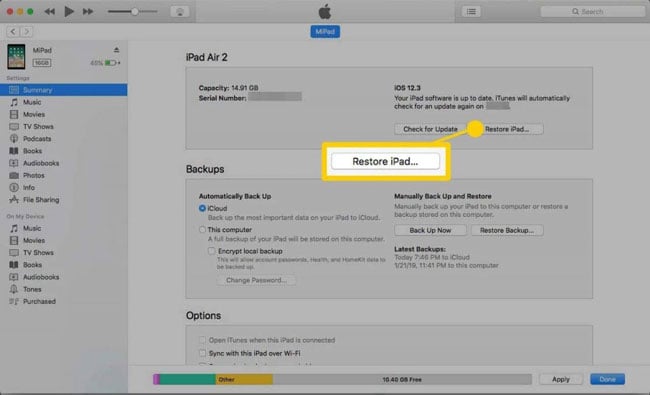
iTunes allows you to restore iPad from a backup. It’s important to note that restoring from an iTunes backup will overwrite any existing data on your iPad. Here are the steps to restore your iPad from an iTunes backup:
- Connect your iPad to your computer using a USB cable and launch iTunes. If prompted, enter your device passcode or choose to Trust This Computer.
- Click on the device icon near the top left of the iTunes window and navigate to the Summary tab. Under the Backups section, click “Restore Backup” and choose the backup containing your iPad data.
- Click on “Restore” and wait for the restore process to complete. If the backup is encrypted, you must enter the password to proceed. If a message indicates that your device’s software is outdated, follow the instructions to update it.
- Keep your device connected until it restarts and finishes syncing with your computer. Once the sync is complete, you can safely disconnect your iPad.
Best Alternative to Restore iPad from Backup!
RecoverGo (iOS) from iToolab is a reliable iPhone data recovery software that offers a better solution to restore iPad from backups. With its advanced features, you can preview the contents of your iTunes backup and selectively recover the files you need without affecting the existing data on your iPad. It supports various data types, including photos, videos, messages, contacts, etc.
Compatible with the latest iPad models and iOS versions, RecoverGo (iOS) ensures a high success rate and provides a user-friendly interface. With RecoverGo (iOS), you can restore your iPad data from backup effortlessly and securely, making it an ideal choice for data recovery needs.
- Recover various data types, including photos, videos, and more
- Preview and Selectively Restore Data
- User-friendly Interface
- Wide Compatibility
Step-by-Step Guide
Here is a step-by-step guide on how to use iToolab RecoverGo (iOS) to recover data from an iTunes backup:
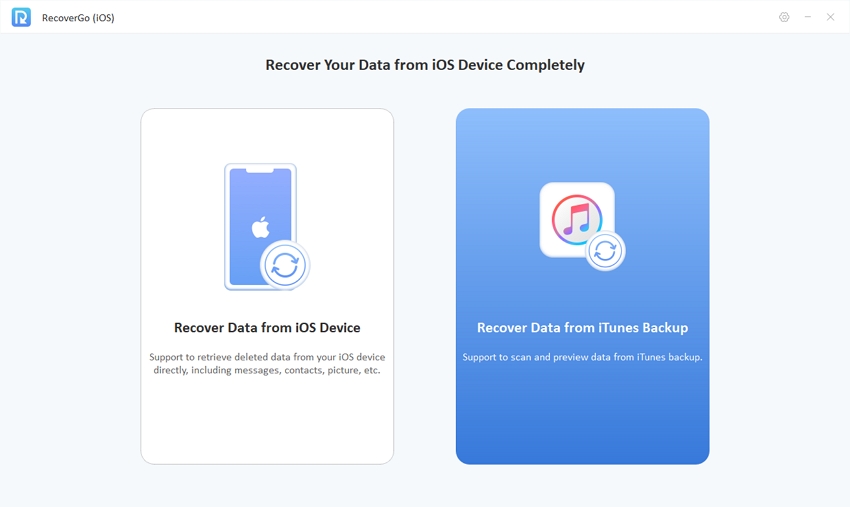
Step 1 After successfully installing and launching iToolab RecoverGo (iOS), tap the “Recover Data from iTunes Backup” option from the main interface.
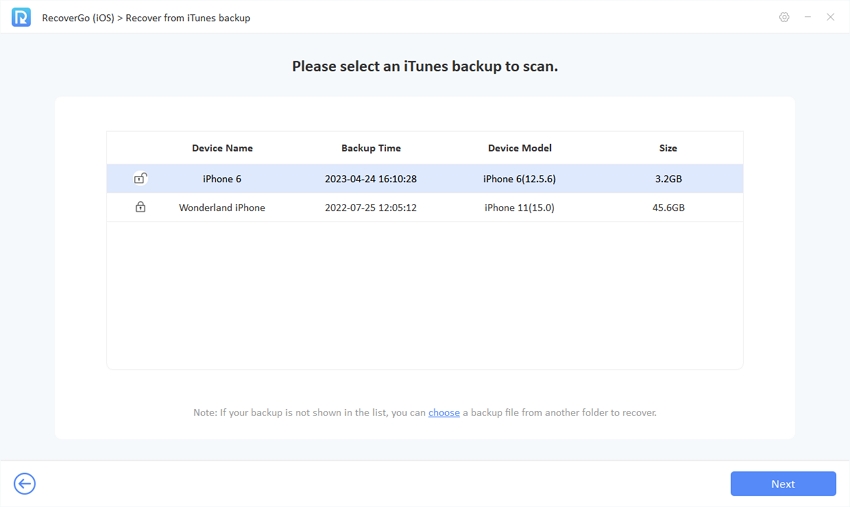
Step 2 Choose the backup file from the available iTunes backups containing the data you want to recover. Click on the “Next” button to proceed.
Step 3 The program will initiate a comprehensive scan of the selected iTunes backup. It is important not to disconnect your device during this process. The scanning may take several minutes to complete.
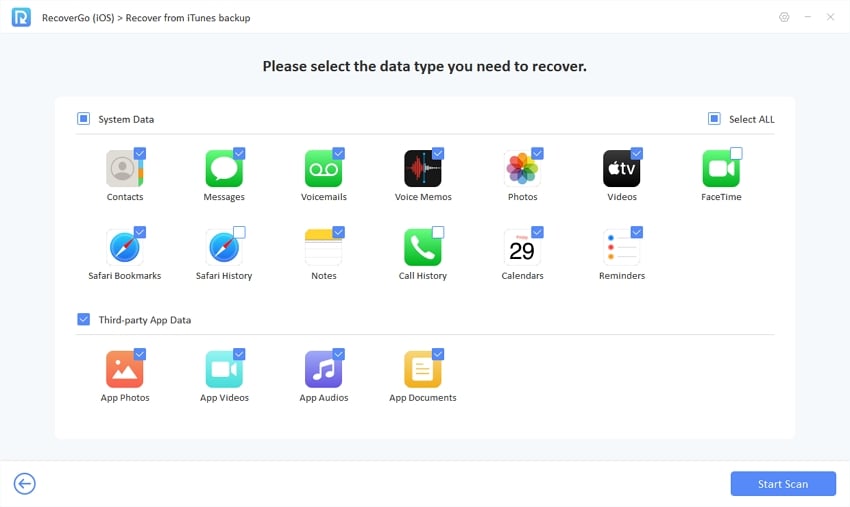
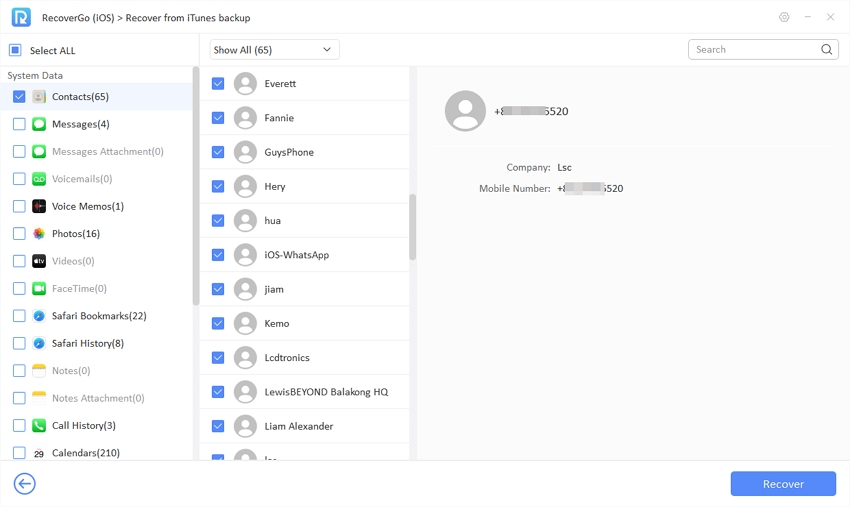
Step 4 Once the scan is finished, you will see a list of recoverable data categories. Preview the data by checking the boxes on the left and viewing the details on the right. Select the desired files and click the “Recover” button to successfully recover them to your computer.
Bonus: How to Restore Deleted Data on iPad without Backup?
To restore deleted data on your iPad without a backup, you can use the RecoverGo (iOS) software. Here is a step-by-step guide:
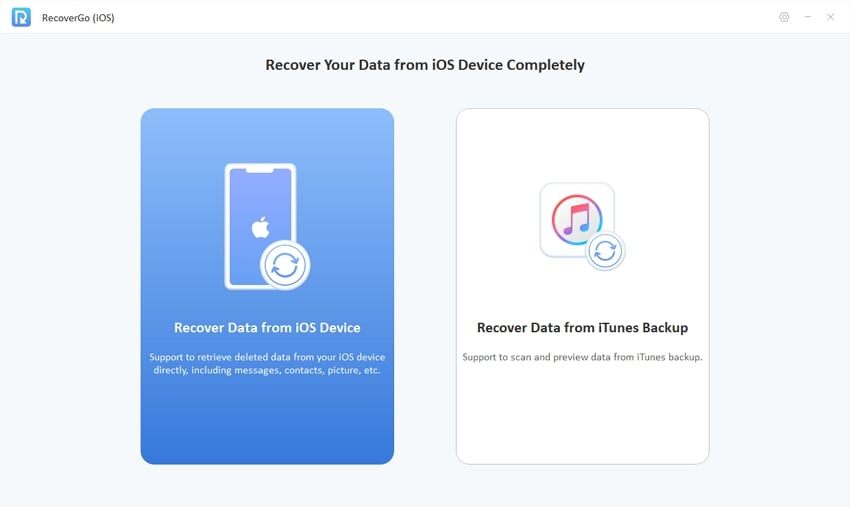
Step 1 Download and install RecoverGo iOS on your computer from the official website. Launch the program and select the “Recover Data from iOS Device” option.
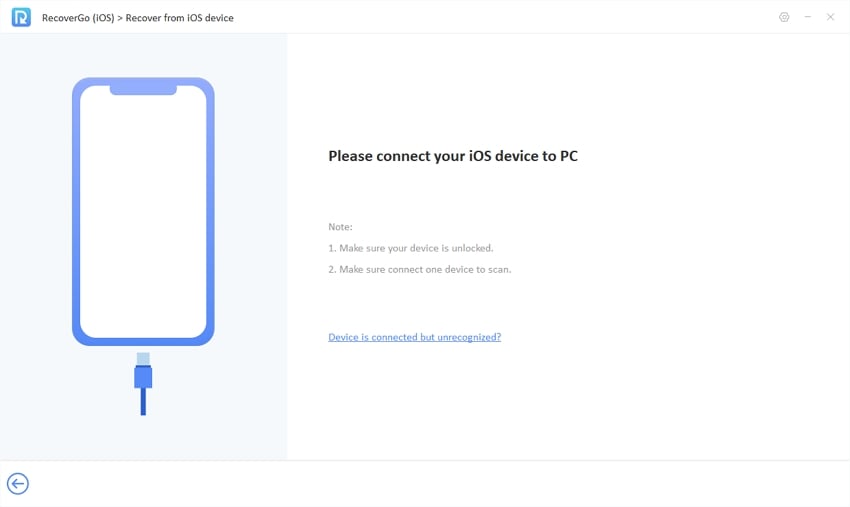
Step 2 Use a branded Lightning to USB cable to connect your iPad to the computer. Tap “Trust” on your iPad to establish a connection if prompted.
Step 3 The program will display various data types. Choose the specific data you want to recover, such as photos, videos, or documents.
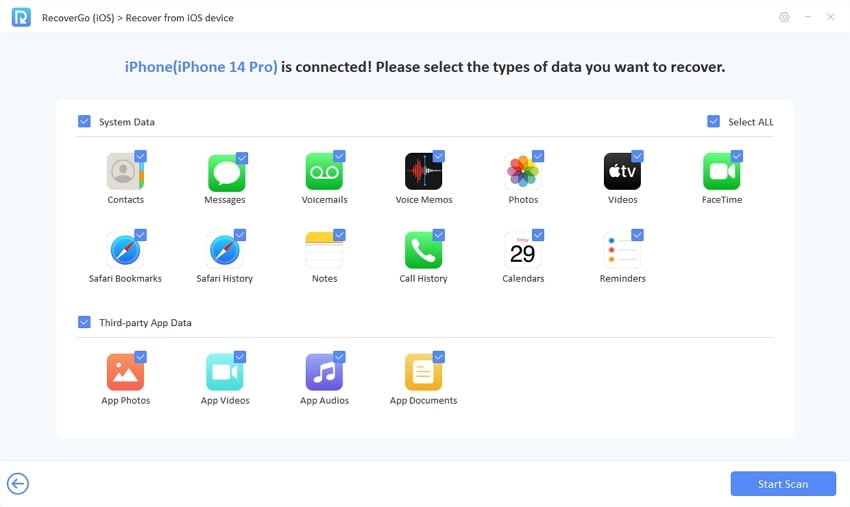
Step 4 After selecting the data type, click the “Start Scan” button to initiate the scanning process. The software will analyze your iPad and retrieve the deleted data.
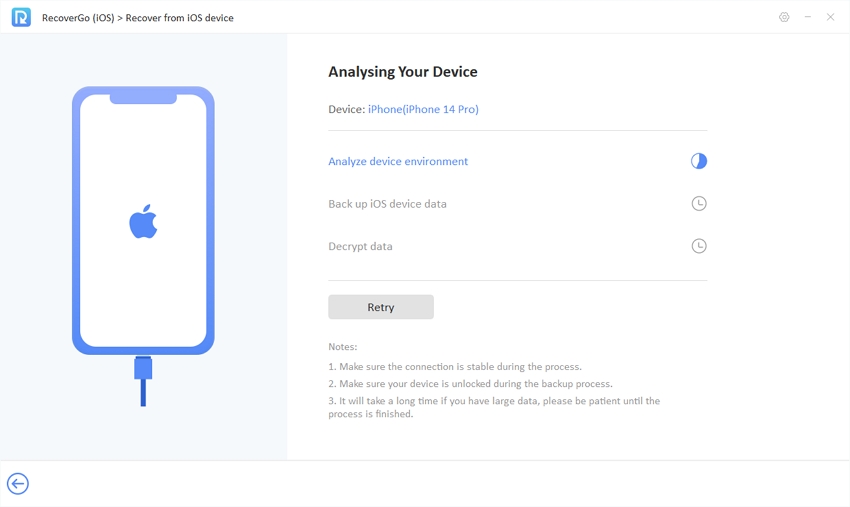
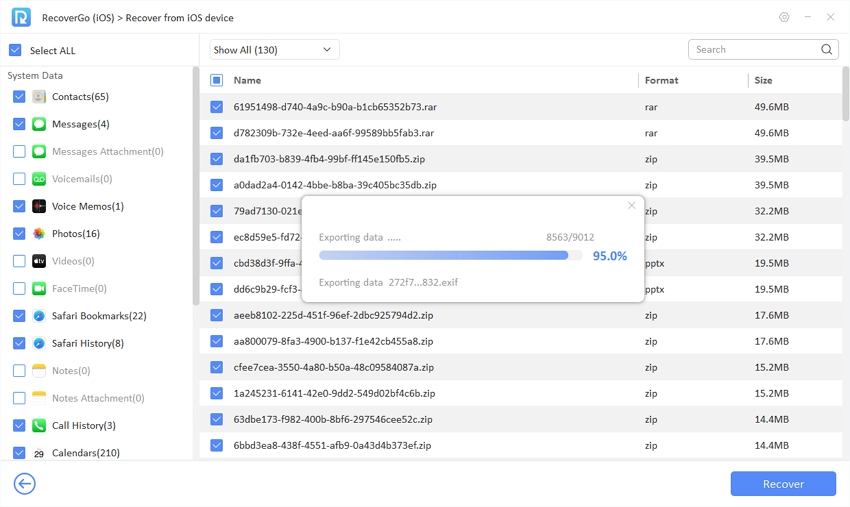
Step 5 Once the scan is complete, you can preview the recoverable data. Select the files you wish to restore and click the “Recover” button. Choose a location on your computer to save the recovered files.
FAQs about Restoring iPad from Backup
Q1: Can I Restore iPad from Backup without Reset?
Yes, you can restore your iPad from a backup without performing a full reset. Tools like RecoverGo (iOS) allow you to selectively restore specific data from a backup without affecting the rest of your device’s settings and content.
Q2: Can I Restore iPad from iPhone Backup?
Yes, it is possible to restore an iPad from an iPhone backup. However, it is essential to note that not all data and settings may transfer correctly, as the two devices have different configurations and capabilities.
Q3: What is the Difference Between Backup and Sync in iCloud?
The main difference between backup and sync in iCloud is their purpose. Backup is designed to create a copy of your device’s data, including apps, settings, and files, which can be significant to restore your device in case of data loss or when setting up a new device. On the other hand, Sync ensures that the same data is available across multiple devices by keeping them up-to-date with the latest changes.
Q4: How to Back up iPad?
There are two main ways to back up your iPad.
iCloud Backup: Go to Settings > [your name] > iCloud > iCloud Backup. Turn on iCloud Backup and tap on Back Up Now to create a backup of your iPad data to iCloud. This method requires an active internet connection and sufficient iCloud storage.
iTunes Backup: Connect your iPad to your computer and open iTunes. Select your iPad and go to Summary > Backups. Choose “This computer” and click on “Back Up Now” to create a backup of your iPad data to your computer using iTunes.
Conclusion
Restore iPad from backup is an essential process to recover your data and settings. You can restore from an iCloud or an iTunes backup, depending on your preference. However, for a more efficient and user-friendly experience, we recommend using RecoverGo (iOS). It is a professional iPad data recovery tool that allows you to selectively restore your iPad from backup without overwriting existing data.

