This article deals with the particularly problematic iPhone camera black screen problem. While your iPhone’s camera can turn black for any number of reasons, the solutions listed here will be able to help you fix this common issue and get your camera working normally.
Let’s get started.
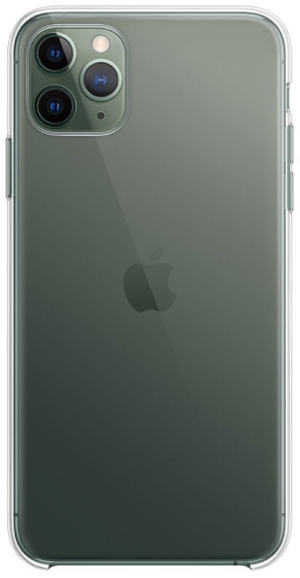
1. Check Your iPhone Case
The first thing you should do when your iPhone camera is not working as it should is to check for any obstructions. And the main culprit when it comes to obstruction is the iPhone case. It is possible that the iPhone case could be on backward, obscuring the camera. If you just got the iPhone case, check if it is on correctly. You can also try to remove it and check if the camera is still black. If it is, try the next solutions.
2. Force Quit Camera App and Reopen It
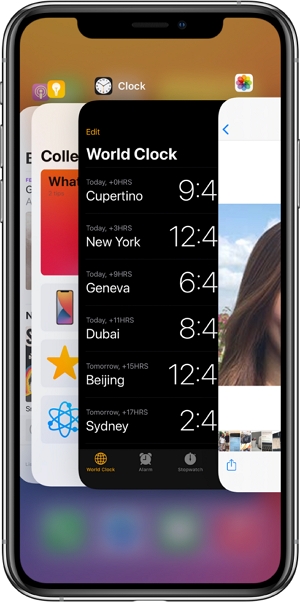
If you don’t have a case or you are certain your case is not obstructing the camera, then the first thing you should do is close the camera app and then restart it. Force quitting the app is a good way to remove any minor software issues that could be causing the problem.
3. Switch Between the Front and Back Cameras
This black screen issue can also be solved by simply switching from the rear to the front-facing camera. This is because this problem can be caused by a problem with the camera app and switching the camera can force the app to load again. You should also try using a third-party camera or video apps such as Instagram or Snapchat to see if the problem is hardware or software-related.

4. Restart Your iPhone
In much the same way, restarting your iPhone is a good way to remove some of the iOS system issues that may be affecting the camera’s functionality.
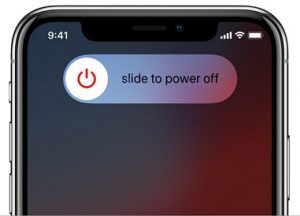
To restart an iPhone 8 or older, press and hold the Power (Side) button until the “Slide to Power Off” slider appears.
To restart an iPhone X and newer, press and hold the Power (Side) button and the Volume Down button at the same time until you see the “Slide to Power Off” slider appears.
Drag the slider to the right to shut down the device. Wait a few seconds and then press and hold the Power button again to turn on the device.
5. Turn Off the VoiceOver
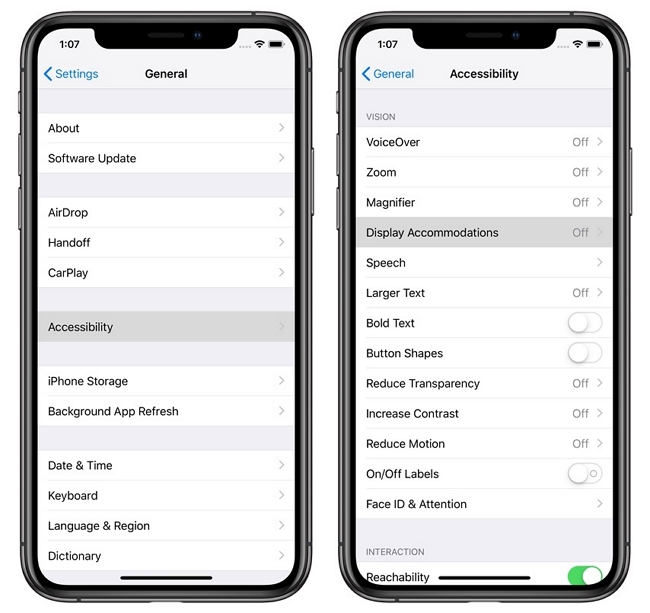
The Voiceover feature has been known to cause errors with the iPhone camera. So, if it is enabled, you may want to turn it off just to see if the problem will be resolved. Follow these simple steps to do it:
- Step 1: Open the Settings on your device.
- Step 2: Scroll down to find “Accessibility” and tap on it.
- Step 3: Tap “Voice Over” and then toggle the switch next to it so that it is gray.
6. Update to the Latest Software
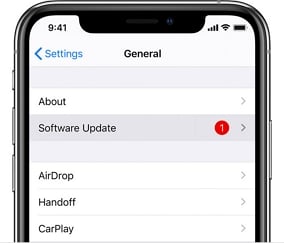
If your iPhone is running an older version of iOS, it is very likely that you could experience various software glitches that can cause this and many other problems. Updating your iPhone to the latest version of iOS will introduce patches that can easily solve the problem. You can update the software from the device’s settings or via iTunes.
7. Use FixGo to Reinstall the System
Sometimes it can seem more difficult than necessary to fix the device, especially when the problem goes away only to come back a few hours later. If this is the situation you find yourself in, it is possible that the device could be suffering from a more invasive system issue.
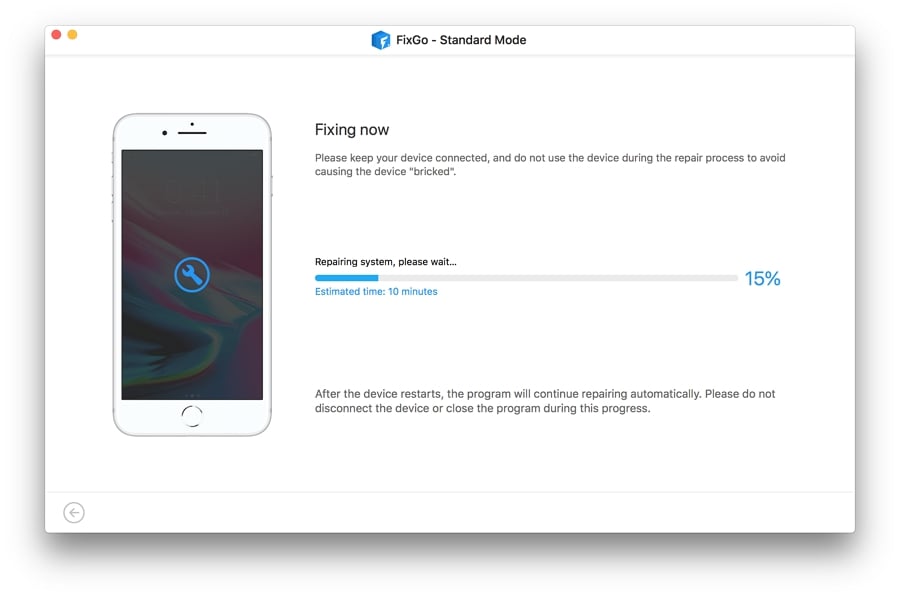
One of the best ways to fix all iOS system and stuck issues including this one is iToolab FixGo. This is an iOS system repair tool specifically developed to help refresh the iOS system without affecting the data on the device.
To use FixGo to fix your iPhone, download and install the program on to your computer and then follow these simple steps:
Step 1: Run FixGo and in the main window, click on “Standard Mode”.
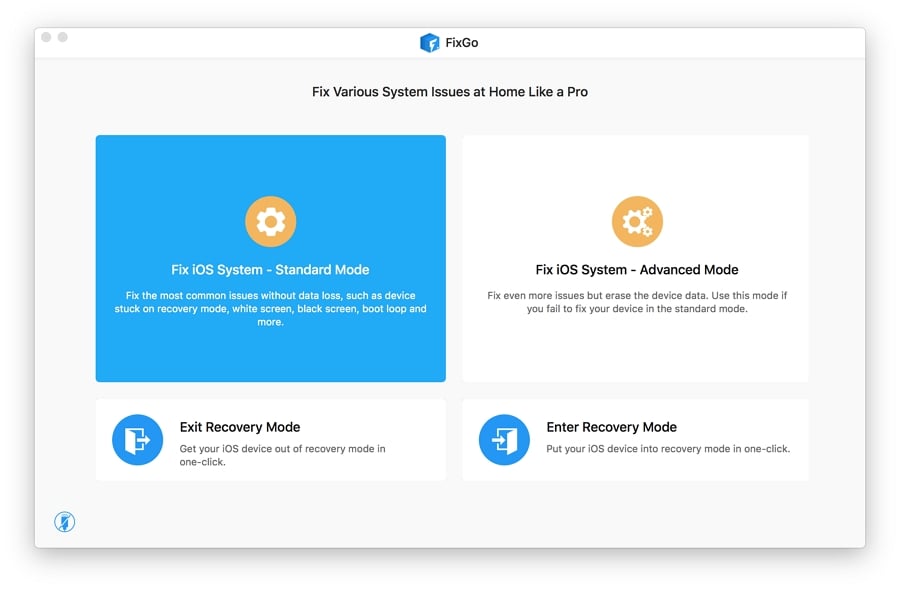
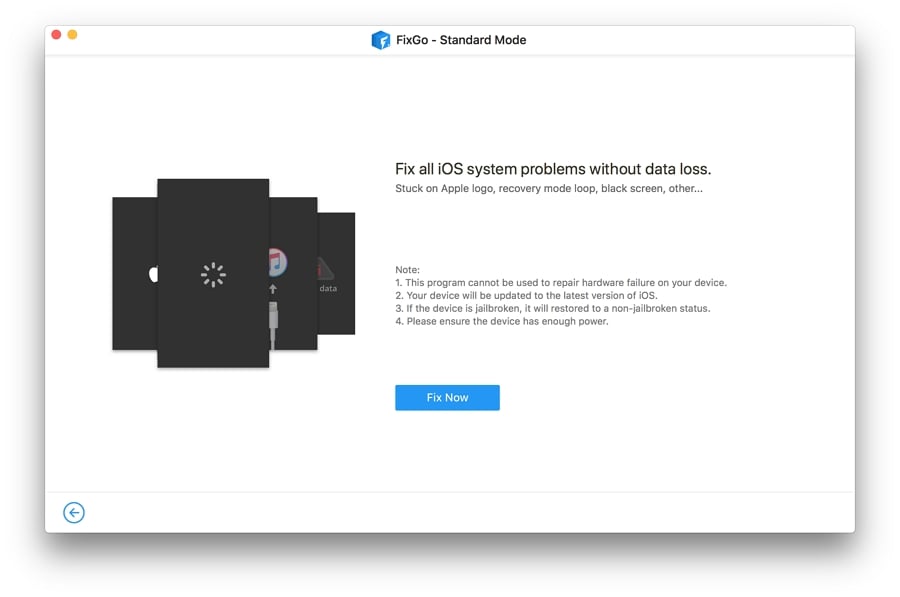
Step 2: Connect the iPhone to the computer using its original lightning cable and then click “Fix Now” to begin the process.
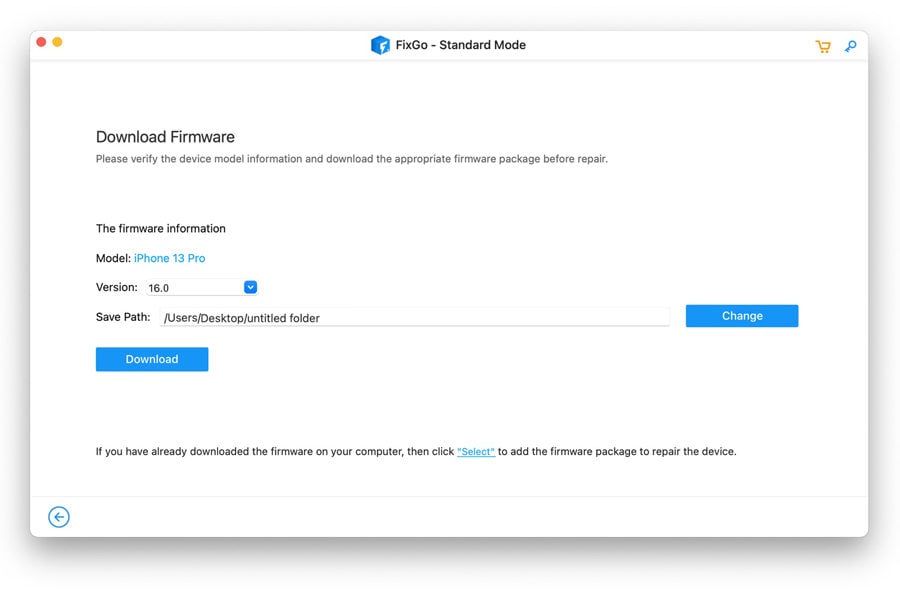
Step 3: You will then need to download the necessary firmware to update the device’s system. Simply click “Download” to start downloading the firmware.
Step 4: Once the firmware package has been downloaded, click on “Repair Now” to start updating the device’s system. Ensure that your iPhone remains connected to the computer until FixGo notifies you that the problem has been resolved.
8. Reset All Settings
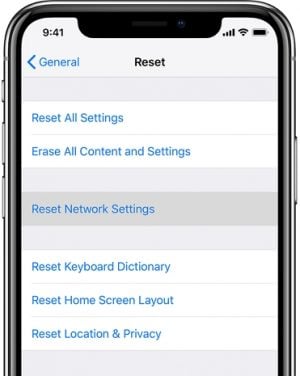
Resetting all settings is another viable solution for a much deeper software-related problem and may therefore be a good way to fix the device when other solutions will not work. When you reset all settings on your iPhone, all your preferred iPhone settings will be erased including your Wi-Fi passwords, connected Bluetooth devices, and even your preferred wallpaper.
To do it, open Settings and then tap “General > Reset > Reset All Settings.” Enter your passcode when prompted and then tap “Reset All Settings” again to confirm. When the device restarts, you can then check if the camera is working.
9. iPhone Repair Options
All the solutions we’ve outlined above are ideal ways to solve software issues that may be affecting the iPhone’s camera. If you try all of them and still the problem persists, then it is likely that the problem is hardware-related.
In this case, the best thing to do is to take the device to your local Apple store to see if Apple technicians can fix the device. If the device is still under warranty, you can set up an appointment with them and they will be able to diagnose and fix the problem for you at a minimal cost.

If the device is not under warranty, then you may end up spending a lot of money to get the device fixed. We recommend trying other reputable repair services that may prove to be cheaper. Sometimes, however, it may be more economical to purchase a new device altogether.

