Have you ever opened the camera app on your iPhone and your iPhone camera not working after the update with great anticipation only to be met with a black screen or an error message? You are not alone if you have experienced it after updating the iOS version. It is common for iPhone users to encounter issues with their phone camera after updating the software.
Fortunately, in this article, I will help you resolve these problems and use your iPhone camera to its full potential again. This article will discuss various issues with the iPhone camera, the possible reasons behind them, and how to address issues related to the camera in any iPhone version.
Is This a Known iOS 18 Problem?
According to the shared experiences, it appears that the issues were temporarily resolved with the iOS 17.5 update but then returned. The absence of any hardware defects during a diagnostic performed at the Apple Store suggests that the issue may be related to the software update itself.
Common Camera Problems After an iPhone Update
The most frequent complications that iPhone users face after an update involve the camera:
Black screen: Some users have reported that when they try to open the Camera app on their iPhone, the screen turns black.
Error message: Sometimes, when you try to open the Camera app on your iPhone, you receive an error message like “Error in Application”, “Can’t Respond”.
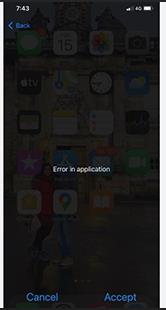
Camera app crashes: When launched, the Camera app opens but freezes, closes, or exits within a short period.
Blurry photos: Some of the images that are captured by the iPhone camera app are not clear; rather they are blurred or hazy.
Camera freeze: iPhone camera app is freezing and becoming unresponsive after updating to iOS 17.
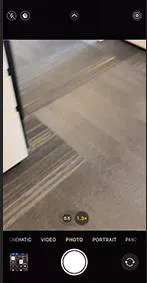
iPhone 12 specific issues: Users have reported that the iPhone 12 camera not working after the update, such as focus problems.
Why Isn’t Your iPhone Camera Working?
Several factors can contribute to iPhone camera problems after an iOS update:
Software glitches: There are also new updates to software that can cause some issues with the Camera app or other connected features of a smartphone.
Storage limitations: When the available storage on your iPhone is low, the performance of the Camera app may be slowed or have other issues.
Conflicting apps: Some of the third-party applications may mess up with the Camera app and result in crashes and other behaviors.
Hardware issues: In rare cases, the camera malfunction could be due to hardware damage to the lens or internal components.
How to Fix Your iPhone Camera After an Update
If you find that your iPhone camera is not working properly after an update, below are several things that you should not worry about:
- Way 1: Fix iPhone Camera Not Working by Yourself
- Way 2: Fix iPhone Camera Not Working with a Third-Party Tool
- Way 3: Seek the Assistance of Apple
Way 1: Fix iPhone Camera Not Working by Yourself
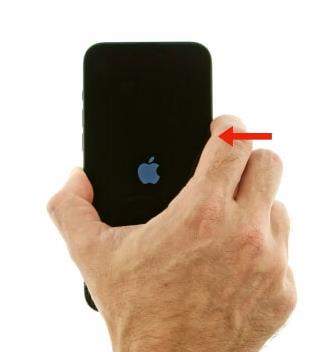
Step 1: Reboot Your iPhone
Sometimes, a simple restart resolves temporary software glitches. Turn your iPhone off, wait for 30 seconds, and then turn it on again. After that, relaunch the Camera app and check if the issue has been fixed.
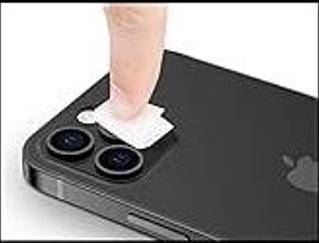
Step 2: Clean Your Camera Lens
A dirty lens can cause blurry pictures. Clean the lens softly with a microfiber cloth.
Step 3: Use Another App to Enter the Camera
Third-party applications are also capable of using the iPhone camera (like social media apps or video conferencing tools). If the camera seems to be working fine in another app, there may be a problem with just the Camera app and not the camera itself.
Step 4: Convert Front and Rear Cameras
Convert front and rear cameras to check if there is issue with anyone of them.
- Open the Camera App.
- Locate the Switch Icon: This icon looks like a camera with two arrows in a circle, indicating you can toggle between front and rear cameras.
- Tap the Switch Icon.
- Verify the Camera: Check the viewfinder to ensure the camera has switched to the desired one (front or rear).

Step 5: Re-access the Camera
Once in a while, users may find that the Camera app on their iPhone is unresponsive. Perhaps you can quickly swipe out of the Camera app and relaunch it.
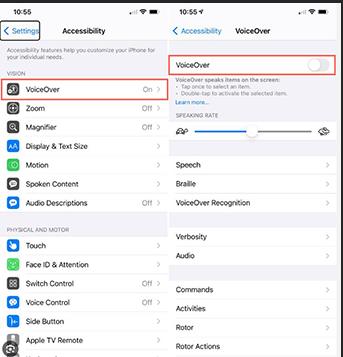
Step 6: Stop Voice-over (if enabled)
If you activated Voice-over, it may be hampering the effective functioning of the Camera application. You can try switching off Voice-over temporarily to find out if this would help alleviate the problem.
- Stop the voice-over in your iPhone’s settings:
- Open Settings
- Navigate to Accessibility
- Tap on VoiceOver
- Turn off VoiceOver
- Confirm
- Return to Camera App
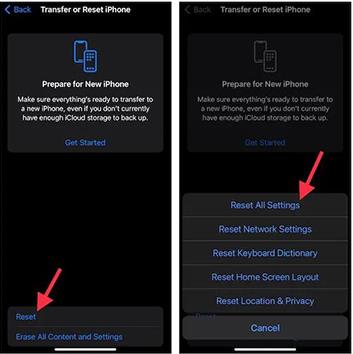
Step 7: Reset All Your Settings
Restoring all settings will change your iPhone’s many settings back to their defaults without deleting all of your content. This can sometimes solve problems with settings or configurations that were originally incorrect. Understand that deleting all the settings will clear all the saved Wi-Fi passwords, Bluetooth devices, and other settings. However, if you are ready to continue, it is recommended to create an iCloud or iTunes backup for your iPhone.
- Head to the settings of your device and then to the general settings.
- Continue scrolling down and tap the “Reset” option.
- Choose “Reset All Settings” and type in the iPhone passcode if you have one set.
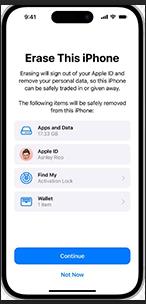
Step 8: Erase Your iPhone (Last Resort)
In case all the above steps do not help, one may have to delete all data from the iPhone and then sync the device with a backup file. This is a rather severe action as it not only removes all the data and settings you had on your device. Once again, it is recommended that you create a backup of the drive as you go through the steps.
Here’s how to erase your iPhone:
- Navigate to the iOS device and tap on Settings then the General tab.
- After this, navigate down and tap on the button that says “Reset.”
- Click on the ‘Erase All Content and Settings’ button, and then enter your iPhone’s passcode fast.
Way 2: Fix iPhone Camera Not Working with a Third-Party Tool
There are third-party iOS system repair tools available that claim to fix various software issues, including camera malfunctions. One such program is FixGo iOS System Repair. Here’s a brief overview of its functionalities:
Main Features of FixGo iOS System Repair:
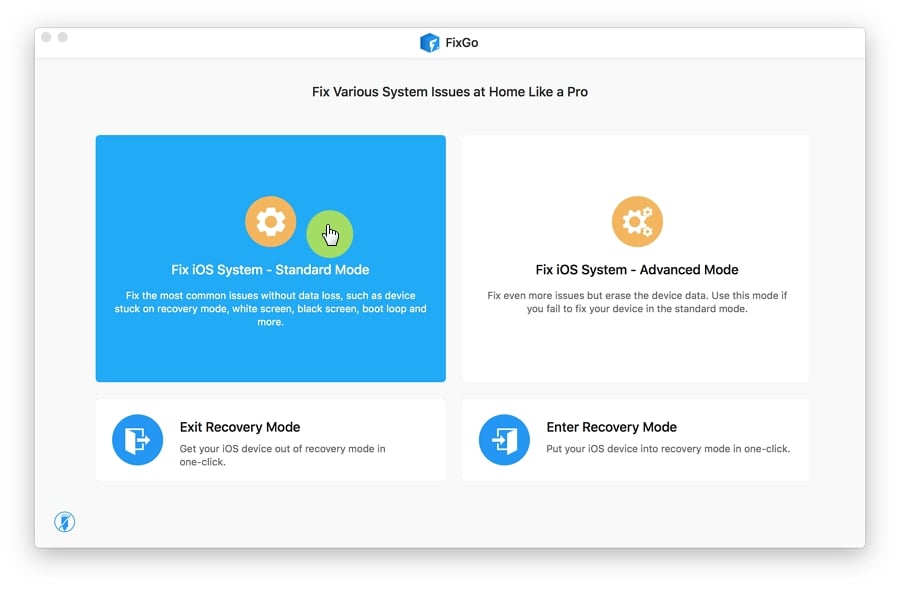
Standard Mode: This mode attempts to fix various iOS system issues like camera problems, app crashes, freezing, boot loops, and more without causing data loss.
Advanced mode: This mode gives you a deeper fix and it may require erasing all your iPhone’s data. Only use this if Standard Mode has failed to solve the matter.
Steps to Use FixGo iOS System Repair (Standard Mode):
Step 1 Download and install FixGo iOS System Repair on your computer. Run the utility and plug your iPhone into the computer via a USB cable. Here, click on the option of “Standard Mode” placed on the main interface.
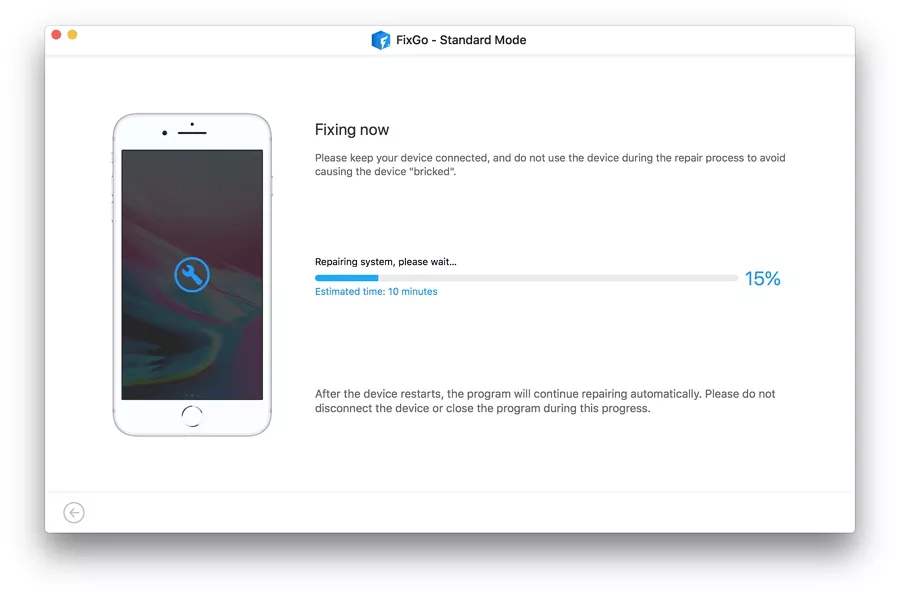
Step 2 The tool will download the required files and then repair iOS issues automatically. This might take some time.

Step 3 After the repair, your iPhone will restart on its own.
Way 3: Seek the Assistance of Apple
However, in case your efforts to address all the above hassles and your iPhone camera still do not work, I advise you to contact Apple. It is possible to try removing the battery and reconnecting all connections contact Apple Support for an online consultation or go to the Apple store and consult with a technician. Perhaps, there is a problem with the monitors themselves that needs a technician’s help to fix.
Summary
It should be possible for you to detect and fix the majority of iPhone camera issues that occur following an iOS update if you adhere to the troubleshooting procedures described above. if the problem doesn’t go away, think about FixGo iOS System Repair repair or contacting Apple Support for a more in-depth analysis and possible hardware fix. Always remember that it’s preferable to begin with easier fixes and progress to more complex ones.

