
In this tutorial, we’re going to give you some practical tips on how to fix iPad unable to check for update(iPadOS 27 included).
The other day, I received an error message while trying to update my iPad’s software over the air. Unsure as it what to do about it, I did a bit of research and some came across a few simple solutions that soon resolved the problem.
Want to know how to fix an iPad that can’t check for updates? Try one of these quick troubleshooting tips:
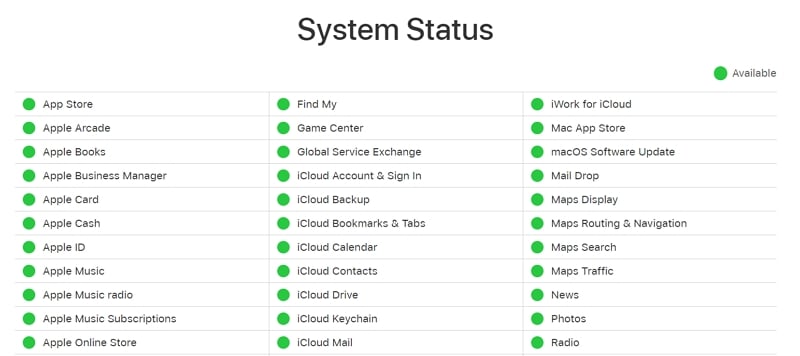
#1 Check Apple’s System Status
If you have an iPad that’s unable to check for updates, your first port of call is Apple’s System Status page. Here you’ll find a list of all Apple’s services and their current status. If all features are available, then this isn’t the reason for your iPad’s problems, and it’s time to look elsewhere.
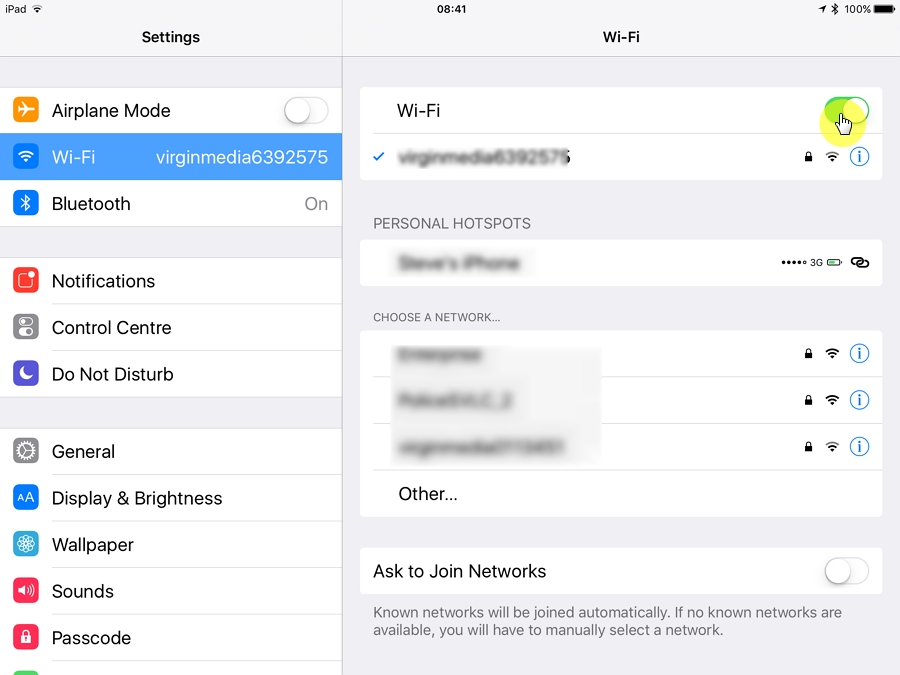
#2 Check Your Wi-Fi Connection
To update your iPad, you need a consistent and reliable internet connection so, before you start cursing Apple for creating a substandard iPad, make sure your Wi-Fi is enabled and has good strength.
If not, try turning the Wi-Fi connection on your iPad off and then on again. You can do this by going to the Setting app, navigating to Wi-Fi, and using the toggle switch to restart your connection.
If your Wi-Fi connection is still struggling, move onto the next solution.
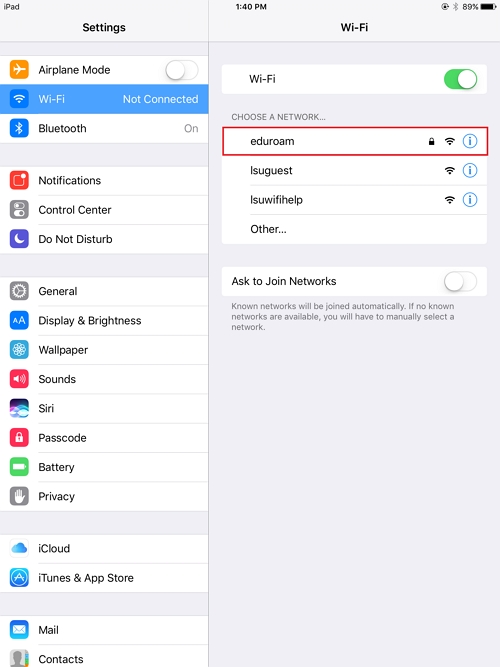
#3 Try a Different Wi-Fi Network
If that network simply can’t find the power you need to update your iPad, try a different network. Again, you can do this by opening the settings menu on your iPad and then tapping on the Wi-Fi option. You’ll now see a list of available connections.
Click on the network of your choice and enter the password when prompted. Now return to the General menu in Settings and select Software Update to see if your problem’s resolved. If not, move onto our next quick-fix solution.
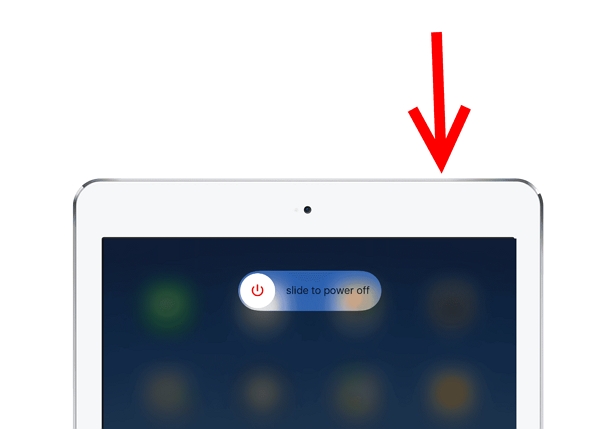
#4 Restart Your iPad
A soft restart can resolve numerous issues and only takes a few moments to perform. Better still, it won’t delete any of your data, contacts, or settings.
To perform a soft restart on an iPad with a Home button:
- Press and hold the power button on the top of your device;
- A Power-off slider will appear onscreen;
- Drag the slider to the Off position;
- Wait while your device completely shuts down;
- Restart your device as normal.
To restart an iPad with Face ID:
- Press and hold either the Volume Up or Volume Down button;
- When the Power-off slider appears, drag it to the Off position;
- Wait while your iPad shuts down;
- Restart your device as normal.
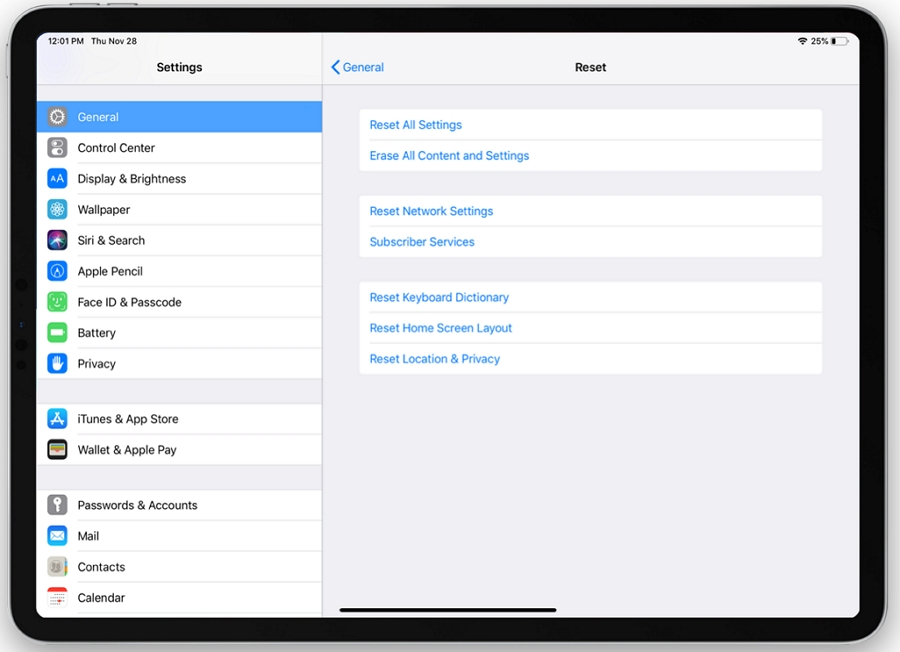
#5 Reset Network Settings
If you’re still getting an error message when you try to update, try resetting your network. This is a simple process, but it will reset your Wi-Fi networks and passwords, as well as any VPN settings you’ve used in the past so make sure you back these up before starting.
- Open the Settings Menu;
- Navigate to General ;
- Scroll down until you find the “Reset” option;
- Tap on Reset Network Settings.
Now try checking for a software update again and see if this has fixed your problem. If not, try our next solution.
#5 Delete and Reinstall the Update
If your iPad stubbornly refuses to check for updates, it could be that your initial download contained corrupted files that are preventing your iPad from operating correctly. To correct this, you can delete the update and then re-download the firmware from scratch.
To remove an update:
- Go to Settings;
- Click on General;
- Navigate to the iPad Storage option;
- Scroll down until you find the latest iOS update;
- Click on the update;
- Choose Delete Update;
- Confirm your decision.
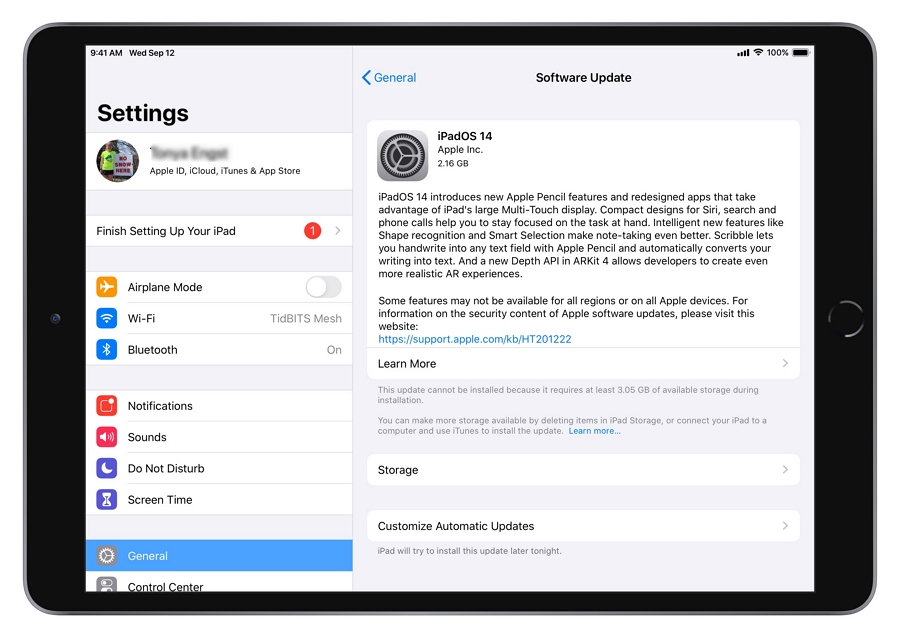
To reinstall an update:
- Open Settings;
- Go to General;
- Scroll down to Software Update;
- Click on it to reinstall.
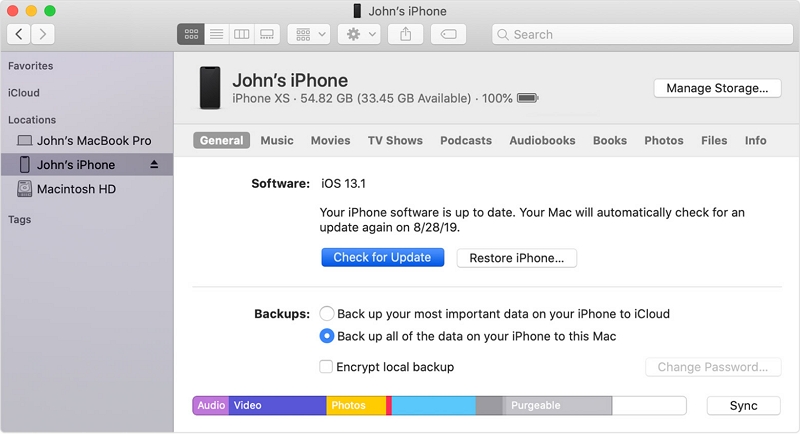
#6 Manually Install iPadOS Using iTunes or Finder
Before embarking on this solution, make sure the computer you’re using has the latest version of iTunes running, and then follow these instructions:
- Connect your device to a computer;
- Open either iTunes or Finder (depending on your operating system and version);
- Locate your iPad in the sidebar and click on it;
- Select Summary;
- Click on Check for Update.
These steps should mean you can now download and install the latest iPadOS update but, if that doesn’t work, try this manual download solution instead:
Follow steps 1 to 4 above and then:
5a. If you’re updating using a Mac, hold the Option key at the same time as clicking on Check for Update;
5b. If you’re using a Windows PC, hold down the Shift key while clicking on Check for Update;
6. The browse dialogue box should appear on your screen;
7. Direct it to the IPSW file that you previously downloaded;
8. Allow the installation process to complete.
#7 Check iPhone/iPad Storage
Another major reason is that you have too much memory, so check the storage space on your device, go to Settings > General > Device Name > Storage.
Note that if you are running low on storage on your device, iOS will try to make room by deleting any app data that can be downloaded again, which applies to the case when your iPhone is stuck on an update request.
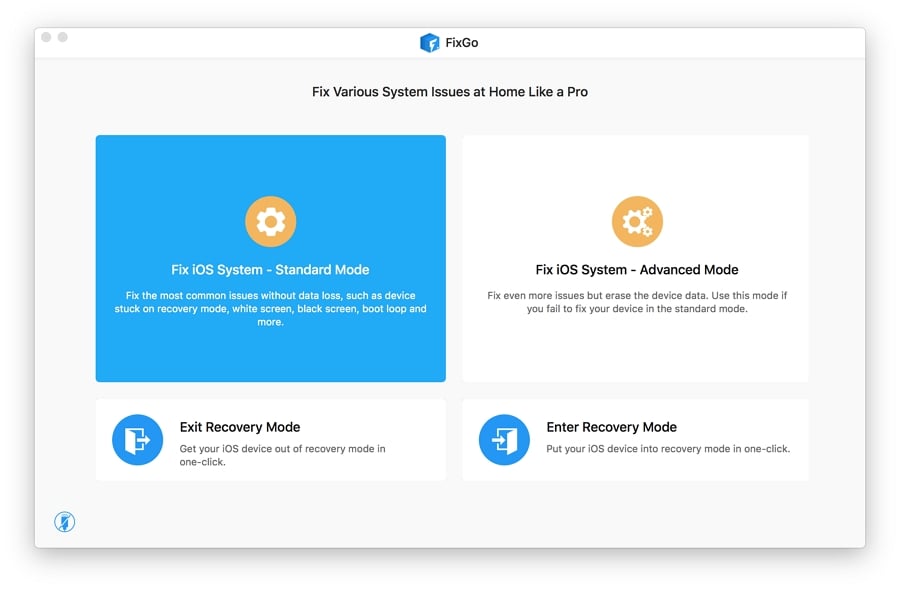
#8 Use FixGo
FixGo is a versatile iOS repair iOS tool capable of fixing over 200 different issues. With two modes available, FixGo can repair the simplest of issues with your iPad to the most complex hardware problems, and it does it all while protecting your precious data.
FixGo is simple to use and quick to download, so it’s well worth a try, especially if none of our other tips have proved successful. To get started with FixGo:
- Download and install the FixGo app onto your computer;
- Once installed, open the app;
- On the main interface, select Standard Mode;
- Connect your iPad to a computer;
- When your computer detects your device, click on the “Fix Now” button;
- Select “Download” to install any necessary firmware;
- Click on “Repair Now”.
FixGo will let you know when the repair process is complete. If that still didn’t solve your problem, repeat the process using the Advanced mode instead.
Conclusion
As technologically advanced as the iPad is, many users report problems with updates, including iPad unable to check for available updates.
The solutions given here are capable of resolving most of the issues that can cause such behavior and, hopefully, one or more of them have worked for you.
If so, share your knowledge with other iPad users and let their frustrations also be a thing of the past.