This article primarily deals with the iPhone error 4013. This error will occur when you try to restore your iPhone via iTunes and typically appears in the form of a message saying, “iPhone Could Not be Restored. An error occurred (4013).”
The solutions below will help you easily overcome this error and restore your iPhone. But before we get to the solutions, let’s examine the iPhone error 4013 in greater detail.
What is iPhone Error 4013?
Error 4013 is a hardware-related issue, most commonly caused by a damaged USB cable, USB Port, or by third-party security software or built-in firewall interfering with iTunes.
You will therefore see this problem when iTunes is unable to communicate with your device or when iTunes is unable to access the Apple servers to download the firmware needed to update or restore the device.
The solutions below will help you to resolve the issue once and for all;
Use FixGo to Fix iPhone/iTunes Error 4013 without Losing Data
If you would like to update or restore your iPhone without losing data on the device or experiencing this and many other iTunes errors, we recommend iToolab FixGo.
This is a program that is primarily useful for the repair of the most common iOS 15 issues but can also be used to restore or update your iPhone. It is essentially one of the best alternatives to iTunes.
The following are some of its main features;
- It can help you prevent data loss on an iOS device that is not working properly.
- It is one of the best ways to resolve the most common iOS system issues. You can resolve up to 200+ system issues including a device that is stuck on the Apple logo, blank screen or recovery mode loop very easily.
- It is also one of the best ways to avoid the most common iTunes errors.
Follow these simple steps to fix iPhone/iTunes error 4013 using FixGo without losing data;
Step 1: Install the program on to your computer.
Step 2: Run FixGo and in the main window, click on “Standard Mode”.


You can also check the video guide below:
Common Ways to Fix Error 4013
1. Check the USB Port and Cable
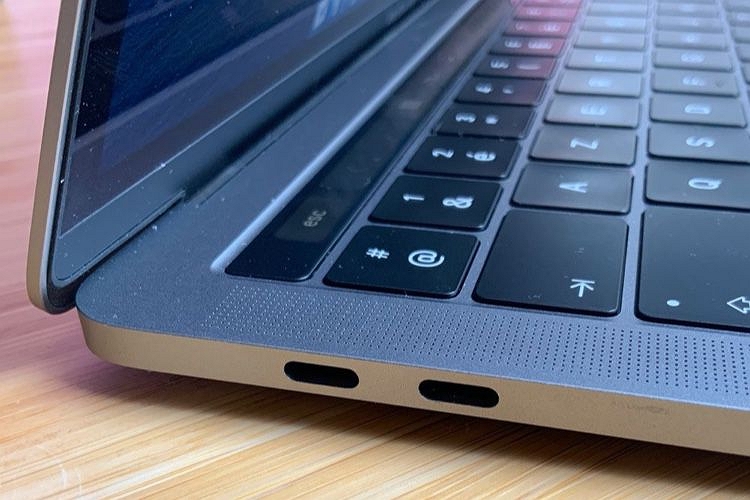
This problem will most commonly occur when there is a problem with the USB port or cable. Therefore, the first thing you want to do is make sure that you are using the device’s original and that the cable is not damaged.
You can try using a different (certified) cable if you suspect your cable may be faulty. And you can try connecting the cable to a different USB port or even using a different computer to update or restore the device.
2. Clear Up Some Space
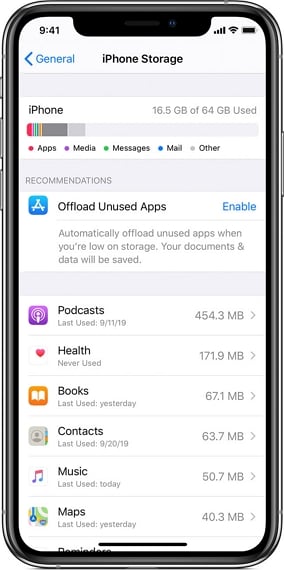
This error can also occur when there is insufficient storage space to update the device. Fortunately, this is an easy problem to fix, just go to Settings > General > Usage and delete some unwanted data to make room for the installation.
3. Force Restart Your Device
A Force Restart is the easiest way to resolve some of the system issues that can cause error 4013. It also doesn’t hurt that force restarting your iPhone is perhaps one of the best ways to refresh the device’s memory. Here’s how to do it;
For iPhone 8, iPhone 8 Plus, iPhone X and Later Models;
Step 1: press and release the Volume Up button.
Step 2: Press and release the Volume Down button.
Step 3: Press and hold the Side button until the Apple logo appears.
For iPhone 7 and iPhone 7 Plus;
Press and hold both the Side and the Volume Down buttons for at least 10 seconds or until the Apple Logo appears on the screen.
For iPhone 6s and Earlier Models;
Press and hold both the Home and Top (Side) buttons at the same time for at least 10 seconds or until you see the Apple Logo appear on the screen.

4. Update the iTunes on Your Computer
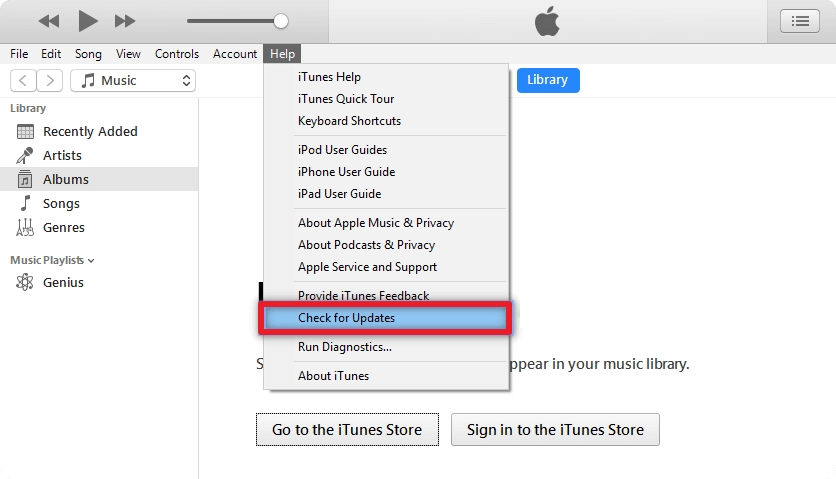
You will also experience this and many errors when using iTunes if the version of the application is outdated. Therefore, the next thing we recommend that you try is updating iTunes to the latest version. Follow these simple steps to do it;
Step 1: Open iTunes on your computer
Step 2: Click on “Help” and then select “Check for Updates.”
Step 3: If an update is available, click on “Download iTunes” and follow the on-screen instructions to complete the update.
5. Update the OS of Your Computer
Making sure that the OS on your computer is up to date is also a great way to prevent this error and many others. Here’s how to update the OS on both Mac and Windows;
On Windows;
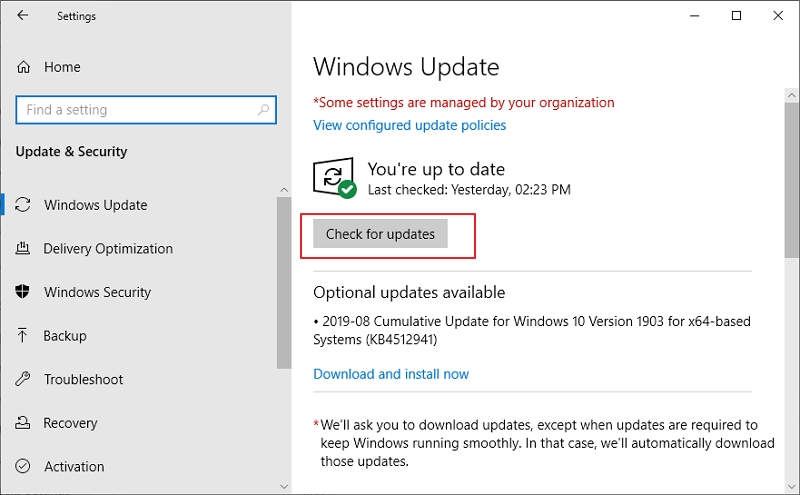
Step 1: Type in “Windows Update” in the search box and then select the “Check for Updates” option in from the results that appear.
Step 2: Windows will search for any available updates. If any are available, click “Download” to download and install the updates. Then, just follow the on-screen instructions to complete the update.
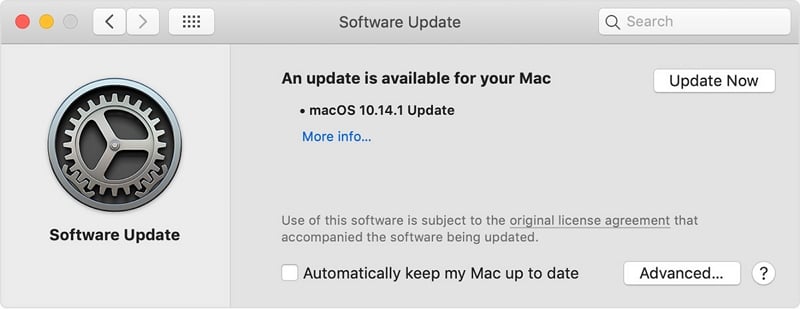
Step 1: Click on the Apple icon at the upper-left corner of the screen and then select “About this Mac.”
Step 2: Any available macOS updates will appear on the next window. Click “Software Update” to begin installing the updates. Follow the onscreen wizard to complete the update process.
6. Reset All Settings on Your Device
Resetting all settings on your iPhone is also a great solution, particularly when there is a software problem with the device. Here’s how to do it;
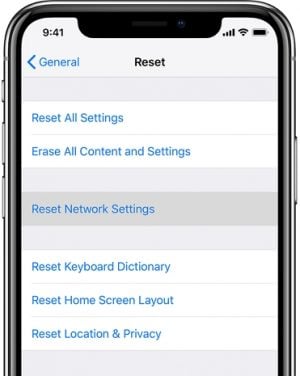
Step 1: Go to Settings > General > Reset.
Step 2: Select “Reset All Settings” from the options on the screen and enter your passcode when prompted.
Step 3: Tap “Reset All Settings” again to confirm and then follow the on-screen instructions to complete the process.
How to Fix All iTunes Errors for Free
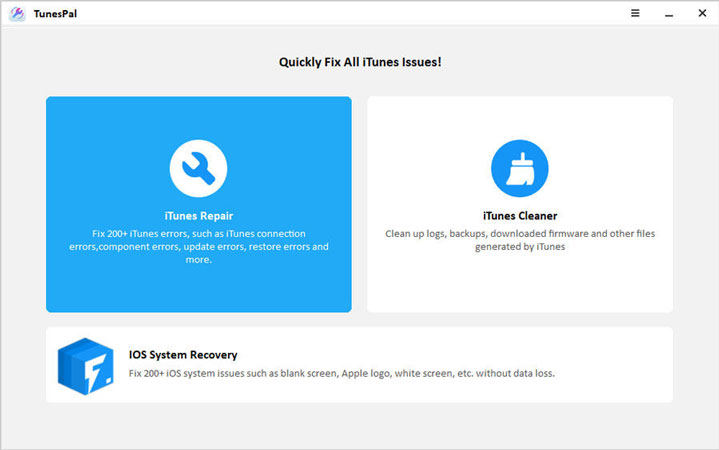
If you would like to know how to fix all iTunes error, we highly recommond you use iToolab TunesPal. With this, you can easily fix all kinds of iTunes update errors. For example, iTunes update error mac, iTunes update error 7, iTunes update invalid signature error, and iTunes update iPhone error.
Conclusion
When it comes to fixing iPhone error 4013, it is easy enough to solve by using iToolab FixGo. The error could have come up because iTunes could not restore iOS properly. It can compatible with the latest iPhone 12 & iOS 15 and iPadOS 15 Beta. Try now and enjoy free download.

