TunesPal is a professional iTunes repair tool, you can use it to solve the common connecting issues when you connect your iPhone to PC, such as error 2002, error 4013, error 9 etc. More than this, you can also fix iTunes not responding, iTunes won’t open and other systems problems. In this guide, we will show you how to use TunesPal to solve these problems step-by-step.
How to Repair iTunes with TunesPal
Wtih only 4 steps, you can easily repair all the iTunes problems in a minute. Follow the steps below to get started.
Video Guide:
Step 1. Connect Your Device to PC
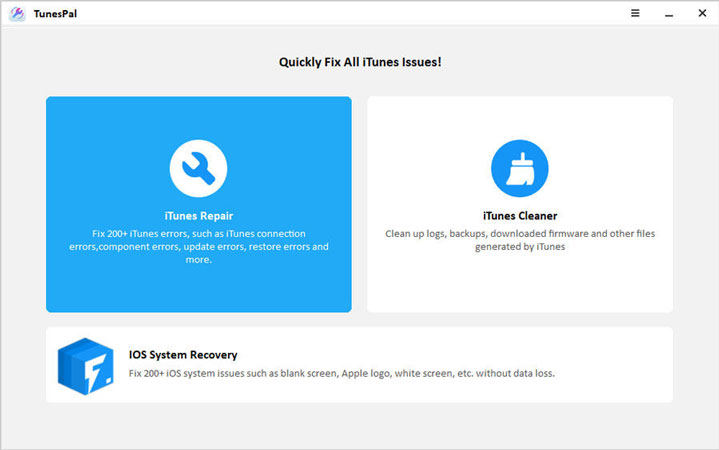
After downloading and installing TunesPal, launch it and connect your iPhone to computer with lightning cable. Then, click “iTunes Repair” to move on.
Step 2. Confirm Fix iTunes
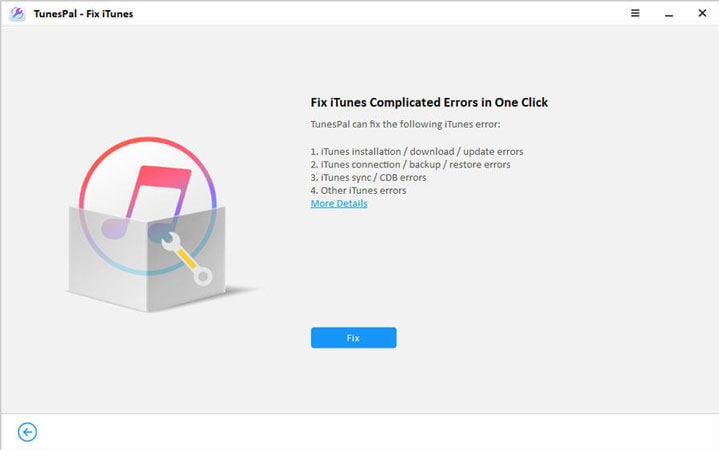
Next, you need to check the iTunes errors that TunesPal can fix for you. After that, select “Fix” to continue.
Step 3. Downloading Repair Driver
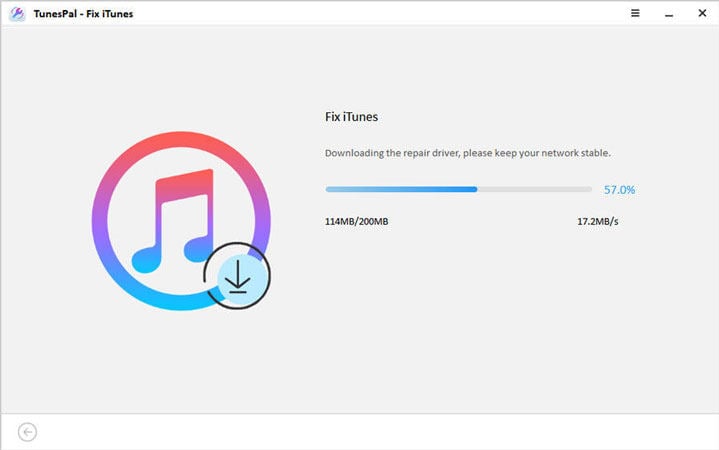
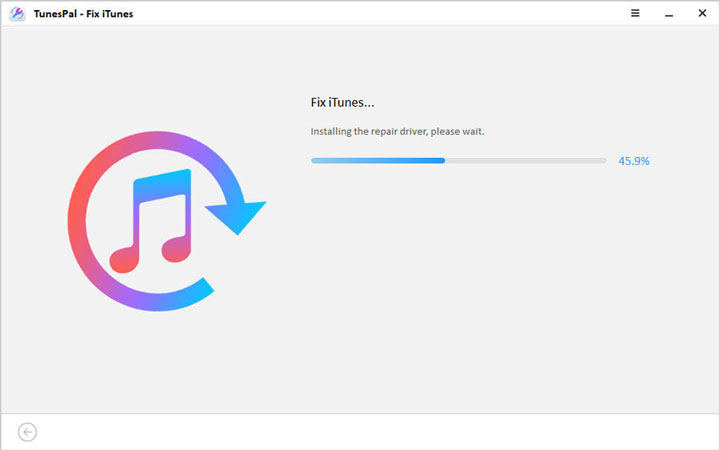
Now, TunesPal will automatically download the repair driver, which will take a minute. Once the repair driver has downloaded successfully, TunesPal will repair your iTunes.
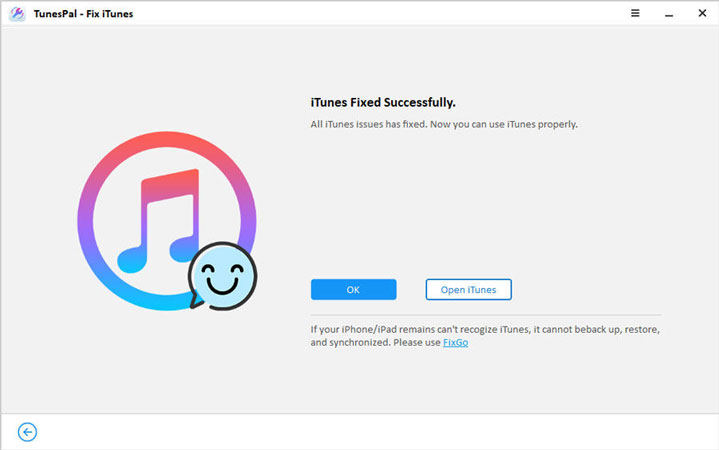
Step 4. iTunes Repaired Successfully
The whole process will be finished in 3 minutes. Now, you can restart your iTunes and enjoy the features.
How to Clean Up iTunes with TunesPal
In addition to helping you repair iTunes, TunesPal can also help you clean up iTunes’ memory. Such as iOS backups, software update files, logs and cache etc. It will provide your iTunes running speed and free your disk space.
Video Guide:
Step 1. Select iTunes Cleaner
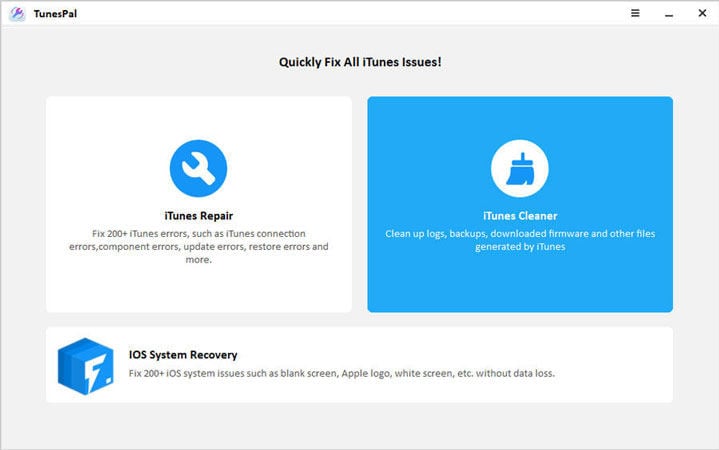
Launch TunesPal, connect your device to computer and select the feature “iTunes Cleaner”.
Step 2. Starting Scan iTunes
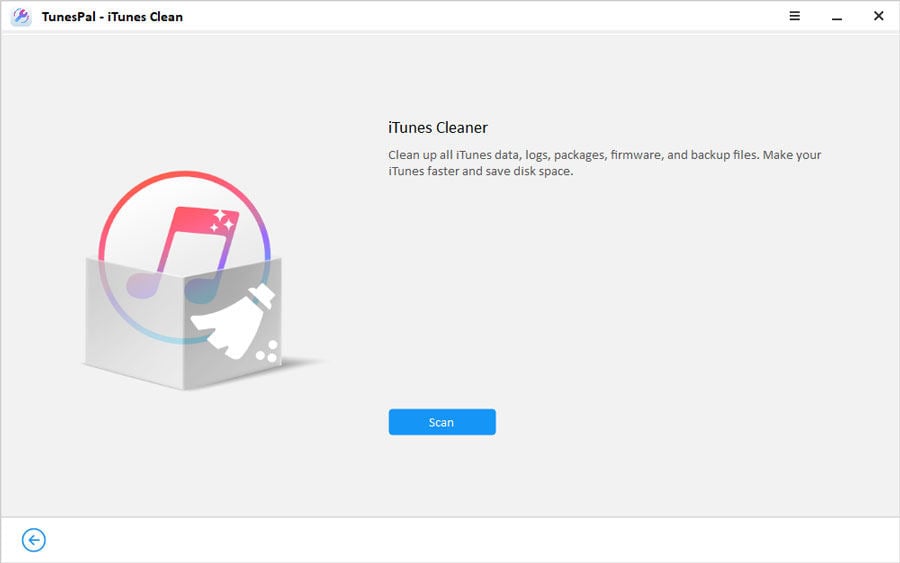
Click “Scan” button to find the junk files, the scan time depends on how much data in the iTunes.
Step 3. Clean iTunes Files
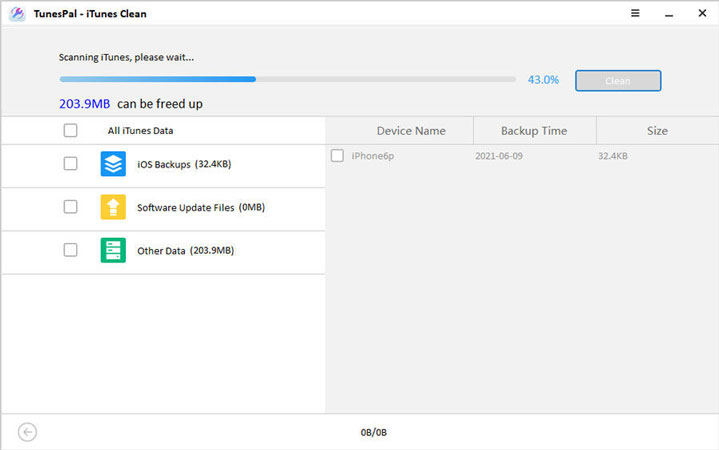
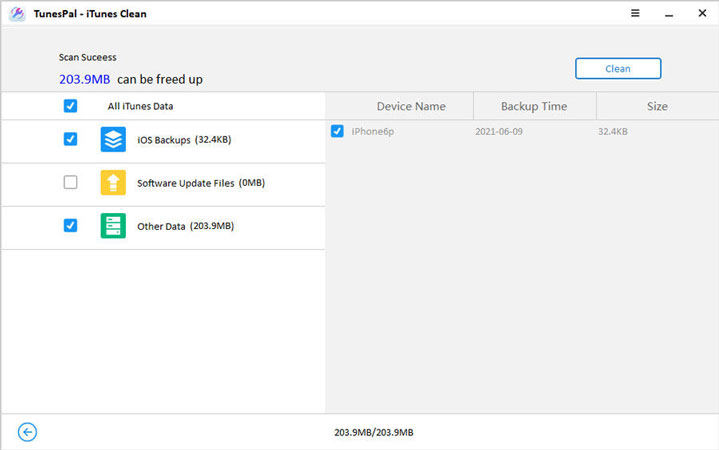
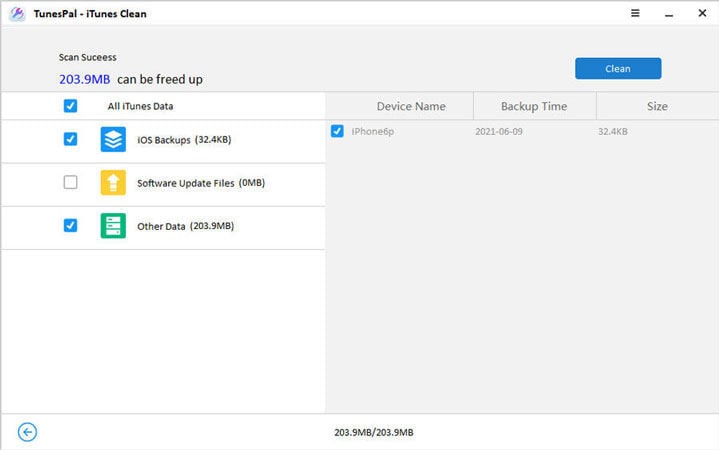
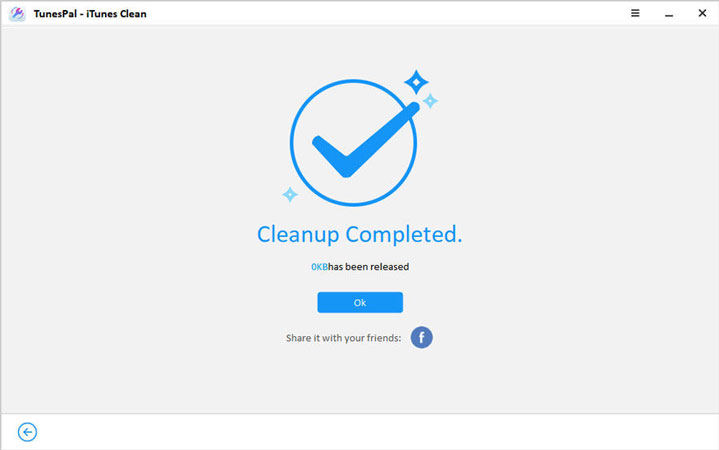
After scanning, you can see all the iTunes data on the left-box. Choose the files you want to clean and hit the “Clean” button. In a moment, the process will be finished.


its a good feelings
unlocking i phone
Hi Rismy, what can I do for you?