UnlockGo – Windows Password Recovery helps you reset or remove forgotten Windows password easily, and also allows you to delete or create a Windows local admin/user account. In this detailed guide, we will guide you through step-by-step tutorial to get rid of Windows password problems. The process requires a USB or CD/DVD to create a bootable disk. Ready for this? Let’s start now!
UnlockGo (Windows) – Windows Password Reset Tool
389,390,209 people have downloaded it
You can also check the video guide here:
Create A Windows Password Reset Disk
Create a Windows password reset USB will erase all your USB data, so if you have any important data remember to backup it first.
Step 1. Download and install UnlockGo (Windows) on an accessible PC and click “Start” to download the data package. It will take a few minutes.
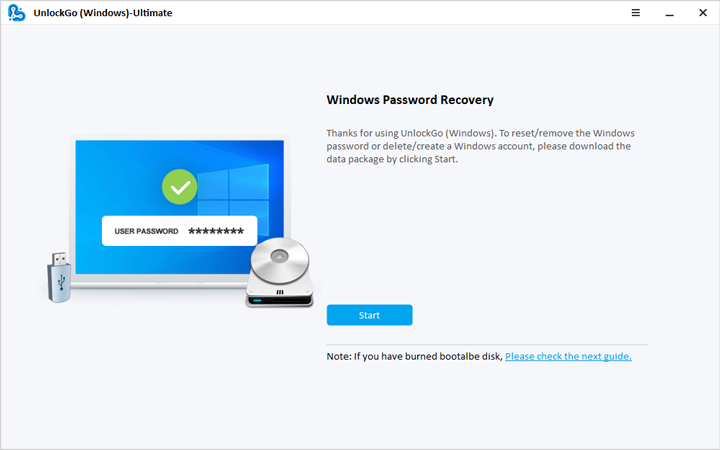
Step 2. And then, insert your USB or CD/DCD and select the appropriate option and click “Next”. We will use USB as an example.
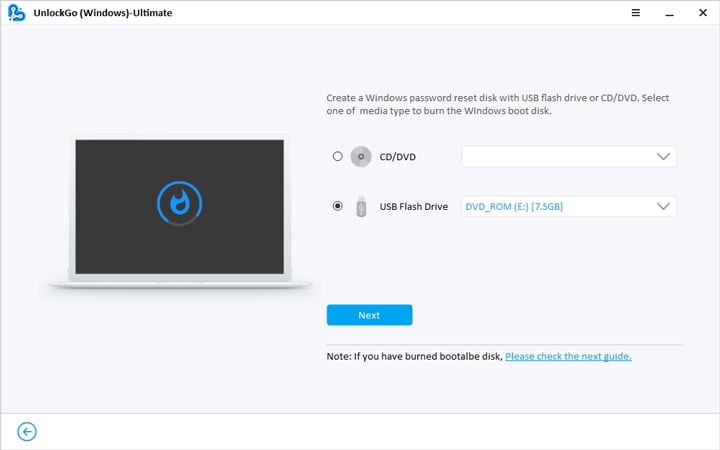
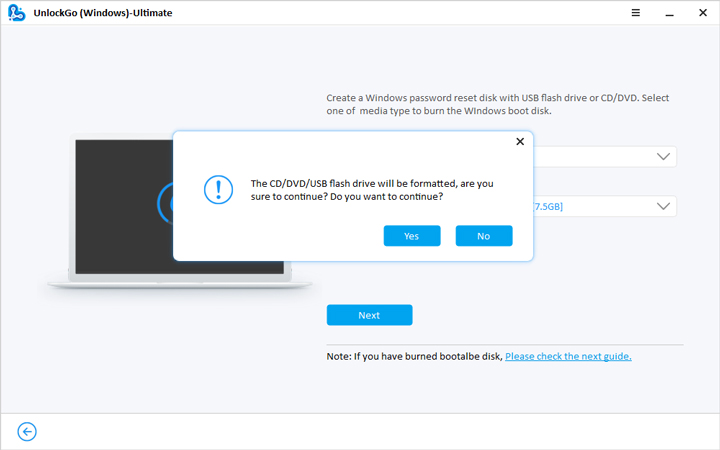
Note: During the burning process your CD/DVD/USB flash drive will be formatted.
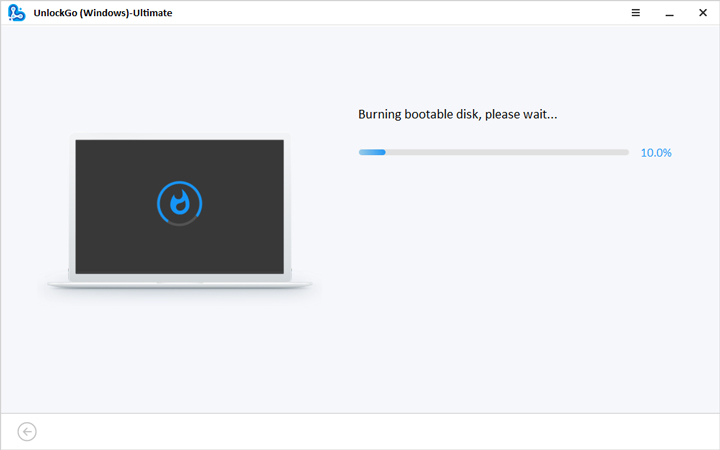
Step 3. Now, UnlockGo for Windows will start burning a password reset disk.
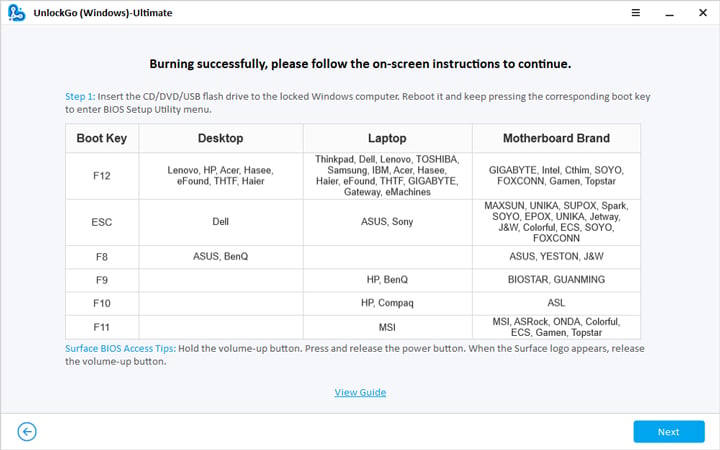
Step 3. Once the password reset disk burned successfully, follow the on-screen instructions to unlock your locked computer.
Boot Locked PC from Burned USB or CD/DVD
Now, follow the detailed steps to restart your locked computer from the password reset disk. Before starting, there is one thing you should know that is which boot key to enter BIOS menu on your locked computer.
Step 1. Insert the bootable USB or CD into your locked computer, then reboot the computer by keep pressing “F12” or “ESC” (for most computer) to enter Boot menu.
| Boot Key | Desktop | Laptop | Motherboard Brand |
|---|---|---|---|
| F12 | Lenovo, HP, Acer, Hasee, eFound, THTF, Haier | Thinkpad, Dell, Lenovo, TOSHIBA, Samsung, IBM, Acer, Hasee, Haier, eFound, THTF, GIGABYTE, Gateway, eMachines | GIGABYTE, Intel, Cthim, SOYO, FOXCONN, Gamen, Topstar |
| ESC | DELL | ASUS, SONY | MAXSUN, UNIKA, SUPOX, Spark, SOYO, EPOX, UNIKA, Jetway,J&W, Colorful, ECS, SOYO, FOXCONN |
| F8 | ASUS, BenQ | ASUS, YESTON, J&W | |
| F9 | HP, BenQ | BIOSTAR, GUANMING | |
| F10 | HP, Compaq | ASL | |
| F11 | MSI | MSI, ASRock, ONDA, Colorful, ECS, Gamen, Topstar |
❗ Surface BIOS Access Tips: Hold the Volume-Up button. Press and release the Power button. When the Surface logo appears, release the Volume-Up button. ❗
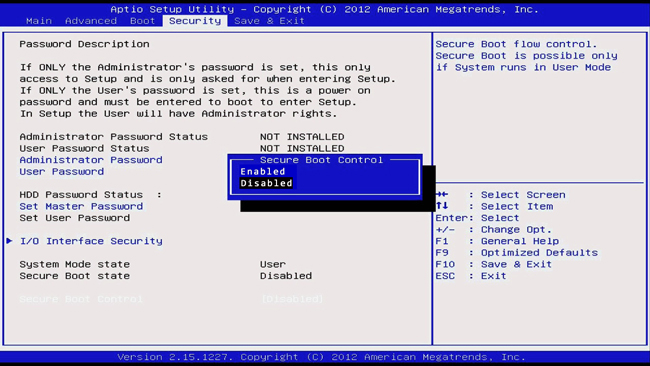
Step 2. When you entered Boot menu, using the arrow keys to select the Boot tab, then select Boot Device Priority and set your bootable USB or CD/DVD. Last, press F10 save and exit.
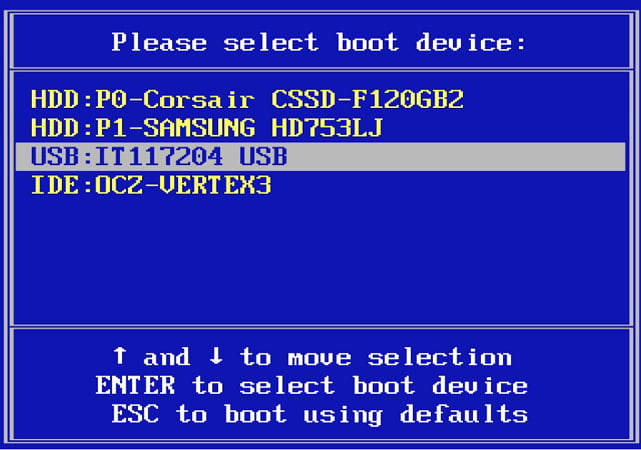
Note: 💡💡💡 If your computer running UEFI, select [UEFI: “your bootable disk name”]. as boot option #1.
How to Reset or Remove Forgotten Windows Password
After exiting BIOS menu your PC will reboot again, now you can start resetting Windows password. But Microsoft account password and RAID Server password can only be reset.
1. Reset Windows password
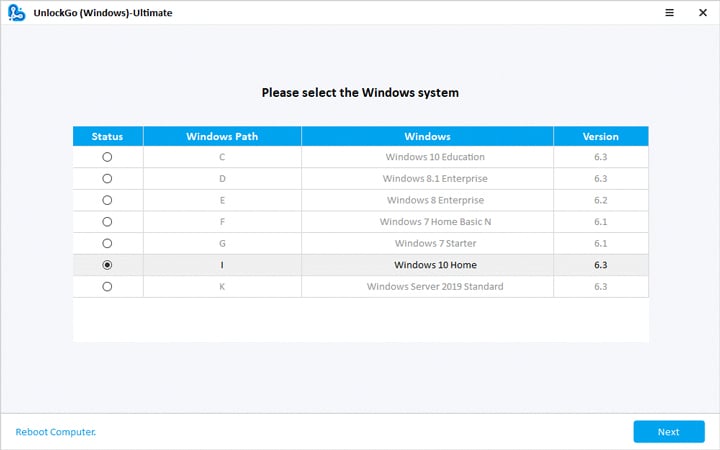
Step 1. Once your computer reboot, you will see the UnlockGo for Windows interface. Choose your Windows version and click “Next”.
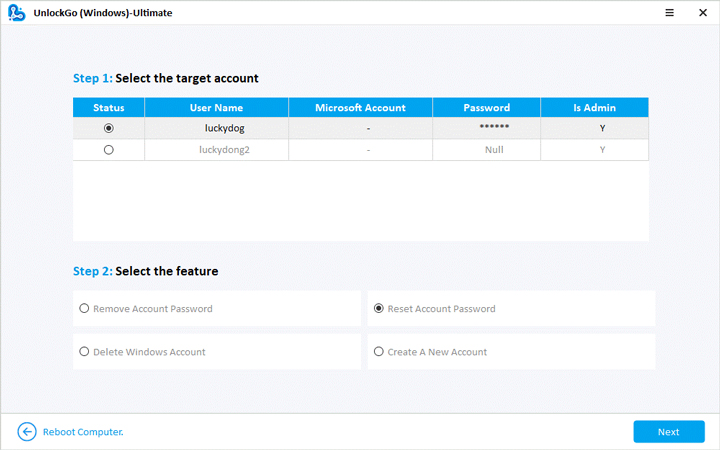
Step 2. Now, select “Reset Account Password” option and click “Next” to move on.
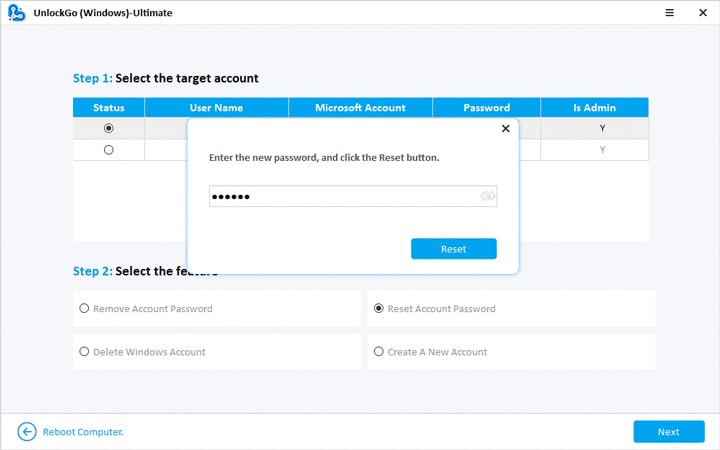
Step 3. Type the new password in the pop-up box and click the “Reset” button. Then your password will be reset, click “Restart” to enter the new password to access your computer.
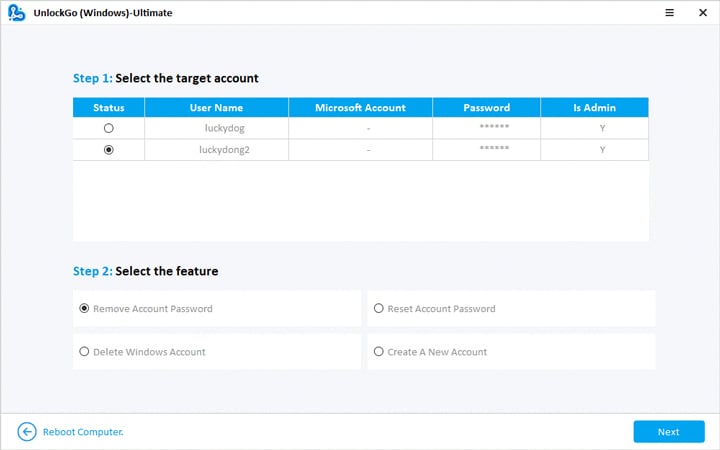
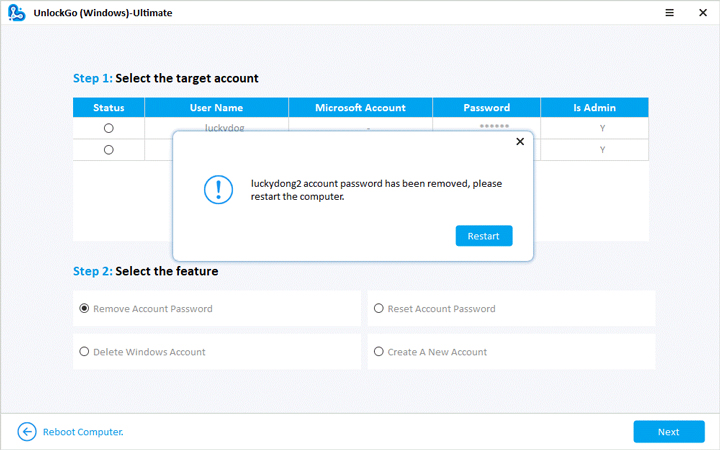
2. Remove Windows password
Step 1. After choosing the Windows system, select the feature “Remove Account Password” and click “Next”, then your account password will be removed shortly.
How to Delete or Create A Windows Account
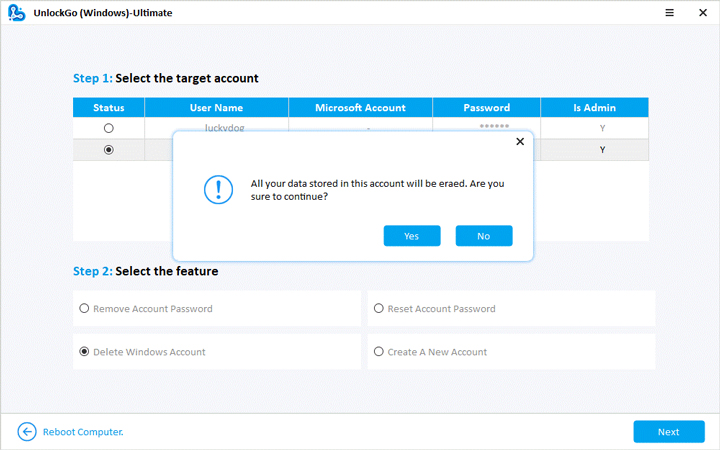
Delete a Windows account will erase all the data of this account. Also, Microsoft account can’t be deleted and created.
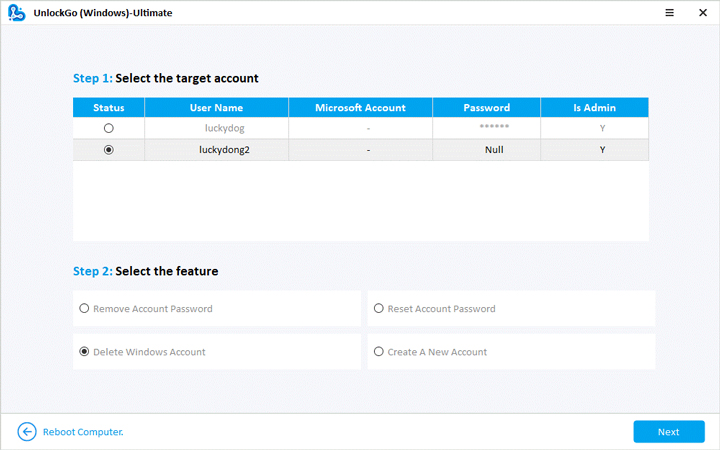
1. Delete a Windows Account
Step 1. After selecting Windows system, you should choose the account you want to delete, and select “Delete Windows Account” and click “Next”.
Step 2. After confirming the data erase information by clicking the “Next” button, the selected account will be deleted.
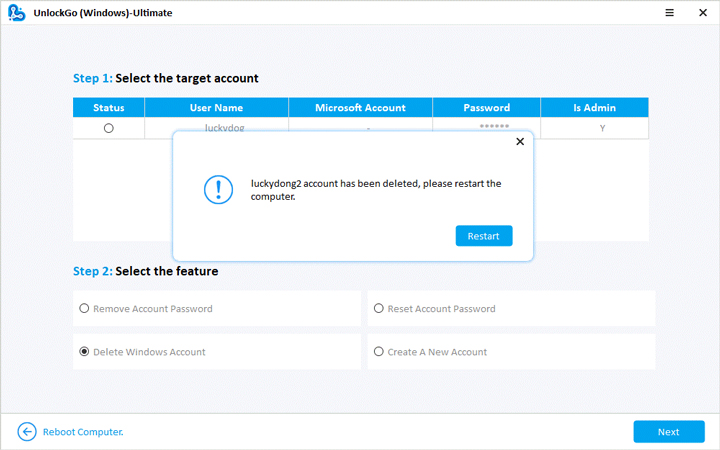
Note: If your current Windows system has only one account, then it can’t be deleted.
2. Create a Windows Account
Step 1. Choose “Create A New Account” after choosing the Windows version.
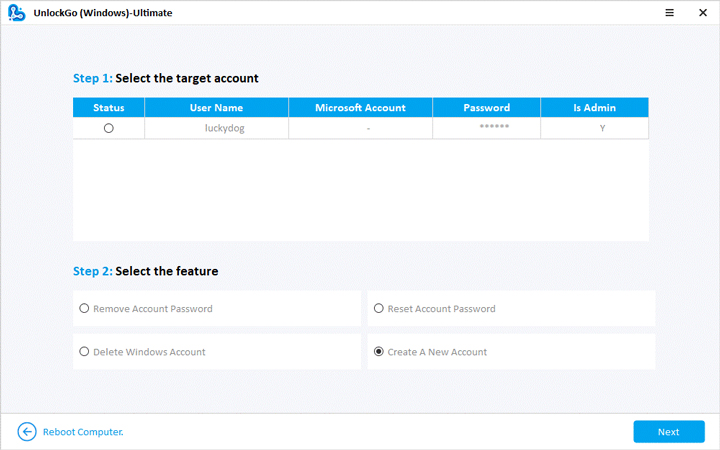
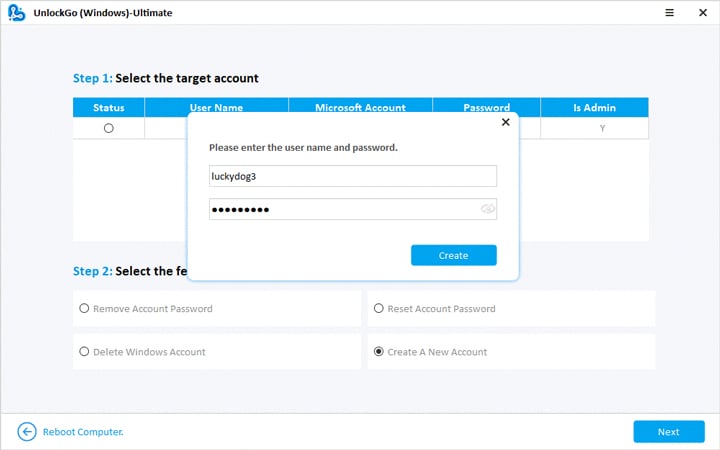
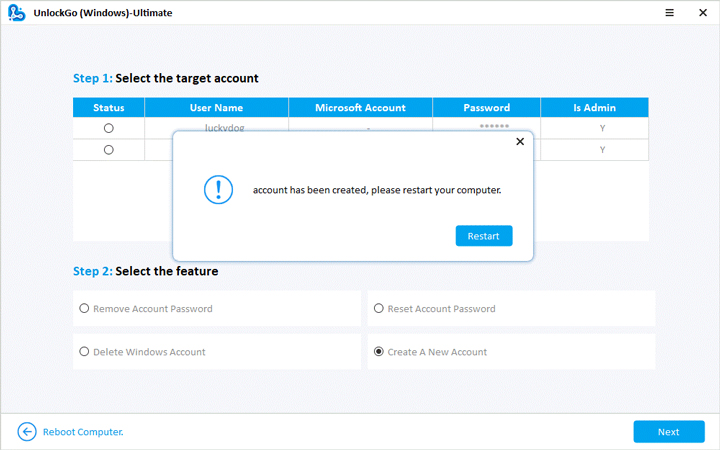
Step 2. Enter the account name and password to create the Windows account, then hit the “Create” button.
