Dealing with a phone that refuses to power on can be frustrating, especially when you have important data stored on it. Whether it’s due to a dead battery, software glitch, or other issues, the fear of losing your precious files can be overwhelming. But fret not! In this guide, we’ll unveil four proven methods to recover data from phone that won’t turn on. From using specialized software to professional services, we’ve got you covered. So, let’s dive into these solutions and reclaim your valuable data with ease.
Why Won’t My Phone Turn On?
Wondering, “Why won’t my Android phone turn on?” Discover the common reasons and how to recover data from Android phone that won’t turn on.
Quick Fixes to Android Phone That Won’t Turn On
Facing the frustration of an Android phone that won’t turn on? Discover quick fixes to get your device up and running again.
Fix 1: Force Restart Your Phone
A force restart is a simple yet effective way to revive an unresponsive Android phone. It works by cutting power to the device and forcing it to start anew. This can help resolve minor software glitches and get your phone to turn on when it’s stuck.
How to Force Restart Your Android Phone:
- Find the Power Button: Locate the power button on your Android device. It’s typically located on the side or top of the phone.
- Press and Hold: Press and hold the power button. Hold it down for about 10 to 20 seconds.
- Wait for Vibrations: As you hold the power button, you may feel vibrations, or you might see the manufacturer’s logo appear on the screen.
- Release and Wait: Once you feel the phone vibrate or see the logo, release the power button. Your phone should then start the booting process, and you’ll see the startup animation.
Fix 2: Wipe Cache Partition
Wiping the cache partition on an Android device works by clearing out temporary system files that can accumulate and potentially lead to system issues, such as preventing the phone from turning on. These temporary files are stored in a dedicated partition and can become corrupted or conflict with system processes, causing problems. By wiping the cache partition, you essentially clean up these files, allowing the device to boot up properly. It’s a useful troubleshooting step for resolving software-related issues without affecting your personal data or settings.
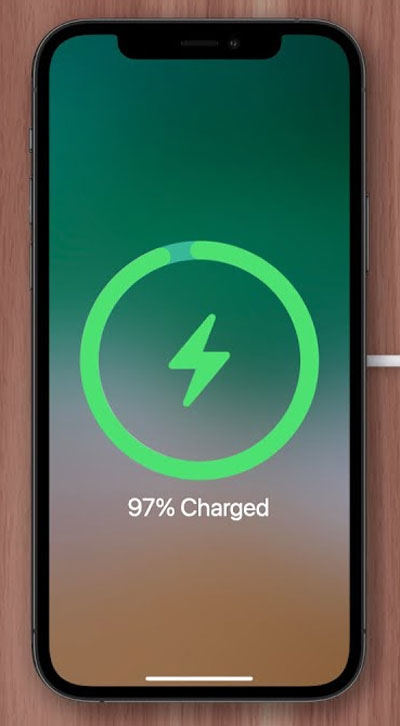
Fix 3: Charge Your Phone
Charging your phone works by sending an electric current from the charger to the phone’s lithium-ion or lithium-polymer battery. This current moves lithium ions from the positive electrode (cathode) to the negative electrode (anode) through an electrolyte solution, storing electrical energy. When you use your phone, this stored energy is converted back into electricity to power the device. The charger converts household AC power into DC power suitable for the battery and is controlled to prevent overcharging, ensuring safe and efficient charging.
Fix 4: Remove SD Card
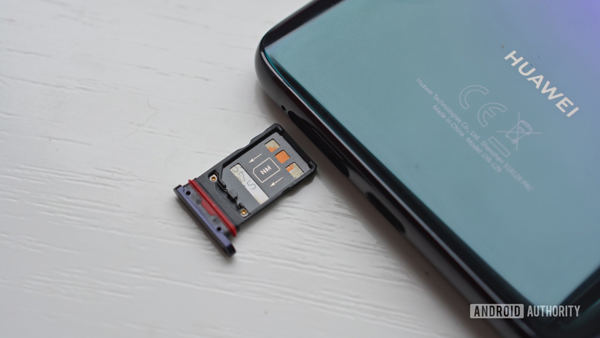
Removing an SD card is a straightforward process. Most devices, including smartphones and cameras, have a dedicated slot for SD cards. To remove it, power off the device first to prevent data corruption. Then, locate the SD card slot and gently press it in until you hear a click. This will release the card, allowing you to pull it out carefully. Removing the SD card ensures safe ejection, preventing any damage to the card or data loss.
Fix 5: Contact Local Repair Store
If none of the troubleshooting methods work, consider visiting a local repair store. These stores have trained technicians who can diagnose and fix hardware or software issues with your device. They can replace faulty components, repair broken screens, and offer solutions for more complex problems. Be sure to back up your data before taking your device to the store to avoid potential data loss during the repair process.
How to Recover Data from Phone That Won’t Turn On
To recover data from Android phone that won’t turn on can be a challenging task, but it’s crucial in situations of unexpected device failure. In this section, we’ll explore effective techniques to recover data from an Android phone that won’t turn on, ensuring that your precious information remains accessible.
- Method 1: Recover Data from SD Card
- Method 2: Recover Data from Google Drive
- Method 3: Recover Data from Phone Directly via RecoverGo Android
- Method 4: Recover Data from Samsung Cloud (For Samsung Users)
Method 1: Recover Data from SD Card
Recovering data from an SD card in an Android phone that won’t turn on is possible if the data you need is stored on the card and not the phone’s internal storage. Here’s how it works and the steps to follow:
Prepare the SD Card:
- Remove the SD card from your non-responsive Android device.
- Use a card reader to connect the SD card to your computer.
Data Recovery:
- Install data recovery software on your computer.
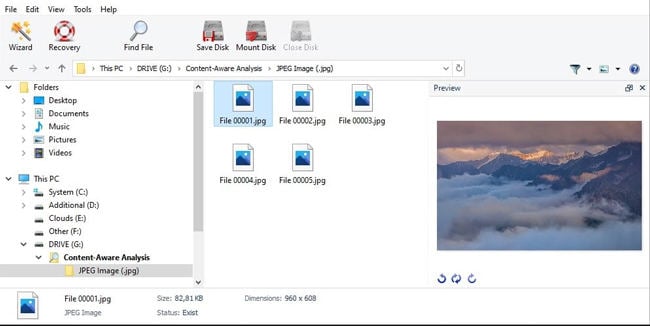
- Scan the SD card for lost data and recover the selected files to your computer.
Method 2: Recover Data from Google Drive
This method allows you to recover data from Google Drive, which is a cloud storage service provided by Google. Google Drive keeps previous versions of files and items in the trash for a limited time, making it possible to restore deleted or modified files.
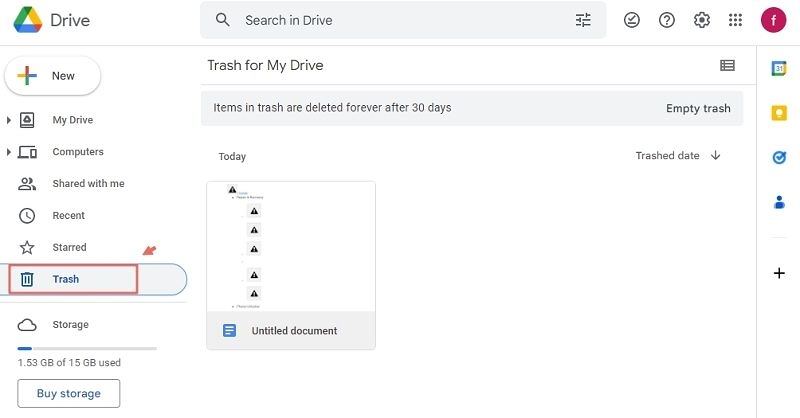
Access Google Drive Trash:
- Log in to your Google account and open Google Drive.
- Click on “Trash” in the left sidebar to view deleted files.
Restore Deleted Files:
- Select the files you want to recover and check the boxes next to their names.
- Click the “Restore” button at the top of the page to return the selected files to their original location in Google Drive.
Method 3: Recover Data from Phone Directly via RecoverGo Android
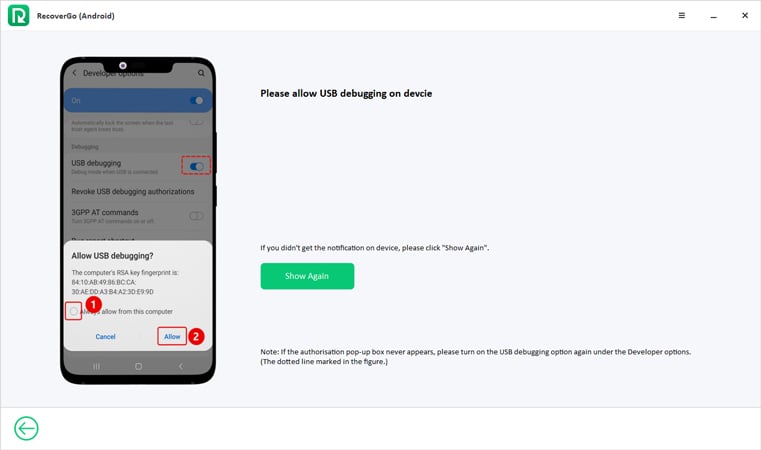
RecoverGo (Android) is an advanced Android data recovery software. This powerful tool is designed to help users effortlessly retrieve lost or deleted data directly from their Android devices. Whether data loss occurred due to accidental deletion, system issues, or other factors, RecoverGo offers a comprehensive solution for data recovery. With unique features such as selective recovery, system repair, root-free operation, and data extraction from damaged devices, it provides a versatile and user-friendly solution for individuals seeking to recover valuable data. Regular data backups are essential for data protection. It’s important to note that this method only works if the USB Debugging is enabled on the device. Here are some features with step-wise guide to use this software.
✨ Selective Recovery: Recover specific data items like photos, messages, or WhatsApp chats.
✨ System Repair: Fix Android system issues alongside data recovery.
✨ Root-Free: Recover data from unrooted Android devices without complex procedures.
✨ Data Extraction from Broken Devices: Retrieve data from damaged or non-operational Android devices.
Check on how to enable usb debugging on android with black screen.
Step-by-Step Guide
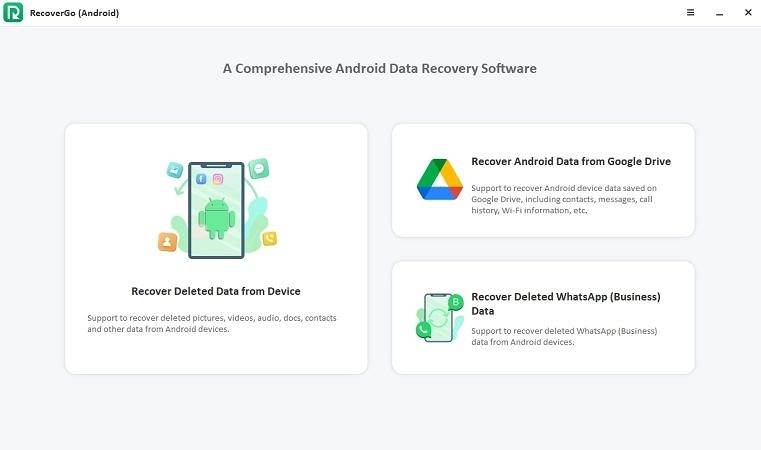
Step 1 Get RecoverGo (Android) from the official iToolab website, then install it on your computer. Select “Recover Deleted Data from Device” from the main interface.
Step 2 Launch the software and connect your Android device using a USB cable.
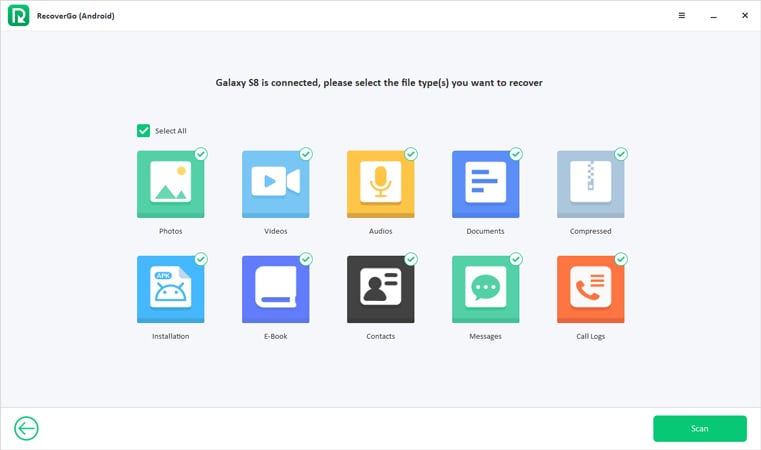
Step 3 Choose the data types you want to recover, initiate the scan, and wait for analysis.
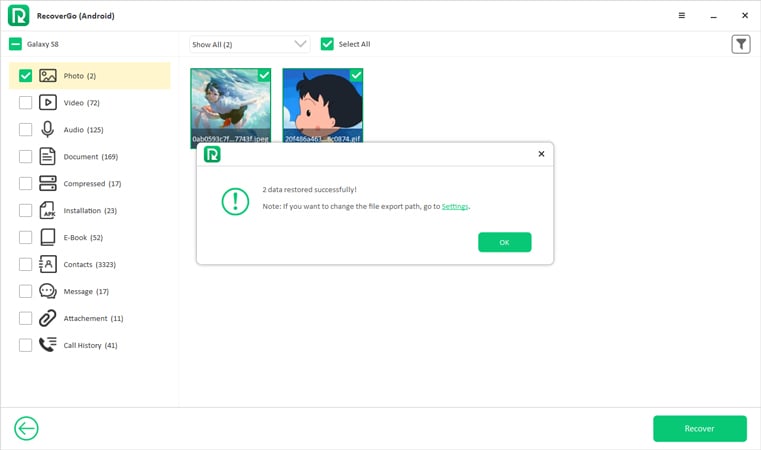
Step 4 Preview the scanned data, select desired items, and click “Recover” to save them to your computer.
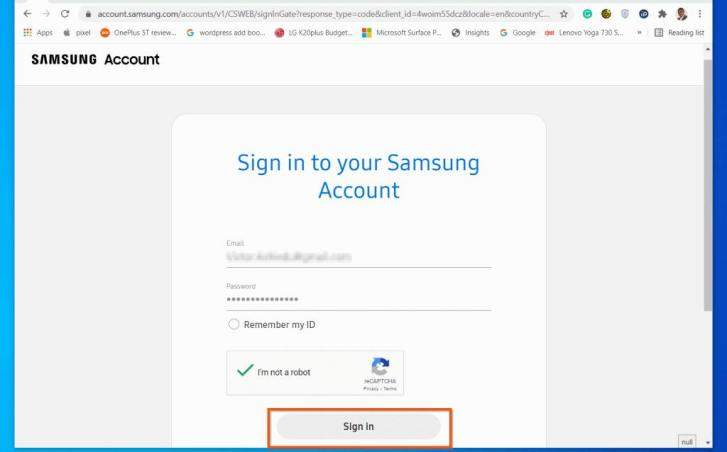
Method 4: Recover Data from Samsung Cloud (For Samsung Users)
This method allows Samsung users to r recover data from Samsung phone that won’t turn on. Samsung Cloud is a cloud storage service provided by Samsung that allows users to back up and restore their data. Here is how it works:
- Access Samsung Cloud: Go to the Samsung Cloud website and log in with your Samsung account credentials.
- Retrieve Data: Once logged in, you can browse your backed-up data and select the files or data you want to recover. Follow the on-screen instructions to download the selected data to your computer.
Bottom Line
In the event of a non-responsive phone, explore these four proven data recovery methods for recover data from phone that won’t turn on. From simple fixes like force restarting and charging to advanced solutions like RecoverGo (Android) and Samsung Cloud, options abound. RecoverGo (Android) is especially noteworthy for its user-friendly interface and selective data recovery, making it a top recommendation. These strategies ensure your data remains accessible even when your phone won’t turn on, while regular backups are essential for future data protection.


