How to lock cells in excel? Then you come to the right place. This blog will teach you how to lock a cell, specific cells, lock cells when scrolling and automatically lock cells in excel, let’s dive in!
How to Lock Cells in Excel
Locking a cell and specific cells from editing by other people is easy when you follow the step-by-step guide and with the formula.
- 1. Lock Cells in Excel Using the Formula
- 2. Lock Cells in Excel Using a Shortcut
- 3. Lock Cells in Excel Formula Using VBA
Way 1. Lock Cells in Excel Using the Formula
There are certain ways to lock the specific cells, like locking the cells with formula as Excel locks cells from editing. The below method will lock the cells with a formula without affecting the other cells.
1. Choose the cells with the formula and hold CTRL+1.
2. Choose the ‘Protection’ option from the new window.
3. Check the locked option and press Ok, and the cells with the formula will be locked.
Way 2. Lock Cells in Excel Using a Shortcut
There is no single shortcut in Excel to lock the specific cells, yet you can create one with VBA, but that would be pretty complicated. You can simply hold the CTRL+1 command to open the window that will allow you to lock the specific cells and set other limitations.
Way 3. Lock Cells in Excel Formula Using VBA
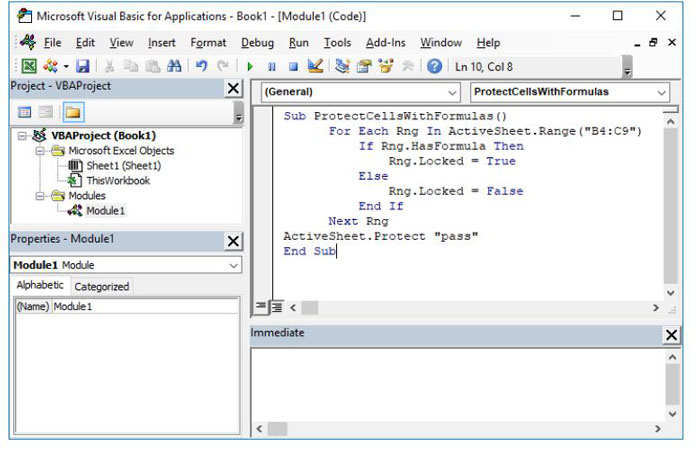
The code example below checks every cell in the range “B4:C9” from the active worksheet. If a cell has a formula, it locks the cell. Otherwise, the cell becomes or remains unlocked.
Sub ProtectCellsWithFormulas()
For Each rng In ActiveSheet.Range(“B4:C9”)
If rng.HasFormula Then
rng.Locked = True
Else
rng.Locked = False
End If
Next rng
ActiveSheet.Protect “pass”
End Sub

How to Unlock a Cell in Excel
In order to protect certain cells in excel from being changed and causing unnecessary troubles, people choose complex password to encrypt cells, but often tend to forget it, so this article tells you how to unlock cells in excel without password and when scrolling.
1. Unlock a Cell in Excel without Password
If you don’t remember the password for the locked Excel worksheet, you need an intelligent password cracking tool that actually delivers results. There are some other ways, too, but the success rate might be lower, and you might end up losing important content.
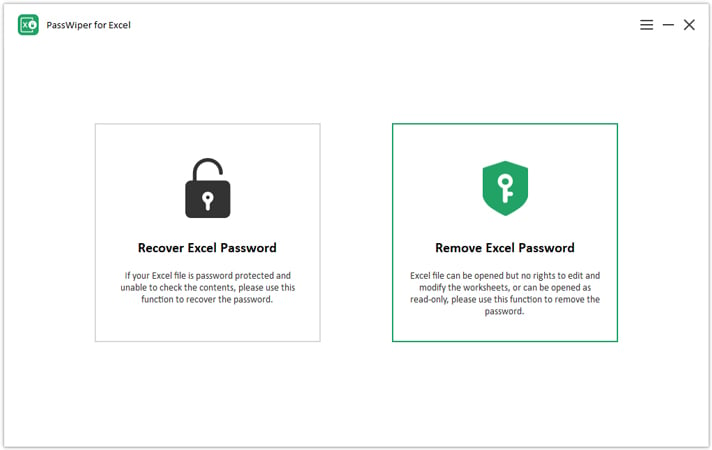
Unlock Excel Cells Using PassWiper for Excel [100% Safe and Working]
PassWiper for Excel is an advanced tool that is used by professionals to bypass the restrictions and editing limitations for Excel sheets.
In case you are not allowed to edit the cells and contents of the Excel sheet, here are simple steps that you need to follow to remove restrictions for locked Excel cells:
1. Install PassWiper for Excel on your laptop or computer and open the Excel file that you want to edit, and remove the password.


Unlock Excel Cells Using ZIP Software
Zip software like WinRAR can be used to remove the editing restrictions and limitations for any Excel file. You need to make sure that the file has .XLSX extension for this method to work. How did this method work if Excel locks a cell? Here are the steps:
1. Change the extension of the file to .zip format and open the file with the 7-Zip tool.
2. Right-click on the file that you want to unlock and choose the edit option from the list.
3. Find the ‘sheet Protection’ tag and save the file after removing this tag.
Now, all the cells are unlocked, and you can make the edits as you want. You can also change the file format to .XLSX after the editing.
2. Unlock a Cell in Excel When Scrolling
The process of unlocking cells in excel when scrolling is not difficult as you might think, just go to view and Unfreeze Pane, it can be unlocked now. Or you can go to Developer, and then Properties, in the Scroll Area to remove the range of cells and leave it empty.
These two ways can unlock cells when scrolling. Let’s see how to unlock cells with knowing password, it’s easy and simple too.
3. Unlock Excel Cells with Knowing Password
In case you have access to the password for the locked file, it is the easiest case. You can simply enter the password to unprotect the cells in the Excel worksheet.
1. Select or choose all the cells that you want to unlock or unprotect.
2. Follow the directory Home>>Cells>>Format>>Format Cells>>Protection and uncheck the locked option.
3. Now, go to Review Tab>>Protect Sheet and press OK after entering the password.
FAQs about How to Lock Cells in Excel
1. How to lock cells in excel when scrolling and filtering?
Click the freeze panes button from the view tab and choose the different filters that you want to apply to the worksheet.
2. How to lock cells in Excel Mac?
The process is quite similar to Windows, and you can open the tab for locking the cells by pressing Command+1. Choose the locked box in the protection option, and selected cells will be locked.
Conclusion
We have gone through all the methods on how to lock cells in Excel as compared to all the mentioned methods, using the PassWiper for Excel seems the most effective method with the highest success rate to unlock a cell in excel. You can try this tool to unlock and unprotect any Excel file, and it can also remove the limitations and restrictions set for different cells. Try the intelligent tool now and enjoy complete freedom.

