
Is your iPad stuck in the boot loop over again? While these problems are more common in older devices, they can rear their ugly heads in new devices by way of dodgy updates, data corruption, and rogue or malicious apps.
We have put some effective solutions to this problem in the following text. Let’s get started.
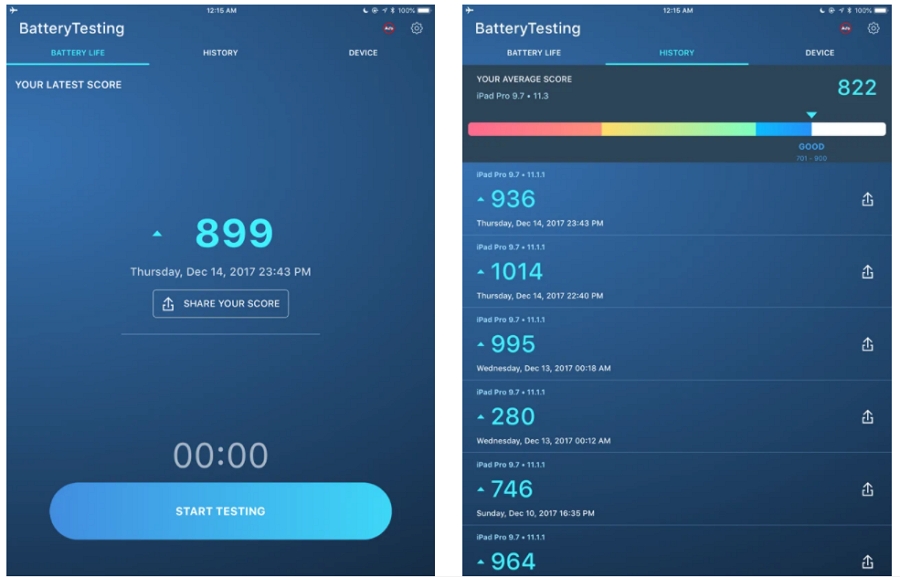
#1 Check for Signs of Battery Life
If your iPad goes into a boot loop when its battery is low or when it’s charging, you could have a battery problem or a technical issue with your charging cable. Check your device’s battery health from the settings menu and make sure low power mode is off.
#2 Force Your iPad to Restart
Did a problem with the iPad OS system cause your iPad to enter a boot loop? To fix this, you need to forced reboot your device by following these simple steps:
- Press the Home button and hold it down while simultaneously holding down the Sleep/Wake button;
- Continue to hold both buttons until you see the Apple logo;
- Release both keys and wait for the reboot to complete.
On iPads with Face ID, you can force restart by:
- Quickly pressing the Volume UP button and then releasing it;
- Pressing and releasing the Volume Down button;
- Pressing and holding the Power button until you see the Apple logo.

#3 Update Your Apps
Important updates improve security and, if you let your apps or system updates slide, you’re exposing yourself to unnecessary risks. Maybe your iPad is locked in a boot loop because you haven’t installed a crucial patch on one of your apps? As long as you’ve got some extra storage space, a reliable internet connection, and a fully-charged battery, you can fix this by performing all the latest updates and getting rid of rogue and outdated apps.
- Navigate over the Home screen and then App on the App Store;
- Find Updates in the menu and click on it;
- A list of apps that have outstanding updates available will pop up;
- Select Update All in the top-righthand corner of the screen and let nature take its course.

#4 Install the Latest System Updates
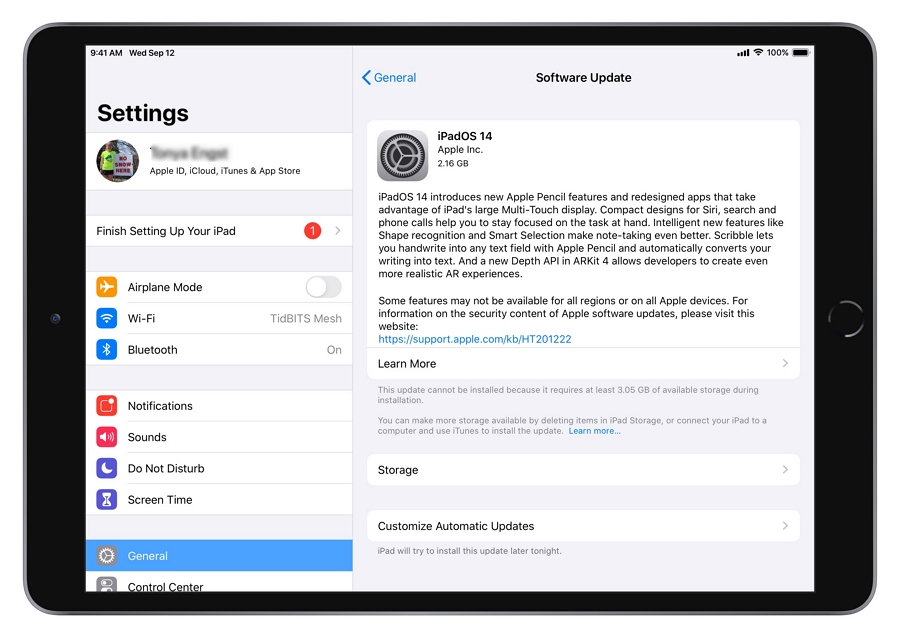
Keeping your iPadOS is even more important than maintaining your apps. Operating system updates keep your iPad in good health and performing at an optimal level. Update your iPadOS by:
- From your Home screen, navigate to the Settings Menu;
- Select General from the menu;
- Click on Software Update;
- If available, select the option to Download and Install.
If you’re worried that your iPad might randomly start rebooting itself again, perform the system update using iTunes instead.
#5 Reconfigure your iPad Settings
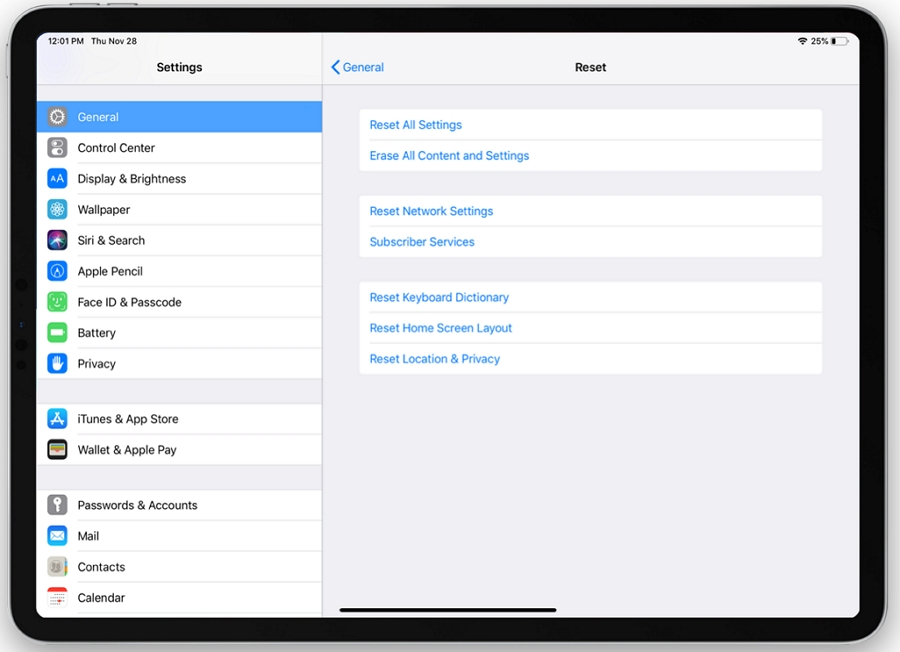
This process is a little daunting as it means deleting all your customisations and auto-updates but, if the solutions above haven’t worked, it might just do the trick:
- Go to Settings;
- Select General;
- Navigate to Reset;
- From the options available, select Reset All Settings;
- Enter your passcode when prompted;
- Confirm your decision;
- You may need to re-enable some features after the reset process is complete.
#5 Use FixGo to Fix iPad Boot Loop without Data Loss
Whether you’re struggling with the white screen, black screen or stuck in an endless boot loop, FixGo can get you out and restore your iPad without any data loss.
The simplicity of this versatile tool belies its power and, with two different modes to choose from, FixGo can resolve the most complex iOS issues and give you the ability to fix over 200 system errors. So, how does it work?
Step 1. Download the FixGo tool from iToolab. Once the installation process is complete, open the app.
Step 2. From the home screen, choose the Standard Mode. Connect your device to a computer. Wait for FixGo to identify your iPad.
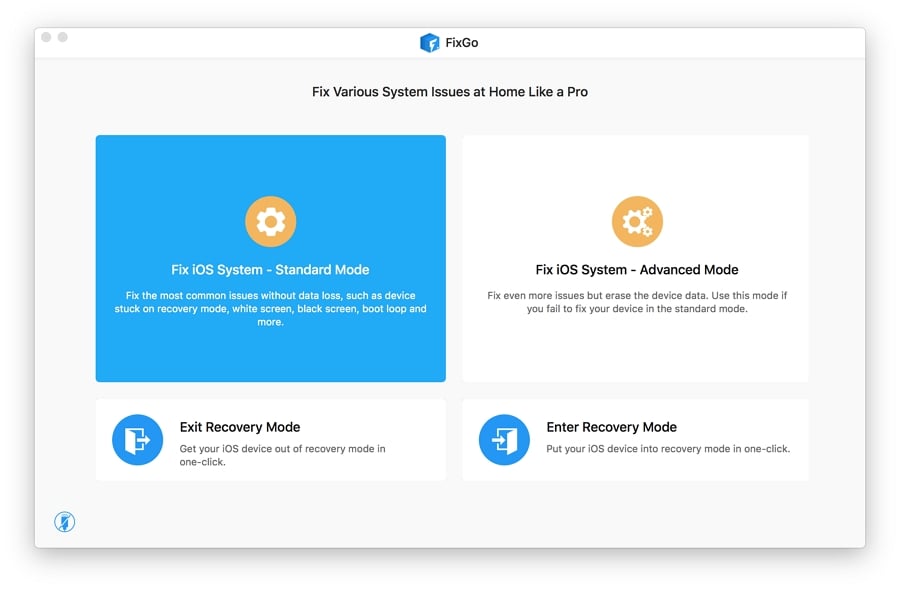
Step 3. Once FixGo has located your iPad, click on Fix Now.
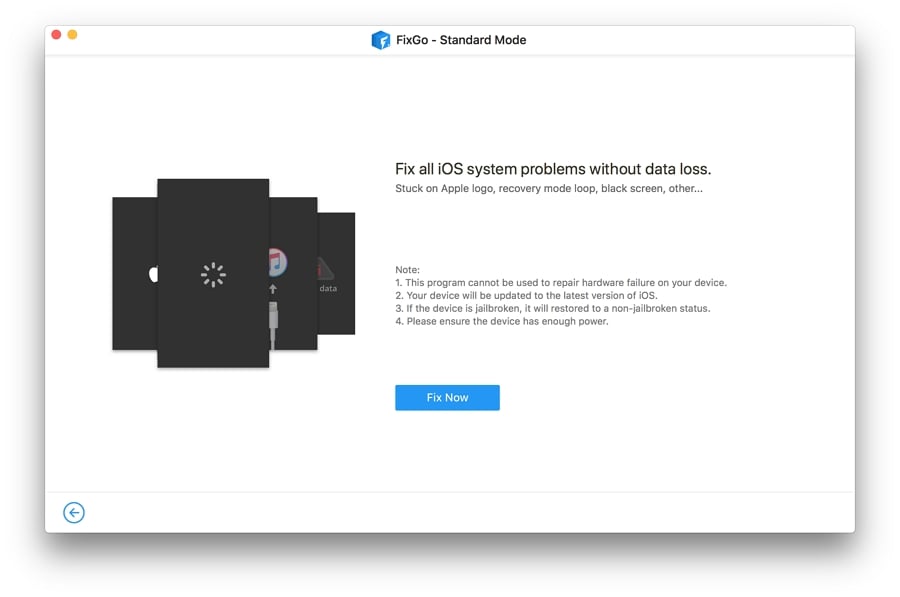
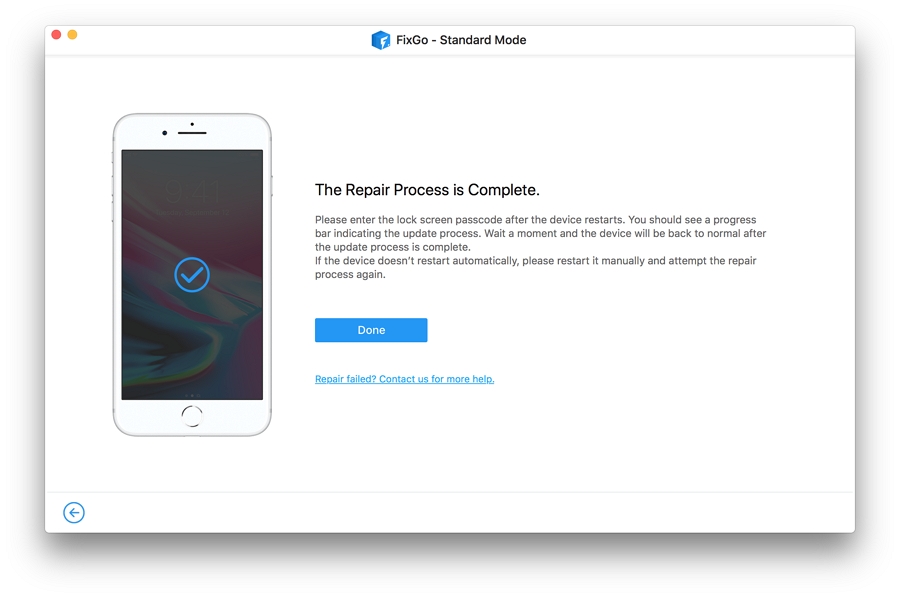
Step 4. Sit back, relax, and let FixGo take care of it and update your iPad’s system without affecting data.
#6 The Trifactor Solution: Backup, Reset, Restore
Performing a factory reset on your iPad can resolve system errors and complex problems but, it also erases all your data, so make sure you backup before following these simple steps:
- Navigate to the General menu in Settings;
- Scroll down until you reach Reset and click on it;
- Select Erase all content and settings from the available options;
- When prompted, enter your Apple passcode;
- Confirm your decision to erase and restore factory defaults.
#7 Put iPad into Recovery Mode
Data corruption could be behind your iPad’s annoying behaviour, in which case, going into Recovery Mode could be the answer:
- Plug your iPad into a computer using a USB cable;
- Open iTunes on your computer;
- Quickly press and then release the Volume Up button on your iPad;
- Now repeat with the Volume Down key;
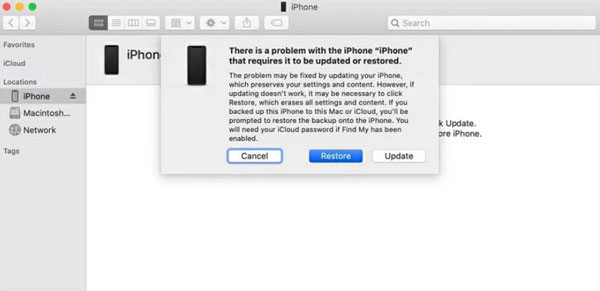
- Press and hold down your iPad’s power button until you see the Recovery Mode screen.
- Click the “Update” button when iTunes has detected your iPad and follow the on-screen instructions.
This process may take a while so, be patient and make sure you don’t interrupt the device before the repairs are complete.
#8 DFU Mode Restore – Your Last Resort
DFU Mode Restore is what you do when all else has failed. The DFU mode allows iTunes to communicate with your iPadOS without using the boot loader. That means it can resolve issues caused by a corrupt operating system, but it also means you’ll lose all your current data so back up before you try this:
- Connect your iPad to a computer;
- Open up iTunes on your connected computer;
- Press and quickly release the Volume Up button;
- Quickly press and release the Volume Down button;
- Press down on the Power button and hold it down until the screen goes black;
- Wait 10 seconds and then press and hold the Volume Down button while still holding down the Power button for a further five seconds;
- After another five seconds, release the Power button while keeping the Volume Down button depressed for a further 10 seconds.
If your screen is black, you have successfully put your iPad into DFU mode, and iTunes should be able to restore your iPad.

Conclusion
Getting stuck in a boot loop can be extremely frustrating but, now you’ve read our useful tips on how to fix it, you should be able to get out of it faster than Harry Houdini could get out of a pair of handcuffs. Good luck and let us know how you get on.