
When the iOS system is not working as it should, your device may experience a lot of problems including a device stuck in the Apple Logo or in a boot loop. One of the best ways to fix these problems and get the device working normally again is to use a system repair tool like iMyFone Fixppo. Fixppo is a third-party program that can help you bypass some of these common iOS issues.
Here, we will show you what to do when Fixppo doesn’t work.
What Is iMyFone Fixppo?
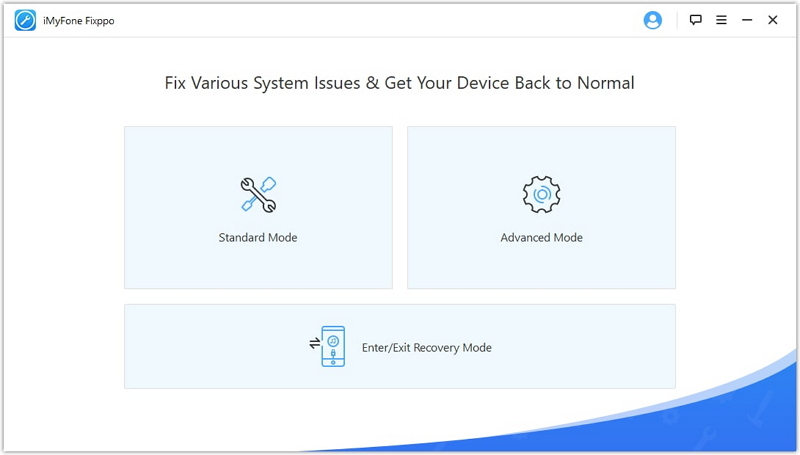
iMyFone Fixppo is an iOS system recovery program that is designed to fix iOS systems and devices. It can fix various issues including a device that is stuck on the Apple Logo, a device stuck on a boot loop, a device stuck in recovery mode or one that simply won’t respond in one way or another.
The process of fixing the device using Fixppo can be done using one of two modes: Standard Mode or the Advanced Mode. The standard mode allows users to repair the device without affecting the data on it. It can also help you put a device in recovery mode and exit recovery mode without needing the buttons.
Pros of Using iMyFone Fixppo
- A free trial version of the program is available for download
- You get a 30-day money back guarantee when you choose to purchase the program
- It works on all iOS devices and all versions of the iOS firmware
- It is easy to use: you don’t need any technical know-how to use it
- When you use the Standard mode to fix the device, you will not lose any data during the repair process
- iMyFone offers great customer support
Cons of Using iMyFone Fixppo
- The free trial version of the program has a lot of limitations
- The advanced mode is ideal for the repair of some of the most stubborn problems, but it will cause data loss
- The recovery time can take quite a while
How to Fix iMyFone Fixppo Not Working
As useful as iMyFone Fixppo is, there are times when it simply fails to work as expected. When this happens, the following are some of the things you can try to fix it:
1. Check the Connection
Another thing you should check when Fixppo fails to work is the connection. There are two levels of connection to look out for here. The first is the connection between the computer and the iOS device. Make sure that the computer and Fixppo are able to detect the connected iOS device. If not, check the lightning cable that you are using or try using a different one.
The second is a network connection. In order to repair the device, Fixppo needs to download the latest firmware for the device, and to do that, it needs to be connected to the internet.
2. Update Fixppo
Using an outdated version of Fixppo, particularly with the latest iPhone 14 model can cause problems with the repair process. Therefore, it is very important to make sure that you are running the latest version of the program.
3. Contact Fixppo Official Support
If you still have questions about the function of this program or any problems you may be facing, you can find answers on the official FAQ center.
4. Use an Effective Alternative
If all the recommended solutions above will not work to solve the problem, then it may be time to consider using an alternative solution.
FixGo is another third-party tool that you can use to fix all kinds of screen stuck issues such as Apple Logo, boot screen or the blue screen of death as well as all iOS stuck issues such as a device stuck in recovery mode. For this reason, it is the best solution to try when Fixppo will not work.
Here’s how to use FixGo to fix any iOS 16 stuck or screen stuck issues that you may be experiencing:
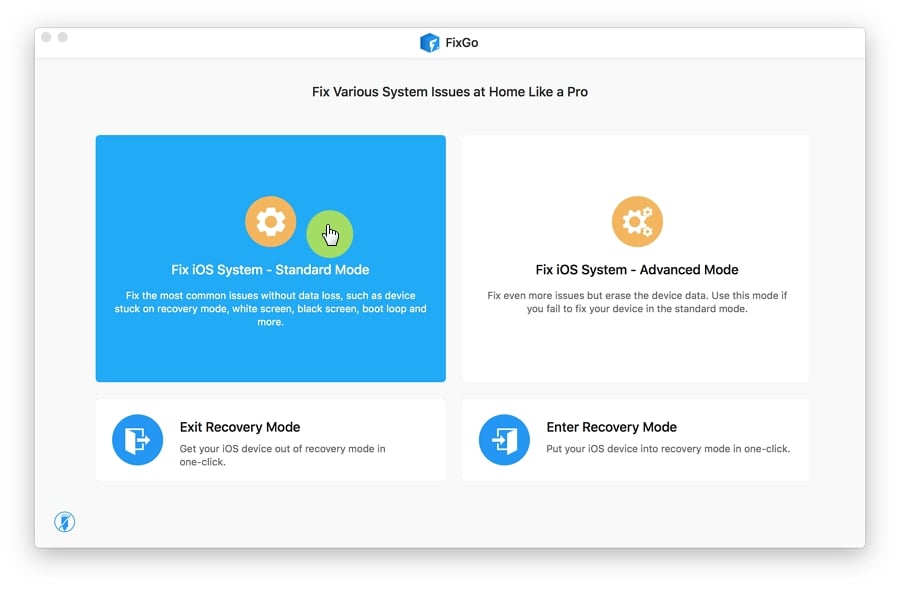
Step 1: Open FixGo after successful installation and then select “Standard Mode.” Connect the iPhone to the computer using its lightning cable. Once the program detects the device, click on “Fix Now” to begin the progress.
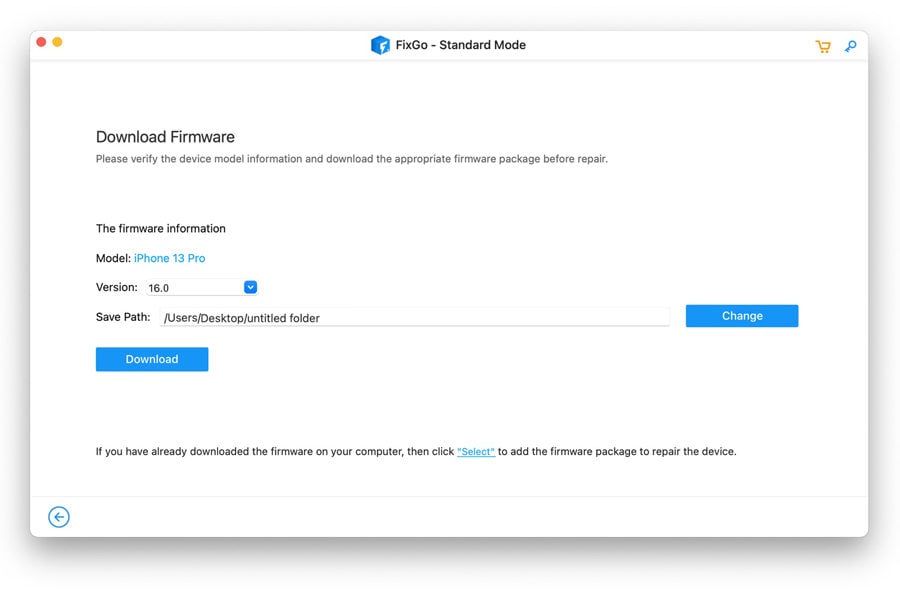
Step 2: You will need to download the latest firmware to fix the device. Simply, click “Download” and the download will begin immediately.
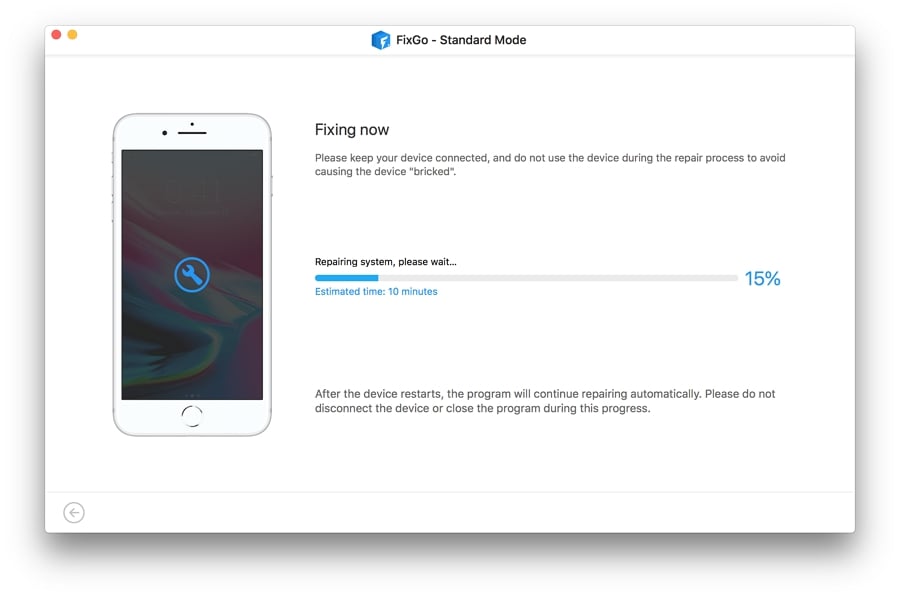
Step 3: When the download is complete, click “Repair Now” and FixGo will begin repairing the problem with the device. Keep the device connected to the computer until the repair is complete and the device restarts.
5. Force Restart the iPhone
Most of the stuck issues on your iOS device can be fixed by force restarting the device. This is because a force restart will refresh the iOS on the device, thereby removing any system glitches and conflicts that may be causing the problem.
Here’s how to force restart your iPhone:
If you have a newer model of iPhone, you can restart it using the following simple steps:
- Step 1: Press and then quickly release the Volume Up button.
- Step 2: Press and then quickly release the Volume down button.
- Step 3: Then press and hold the Side button and keep holding it until the Apple Logo appears.
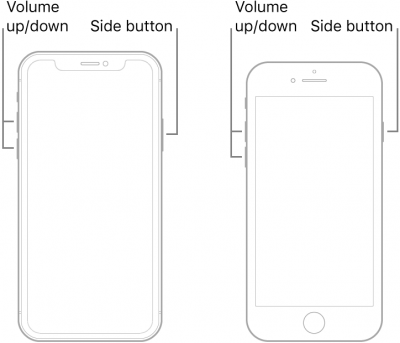
For an iPhone 7 and 7 Plus, press and hold the Volume Down button and the power button at the same time until the Apple Logo appears on the screen.

For an iPhone 6s and earlier models, press and hold both the Home and the power button until the Apple Logo appears.

6. Restore Your Device in Recovery Mode
Connecting your device to your computer and then restoring it is another great way to fix the device. But sometimes because of the issues with the iOS system, iTunes can fail to detect the device. When this happens, putting the device in recovery mode may prove useful. Here’s how to do it:
For newer iPhone Models:
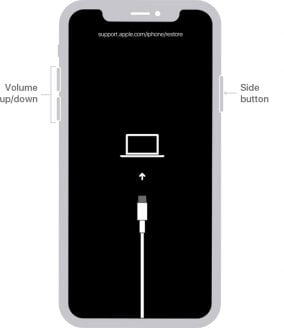
- Step 1: Press and quickly release the Volume Up Button’
- Step 2: Press and quickly release the Volume Down Button
- Step 3: Press and hold the Side button and continue to hold it until you see the “Connect to iTunes” screen.
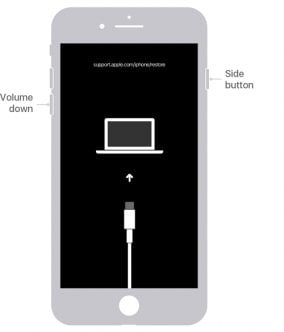
For iPhone 7 and 7 Plus:
Press and hold both the Side button and the Volume Down button. Keep holding both buttons until you see the “Connect to iTunes” screen.
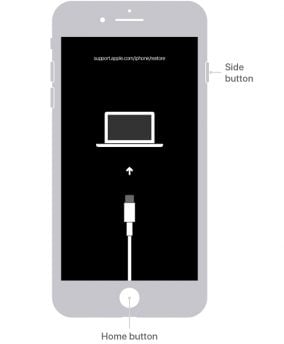
For iPhone 6s, 6s Plus and all earlier models:
Press and hold both the Home and the Power buttons at the same time. Keep holding both buttons until the “Connect to iTunes” screen appears.
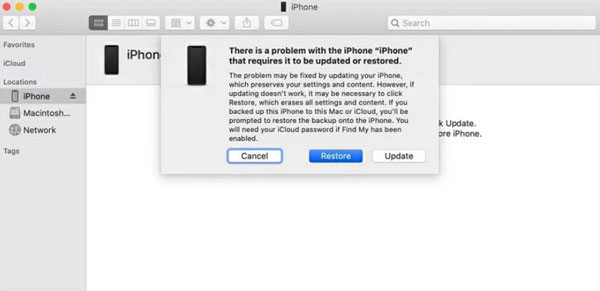
When the device is successfully in recovery mode, a message will pop up in iTunes. Click “Restore” and wait while iTunes attempts to repair the device.
7. Restore Your Device in DFU Mode
DFU mode is the go-to solution when all other solutions fail to fix the system errors. Here’s how to put your device in DFU mode:
For iPhone 6 and earlier models:
- Step 1: Use the device’s original lightning cable to connect the iPhone to the computer.
- Step 2: Hold both the Home and the Power buttons for at least 8 seconds.
- Step 3: Release the Power button, but continue to hold the Home button until the screen goes black.
For iPhone 7 and 7 Plus:
- Step 1: Connect your iPhone to the computer.
- Step 2: Press and hold the Volume Down button and the Side button together for about 8 seconds.
- Step 3: Let go of the Side button, but continue to hold the Volume Down button until the screen goes black.
Put iPhone 8 and earlier models in DFU Mode:
- Step 1: Connect the iPhone to the computer.
- Step 2: Quickly press and release the Volume Up button. Quickly press and release the Volume Down button.
- Step 3: Press and hold the Side button and the Volume Down button for about 5 seconds.
- Step 4: Release the Side button, but continue to hold the Volume Down button until the screen goes black.
You will see a message in iTunes notifying you that a device in recovery mode has been connected to the device. Select “Restore” and iTunes will begin restoring the device. Once the device restarts, you can proceed to set it up as new or restore it from an old iTunes or iCloud backup.
