It may have happened to some of you: after updating or restoring the iPad, for some reason, the device turns off, and you find the flashing Apple logo on the iPad’s screen. What happens is that the moment we turn on the iPad, the processor and CPU have to execute a series of processes before being fully operational (all this is done while we see the Apple logo on the screen).
If the iPad does not go beyond the logo, it means that something may be wrong with the system startup processes. As we know that this situation can be quite common, here are some tips that you can follow to take action if it ever happens to you.
1. Check computer USB Port & Lightning Cable
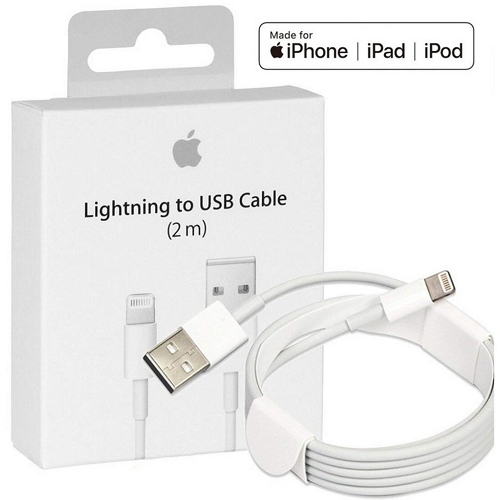
Even when the computer works as expected without interference from third-party apps or suspicious utilities, it is always advisable to check the cables’ quality that connects the computer and iPad. If these lightning cables are broken, damaged, or stuck with dust and other debris, it could affect the iPad to malfunction and getting stuck on the Apple logo.
If the cables are damaged or broken, replace it with a working one and check the iPad, or if your cable is in good condition, it’s better to clean it and reconnect the devices. After all, still, iPad stuck on the Apple logo, check both ends of the cable since it might be distorted or damaged, hindering the proper connectivity with the computer and iPad.
2. Hard restart your iPad
Different issues can arise from an iOS update, and unusual display behaviors like screen flickering. The symptoms are often due to some minor post-update flaws and, therefore, can be easily remedied by hard restarting the iPad. With that said, performing a hard reset is the recommended solution for you to try. This will help remove random system caches and post-upgrade errors that suddenly caused the display system to become unstable.
To force restart the iPad, press and hold the Home button and Power button simultaneously for a few seconds until the iPad restart and the Apple logo appears.
To force restart the iPad with Face id, press volume up and down and release it sequentially. After that, continue to press and hold the power button until the iPad restarts.

3. Use FixGo to fix iPad flashing Apple logo without data loss
As the name suggests, FixGo will fix all your problems in iPhones, iPads, etc. like a pro. It is a common problem that data is lost when the device is not used for a more extended period. It can solve over 200 identified iOS system issues such as flickering and device stuck on the Apple logo, recovery mode loop without need to spend a considerable amount of money to technicians, and data loss.
FixGo is user-friendly, and you don’t need to be an expert to use this tool. It is compatible with the latest iPhone version, iPadOS version, and iOS version. It is one of the cheapest tools that you can find in the market with different customized plans for your need.
It requires only 3 easy steps to get your work done.
- Choose a mode from 4 different modes, including Standard Mode, Advanced Mode, Enter Recovery Mode, and Exit Recovery Mode according to your requirement.
- Download the firmware.
- Bring your device to a normal state.
First, install the application on your computer and select Standard mode from the Home page.
Step 01: Connect the faulty device to the computer
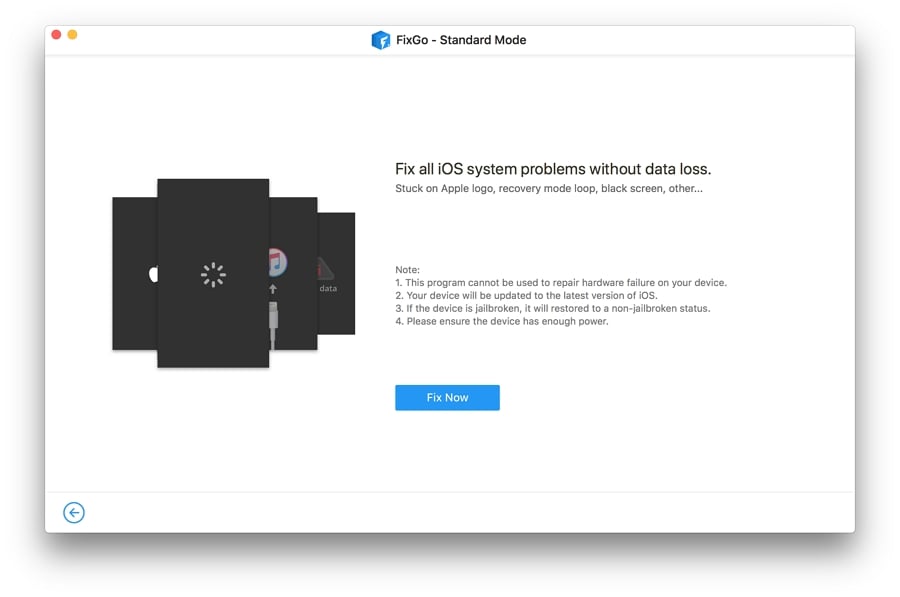
Use your lightning cable and connect your iPad to the computer. After connecting, wait a few seconds until the FixGo detects the device. Click the “Fix Now” button to proceed.
Step 02: Download firmware package
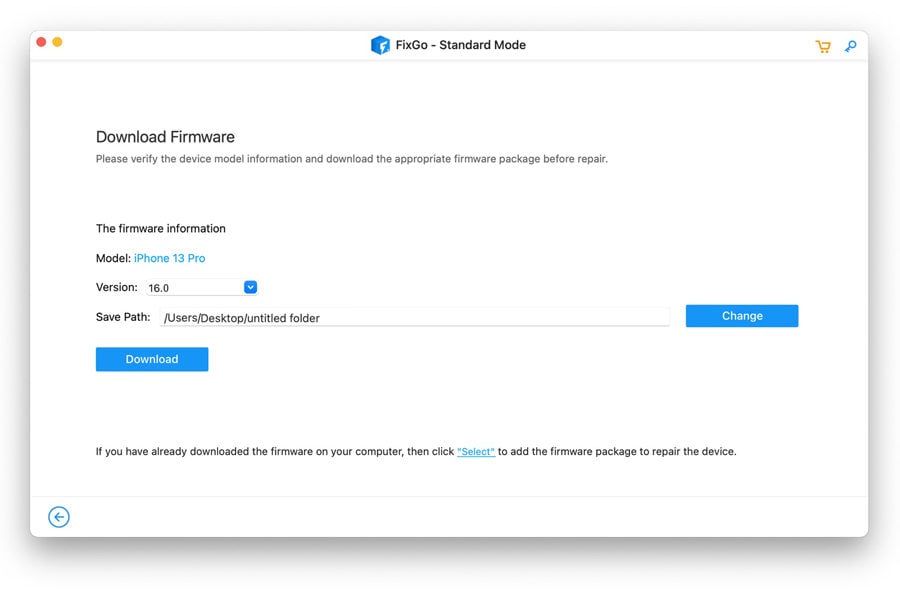
To solve the issues, your device requires to have the latest firmware. For that, click on the Browse button and select the firmware’s location and click on the Download to start downloading the latest iOS firmware. If you have the latest firmware already downloaded, Click on Select to navigate to the path. This process will take some time to download to your computer.
Step 03: Get the iPad up and running
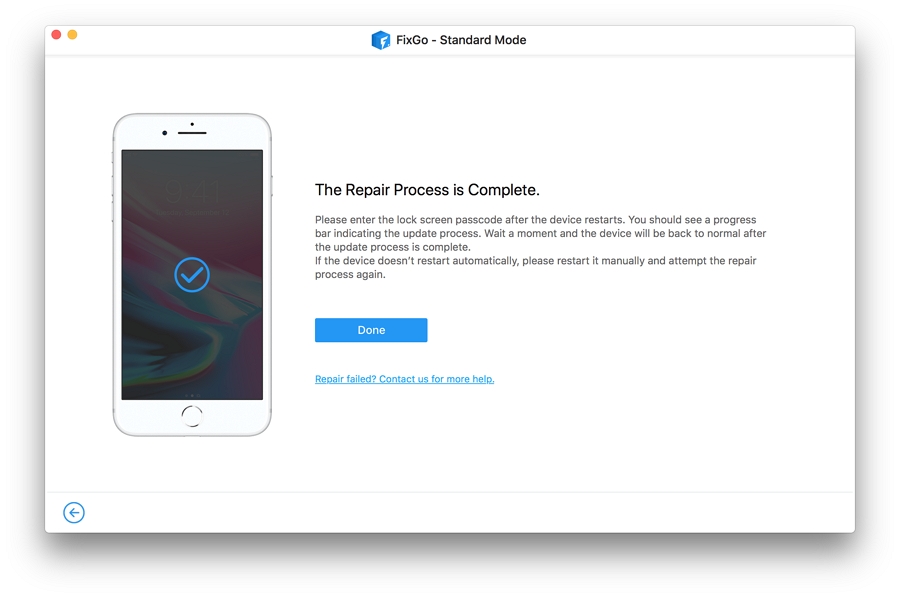
After downloading the firmware, click on the Repair Now button to start repairing your device.
4. Restore iPad in recovery mode
To use recovery mode, you need to have the latest update of iTunes.
On a Mac, update to the latest version of macOS.
On a Windows PC, open the installed iTunes and select Help, then Check for Updates. If new updates are available, you can get the latest version.
To put the iPad in recovery mode, follow the below procedure.
- First, connect the iPad to the PC using the original cable.
- On a Mac PC with the latest OS, open the Finder. If you have an earlier version of OS, open iTunes.
- iPad with Face ID: Press and release Volume up and down buttons quickly. Afterward, press and hold the top button until the iPad opens in the recovery mode.
- iPad with Home button: Keep on pressing and holding the home button and top button at the same time until the iPad goes into recovery mode.
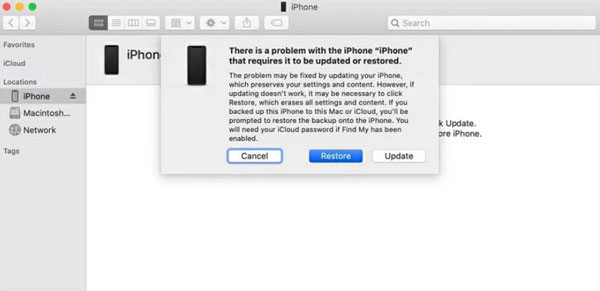
- Locate to your iPad from the connected computer and select an update to start updating the iPad in recovery mode.
- Once the update completes, follow the standard procedure in setting up the iPad.
5. Restore iPad in DFU mode
You should note that DFU mode will delete all data from iPhone or iPad, and it will be set up as a brand new device. It is true that once restored, it is possible to install a backup copy that you have on it, and therefore, we insist on the need to make backups regularly.
To put an iPhone, iPad, or iPod Touch in DFU mode, you must follow the following steps:
- Open iTunes on your computer and connect the iPad or iPhone with the USB cable.
- Turn off the iOS device and press and hold the top button until the power off bar appears.
- Once the device is turned off, you must simultaneously press the home button (the Volume down button in the iPhone 7, 8, or X) and the power button for exactly 10 seconds. It is essential to count the seconds since otherwise, the process will not work.
- After 10 seconds, release the power button and keep the home button (or Volume down in the models mentioned above). You must press and hold this button until iTunes recognizes the device.
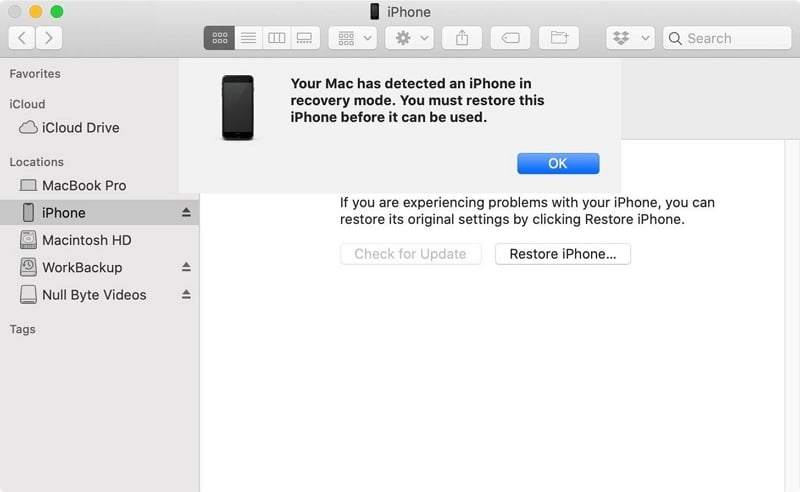
- Once iTunes recognizes the device, a window will appear informing that it has detected a device in this state, and clicking on OK will start the restoration.
6. Contact Apple support
Even after attempting all the previously mentioned ways, if your iPad remains in a frozen state, it is time to contact the Apple store’s support. If AppleCare+ protects your iPad, you can take it to the nearby Apple store and repair it. Unfortunately, if AppleCare+ does not cover you, you need to get it fixed from an authorized repairing shop with certified and trusted technicians.
