In this guide, we will share with you some of the troubleshooting steps you can take when your iPhone’s flashlight is not working.
It is important to note however that this problem can be caused by both hardware and software issues. In this list, we have collected the most effective solutions regardless of the cause.
Let’s dive right in.
1. Remove Case that Might Block the Flash
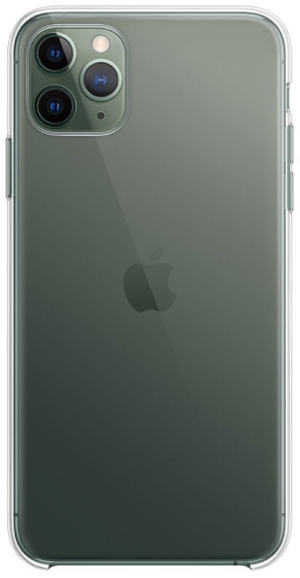
Before attempting any other solutions, remove any case or film that may block the camera. A magnetic case or camera attachment can interfere with the proper function of the device’s camera and a flashlight.
2. Charge Your iPhone
If the battery is completely drained r almost empty, the flashlight on the iPhone may fail to work. The flashlight has also been known to fail when the device is too warm or too cold.
Therefore, the first thing you should do is charge the iPhone and get it to an optimum temperature before trying to turn on the flashlight again.
3. Close the Camera App
The flashlight will not be able to work if the camera app is open. This is because the camera app will prevent the flashlight from taking control of the LED.
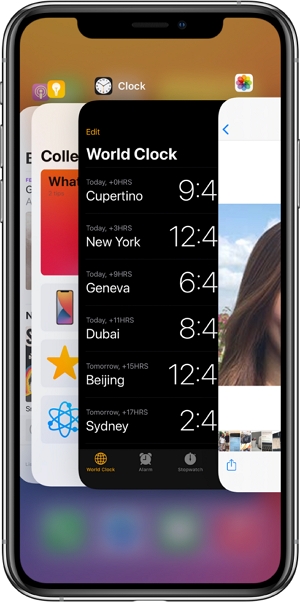
To close the camera app on iPhone X, swipe up from the bottom and hold it at the center of the screen, and then swipe up on the camera app to close it.
On the iPhone 8 or earlier, double tap on the Home button and then swipe up on the camera app to close it.
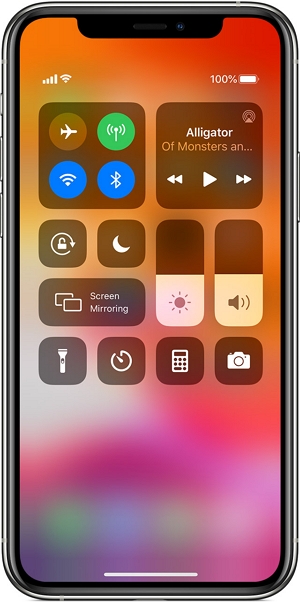
4. Test the Flashlight from Control Center
Test the LED flash by trying to turn on the flashlight from the Control Center.
On an iPhone X or later models, swipe down from the upper right of the screen to access the Control center.
On an iPhone 8 and earlier model, swipe up from the bottom edge of the screen to open the Control Center.
Once the Control Center is open, tap on the flashlight button to see of the LED flash is working.
5. Restart Your iPhone
A good way to refresh the software on your device and get the flashlight working again is to restart the device.
To do that just press and hold the Sleep/Wake (together with either volume buttons for iPhone X and later) until the “Slide to Power off” option appears. Drag it to the right to turn off the device and then press and hold the Power button to reboot the device.
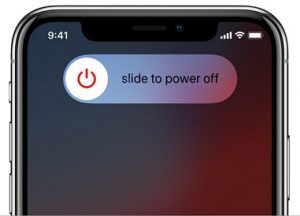
If a simple restart fails to fix the problem. perform a forced restart.
6. Reset the iPhone Settings
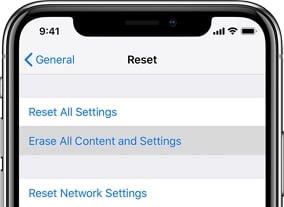
If both a restart and a forced restart don’t fix the problem, then we recommend resetting all settings on your iPhone. This is a useful solution that works because it will remove all conflicting settings.
To do it, open the Settings app and then tap “General.” Tap “Reset” and then select “Reset All Settings.” Enter the device’s passcode if prompted and then confirm the action.
7. Use FixGo to Refresh Your iPhone
If you are still unable to get the flashlight to work and you are certain that the problem is not caused by a hardware issue, your last resort is to attempt to refresh the iOS system.
Most of the solutions that Apple recommends to restore the device will cause data loss. But with the tool iToolab FixGo, you can fix the problem without worrying about losing data.
It is an iOS system recovery program that helps you to fix common iOS system problems at home so that you won’t need to pay to take it to a technical specialist.
It is also very easy to use, just follow these simple steps:
Step 1: Download and install the program on to your computer.
Step 2: Run FixGo and in the main window, click on “Standard Mode”.
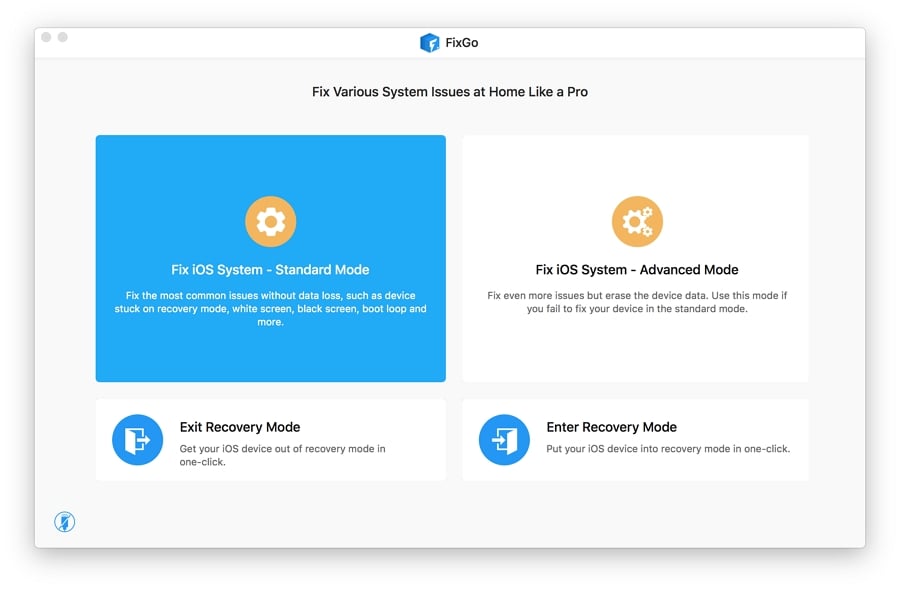
Step 3: Connect the iPhone to the computer using its original lightning cable and then click “Fix Now” to begin the process.
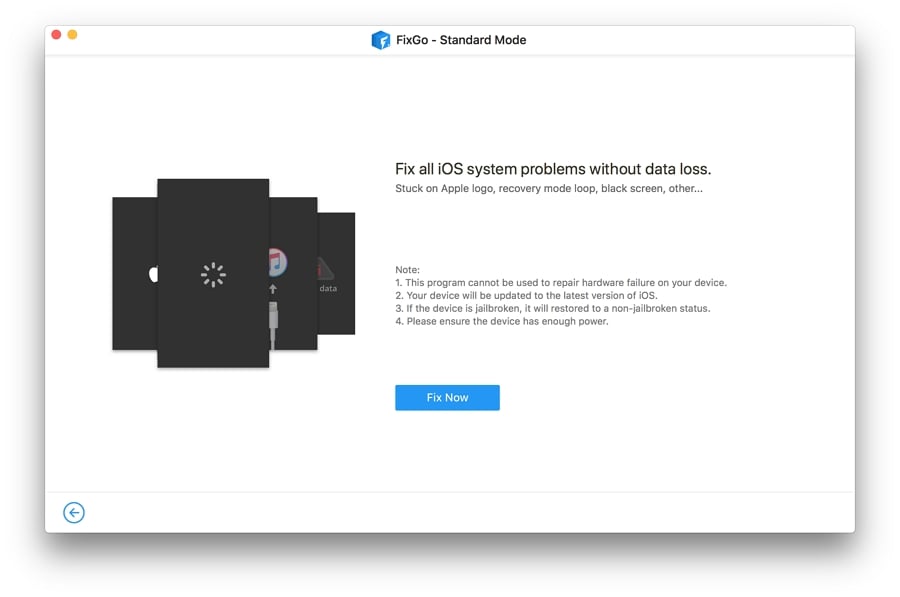
Step 4: You will then need to download the necessary firmware to update the device’s system. Simply click “Download” to start downloading the firmware.
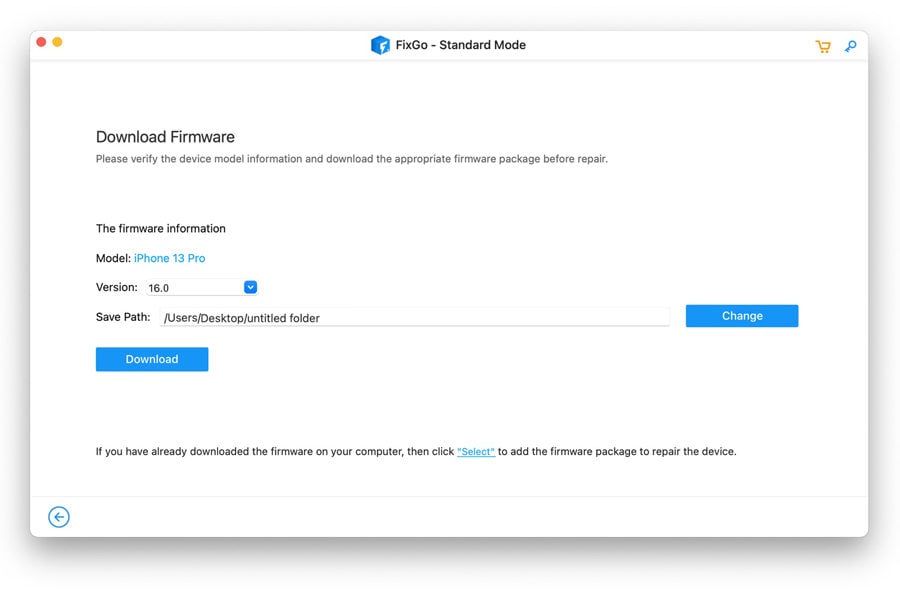
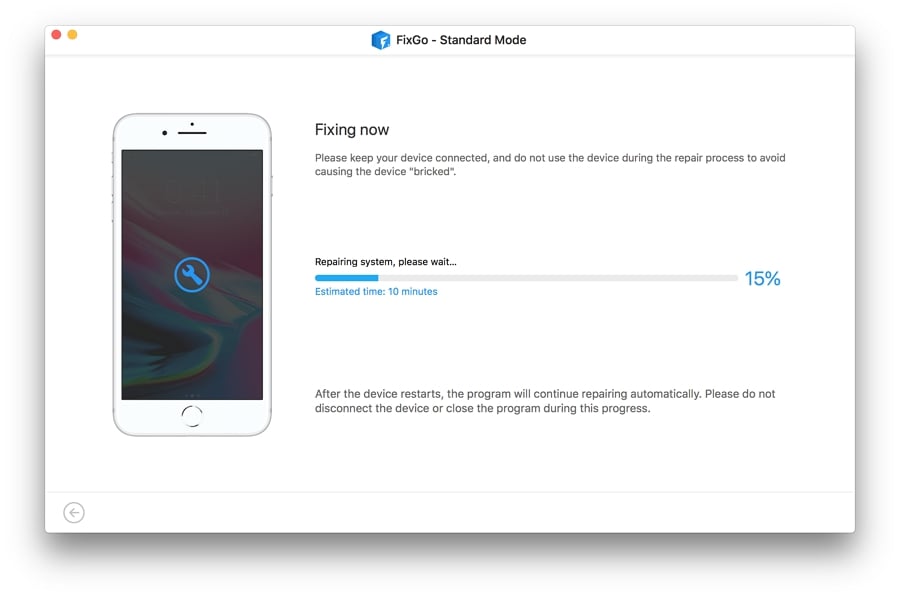
Step 5: Once the firmware package has been downloaded, click on “Repair Now” to start updating the device’s system. Keep the device connected to the computer until the process is complete. When the device restarts, the flashlight should now be working as normal.
