RecoverGo iOS – Best iPhone Data Software in Year of 2026
Looking for iPhone deleted photo recovery? If you have accidentally or permanently deleted data from iPhone/iPad/iPod touch, then this guide is perfect for you. We’ll show you how to use iToolab RecoverGo iOS to achieve this goal. There are two modes to get your deleted data back including: Photos, Messages, Contacts, Safari Bookmarks, Safari History, Notes, etc.
Part 1. How to Recover Deleted Data from iOS Device Directly?
In the first part, you are going to learn how to recover deleted call history/contacts/photos/videos on iPhone without backup. All steps are easy to follow, just like A-B-C and won’t take much time.
You can also check the video guide here:
Step 1. Download and Launch RecoverGo iOS
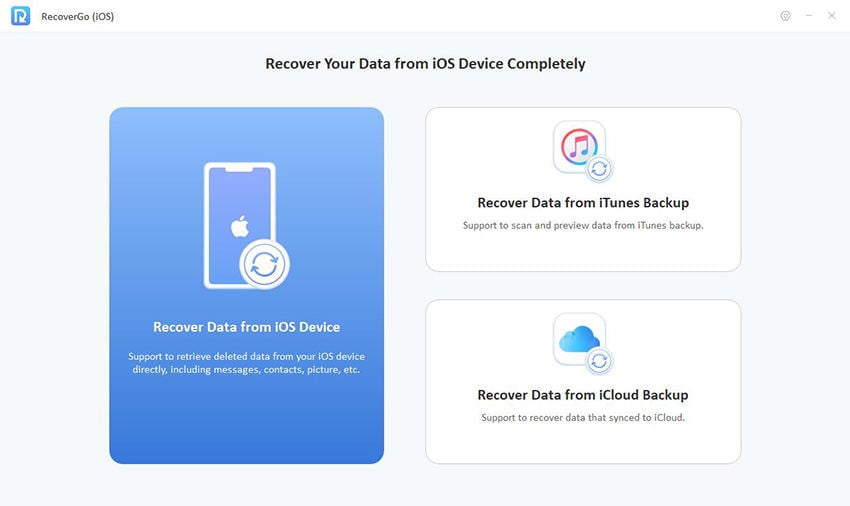
Download RecoverGo iOS from the official link and run it on your computer. Now select the first function “Recover Data from iOS Device”.
Step 2. Connect Your Device to Computer
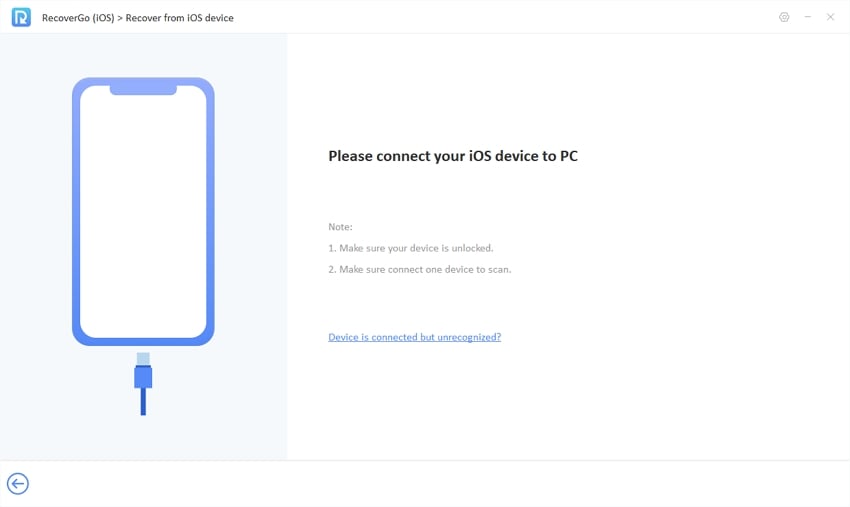
We strongly recommend that you connect your device to your computer using a branded Lightning to USB cable. This will help your device to be recognized better. You will also need to tap “Trust” on your device when you first connect it to the computer or change the cable.
Step 3. Select Data Type to Recover
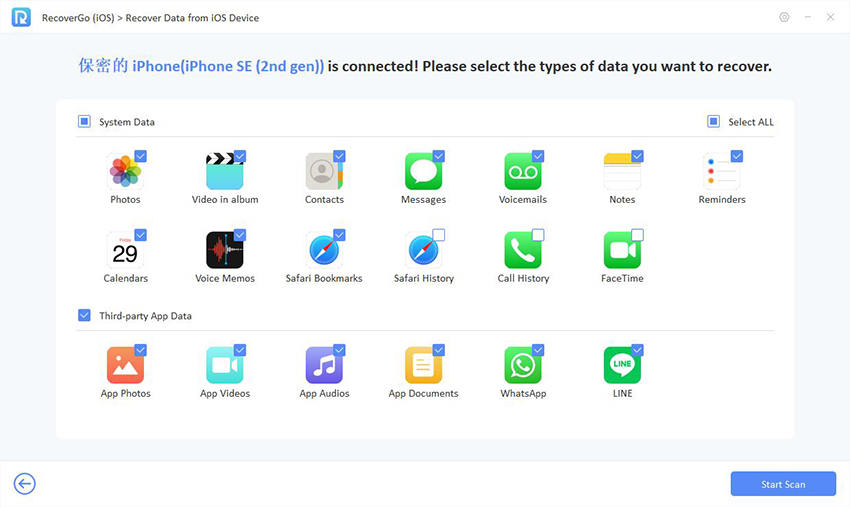
Now the program will display all the types of data you’d like to recover. Just select the one you want to recover. Note: Third-party cache data includes photos, videos, audio files and documents from any third-party applications.
Step 4. Scanning Data on the Device
iToolab RecoverGo iOS will swiftly analyze your device. During this process, you may be required to enter the passcode on your device to proceed.
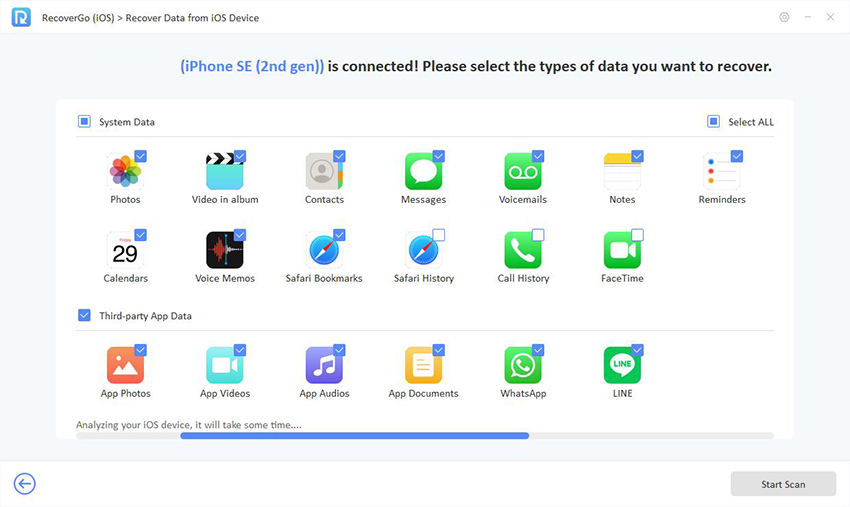
After a while, the program will start to scan what data is left on the device. The more data there is, the more time it will take.
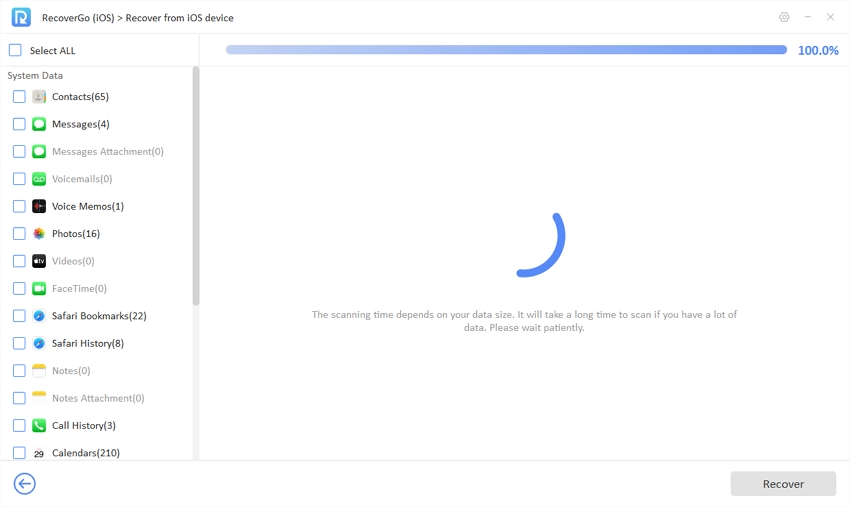
If data was successfully scanned, the program will tell you how much was there. It’s a good idea to do the data recovery as soon as you can, otherwise the data will be overwritten.
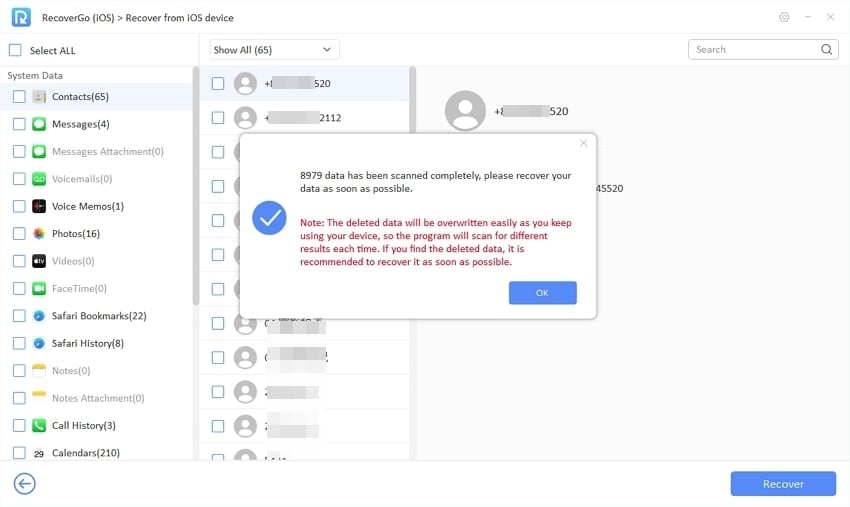
Step 5. Preview, and Recover from Device
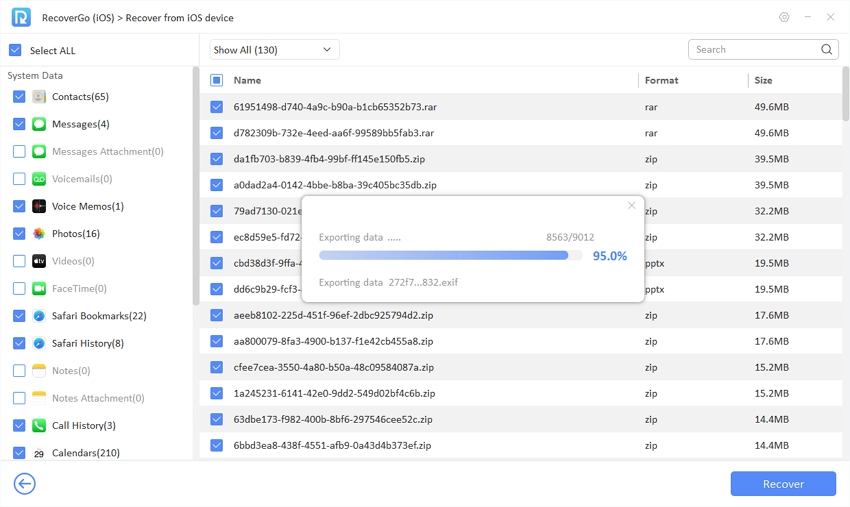
Browse or filter what you want to recover. Select it and click the “Recover” button. You will have a look at the progress of data export. Just be patient for a while and finally it will open the recovered files on the computer, just check them.
Part 2. How to Recover Deleted Data on iPhone from iTunes Backup?
If you cannot find the data using the first method, or you want to export data from an iTunes backup. Then this is what you need to follow. First of all, let me explain some of the outstanding features as follows:
- Never need your iPhone handy;
- Show all iTunes backups in list;
- Select any iTunes backup to restore;
- You can view all the data such as photos, contacts, messages, calendars, etc. that are backed up in iTunes;
- All selected data will be exported to the computer.
- The data on your device will not be affected.
Step 1. Launch and Select Recovery Mode
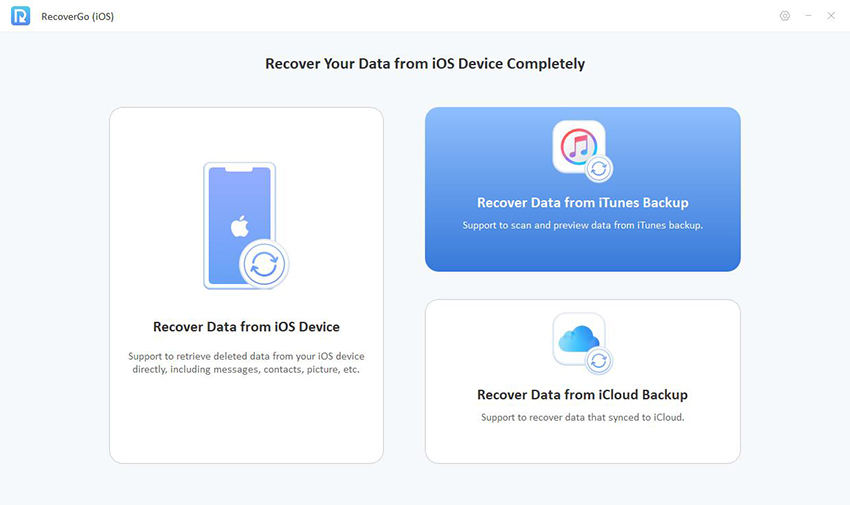
After you installed and launched iToolab RecoverGo iOS sucessfully, select the second feature “Recover Data from iTunes Backup”.
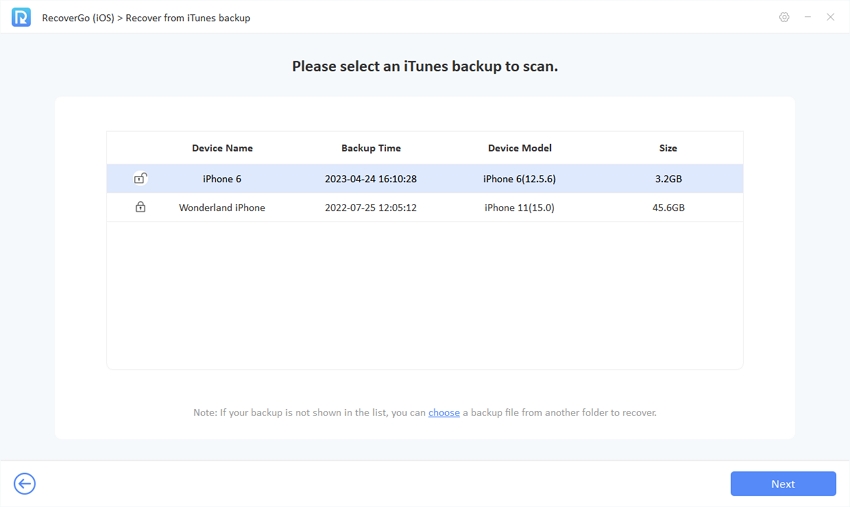
Step 2. Choose an iTunes Backup
This program will show you all the backups with iTunes, which device model, backup time, and how much data has been backed up.
If you once set the password of iTunes backup, you have to enter it to let the program scan all data.
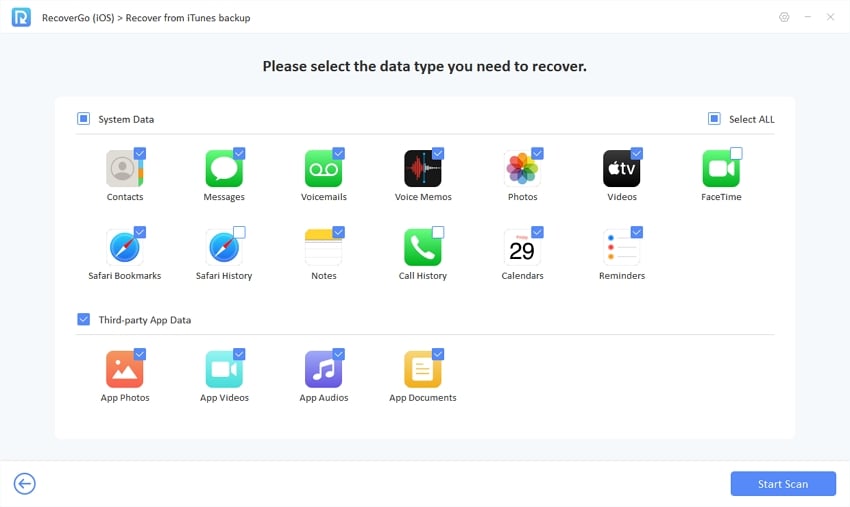
Step 3. Select Data Type to Recover
Now, you still need to select which kind of data that you want to recover. Check the box and click the “Recover” button to go.
Step 4. Start to Scan Data
The program will start a large-scale scan of all backup data. It will take several minutes to complete.
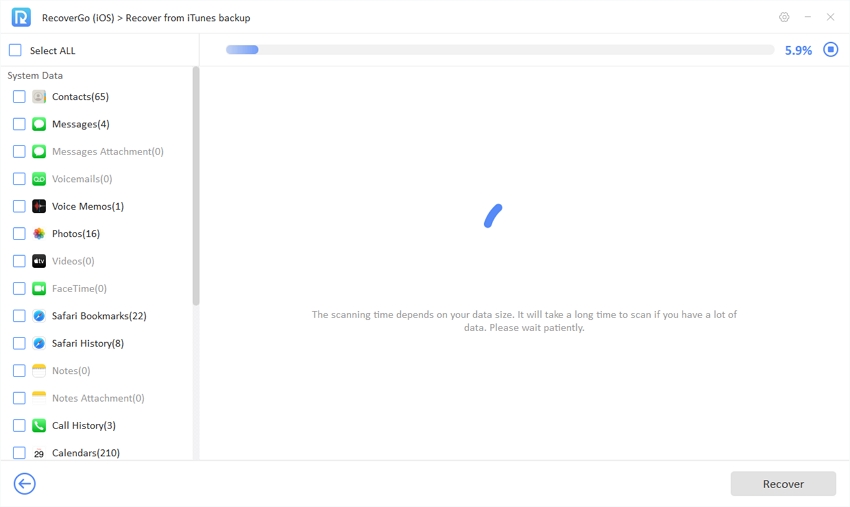
After a while, all your data will be successfully scanned and you will have an indication of how much data is on your iPhone.
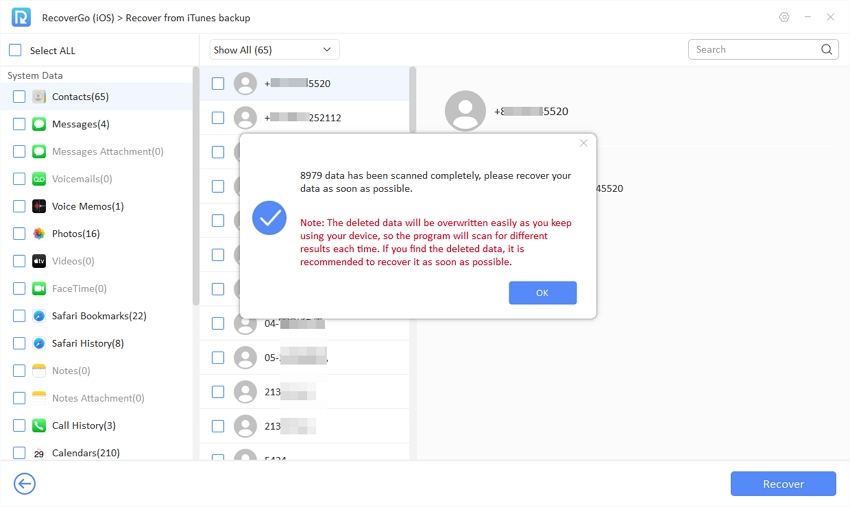
Step 5. Preview and Successfully Recovered!
Take a look at all the data in your iTunes backup. Check the box on the left and see details on the right.
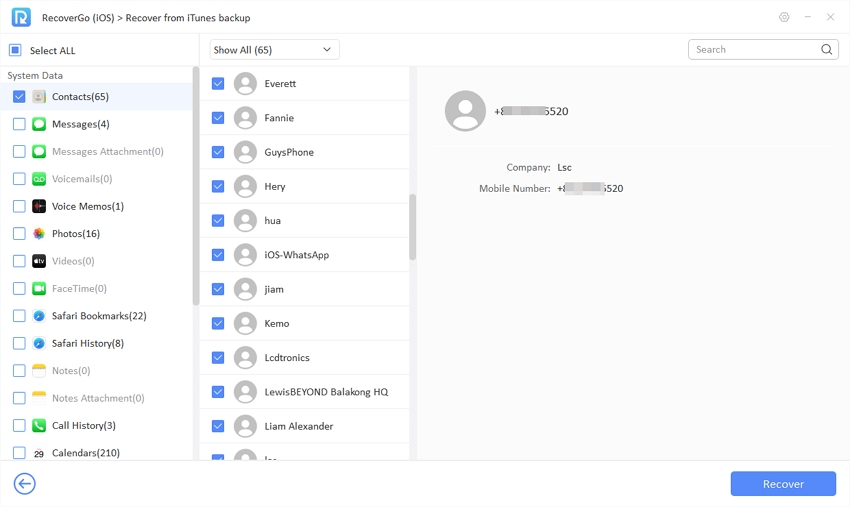
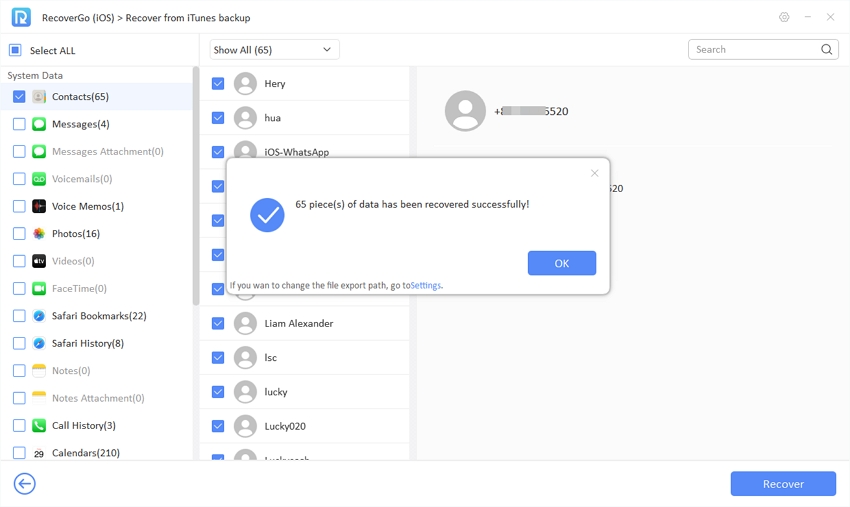
Wonderful! Now you can select any type of data you want to recover. The program will locate it for you and tell you where it is.
Part 3. How to Recover Deleted Data on iPhone from iCloud Backup?
If you want to recover deleted data from iCloud or view iCloud data on the computer, RecoverGo (iOS) can help you with a few simple steps. Here are some of its notable features:
- Preview and selectively recovery;
- Recover deleted data from iCloud without Factory Reset;
- Data recovery without overwriting current data on your iOS device;
- All recovered data will be exported to the computer.
Step 1. Install and Launch RecoverGo iOS
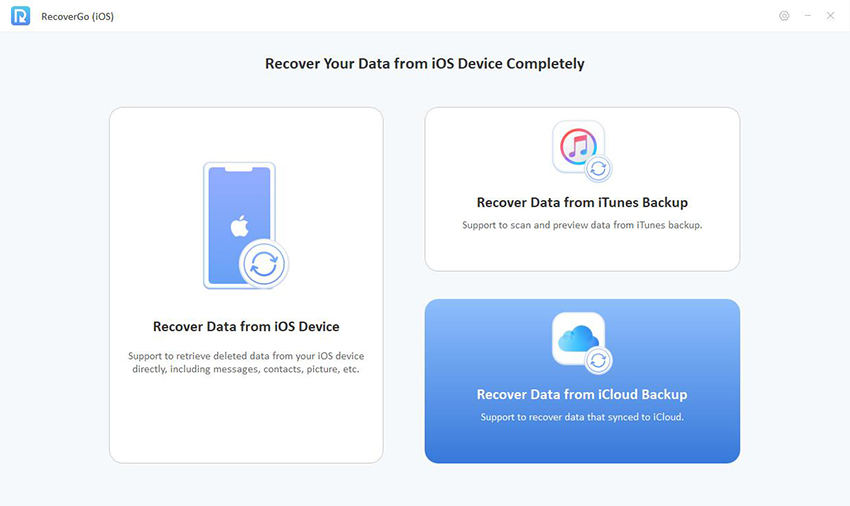
Download RecoverGo and launch it on your computer. To recover data from iCloud, select “Recover Data from iCloud Backup” from the main interface.
Step 2. Sign Into iCloud
To get access to the iCloud data, you need to sign into iCloud with the same Apple account you always use on the device.
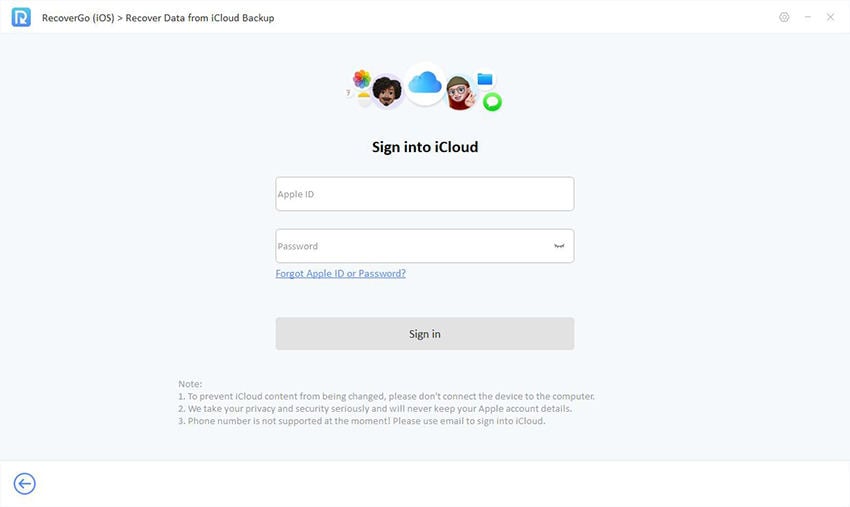
NOTE: We take your privacy and security seriously and will never keep your Apple account details.
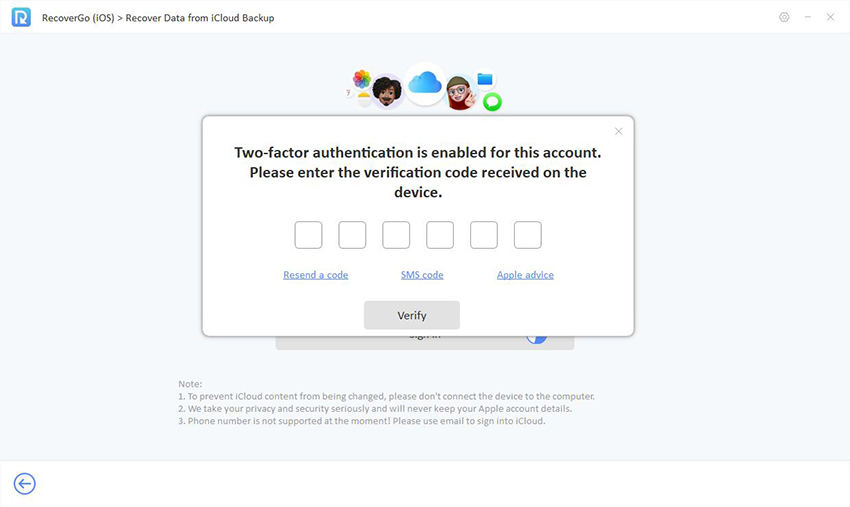
If two-factor authentication is enabled for your account, enter the verification code received and click “Verify”.
Step 3. Select Data Type to Recover
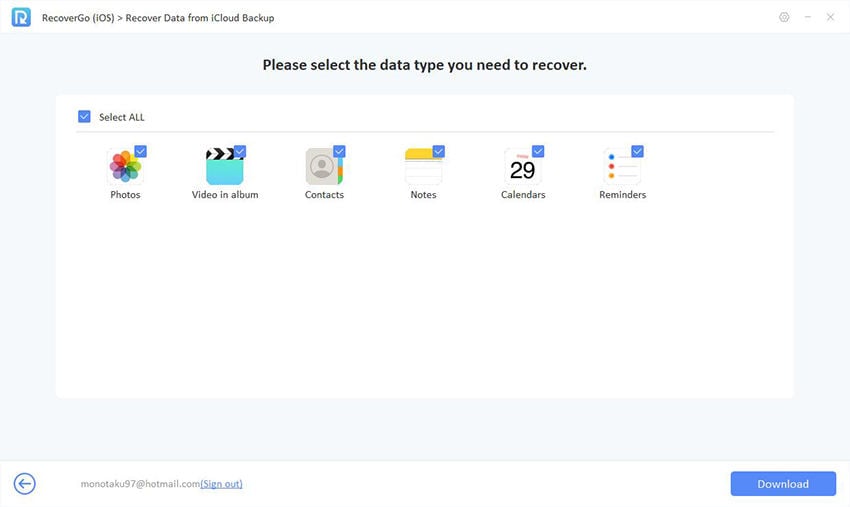
You can select which types of data you want to recover from iCloud. Choose the desired data types and then click “Download” to start the scanning process.
Step 4. Scanning Data
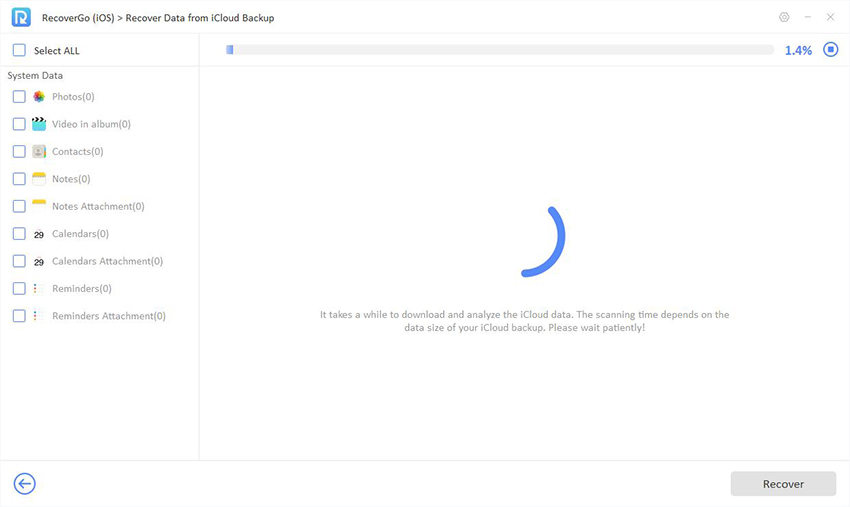
Wait for the program to scan the data on your device. The scanning time will depend on the amount of data stored on your iCloud.
Step 5. Preview and Selectively Recover
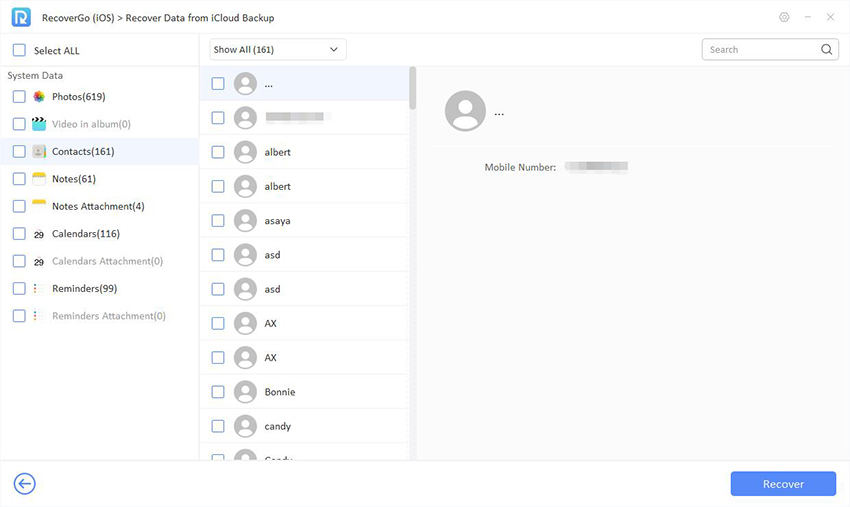
After the scanning process is complete, you can preview the recoverable data. The search feature and filter can help you quickly locate the data you want to recover.
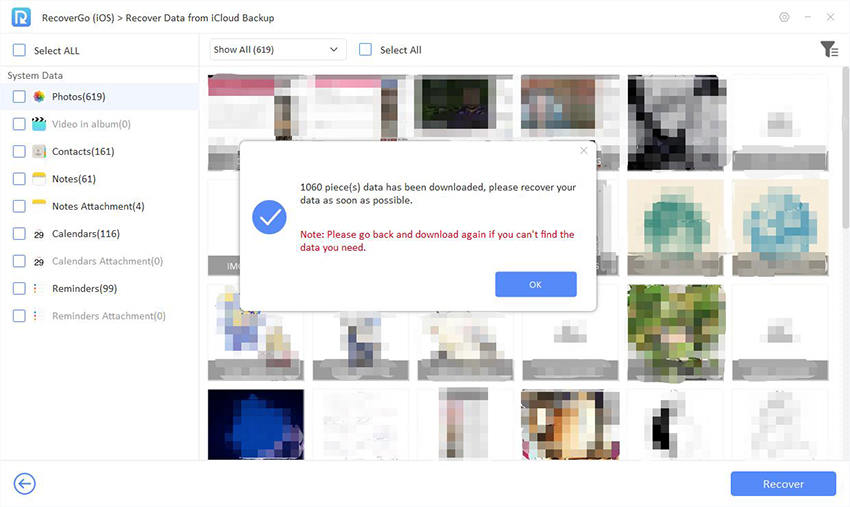
Browse through the retrieved data, select the ones you want to recover and click “Recover”.


I was unable to recover my calendar using recovergo-ios. Any other suggestions?
Hi Meredith, we didn’t find any order under your email address. In order to protect your personal information, and to help you solve the problem, please send an email to our support center.
Just for sure if go ios can help bring mu file back from
Delet permanent for almos 3 month please make sure if this app can help i realy want them back
Hello. You can free download and install the program on your computer. You can use the program to scan your device for free. If the tool helps you find the deleted data and you want to recover it, then you can purchase a license code to recover the data.