As long as you use your iOS devices, it is equally as important to keep backing up the data on these devices to prevent data loss. One of the best ways to backup your device is via iCloud. It is easy and since it can be done automatically, you can set it up and be assured of a smooth backup experience.
But an iCloud backup is not without its problems. One of the most common is that sometimes it can feel like the backup is taking too long.
In this guide, we share with you some of the things you can do when your iCloud backup is taking too long.
How Long Does an iCloud Backup Typically Take
In order to determine if your backup is taking too long or not, it is important to understand the average time that an iCloud backup should take. The first caveat is that the time it takes for your backup to be completed will depend on the strength of your Wi-Fi connection and how much data is on your device.
Therefore, if your connection working at a speed of 4 megabytes per second, and you have about 2GB of data, the backup may take about an hour to complete. But you must also keep in mind that the quality of the files on your device must also be in consideration. So, while it may not be easy to determine exactly how long the backup will take, you can begin to worry when the backup process takes more than a day.
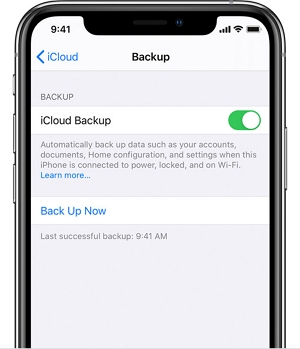
If you are certain that your backup is somehow stuck, the following are just some of the things you can try.
1. Ensure a Fast Wi-Fi Connection
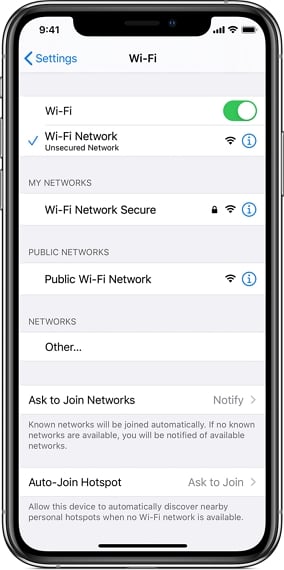
One of the main factors affecting the backup process is your Wi-Fi connection. Begin by checking that the device is connected to Wi-Fi or of the Wi-Fi network you are connected to is not strong enough, connect to a different network.
2. Create More Space
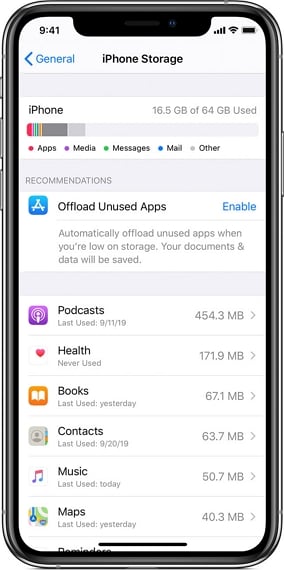
You can also significantly increase the speed of the backup by creating more space on the device. When your iOS device is bogged down by too much unnecessary data, it is far likely to be sluggish and slow in all processes including a backup.
3. Delete Unwanted Data before Backup
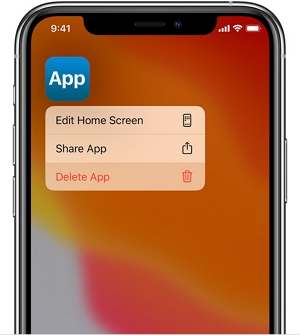
It is also possible that the backup is taking a long time because you are including a lot of unwanted data in the backup. We recommend deleting some of this unwanted data before backing up the device. You might even want to check if there are any photos or apps that you don’t want to include in the backup.
4. Avoid Backing Up Large Files
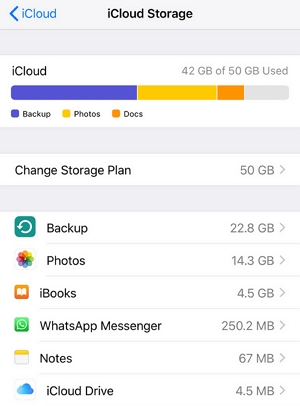
The time it takes to complete the backup will depend on the size of the backup. It may therefore be a good idea to avoid backing up larger files such as photos as this may cause the backup process to slow down significantly. You should also keep in mind that iCloud gives you about 5GB of free storage space and large files can take up quite a chunk of that.
If you have a lot of large files, you may want to back up the device on the computer directly or through iTunes instead.
5. Avoid Backing Up Unnecessary Files
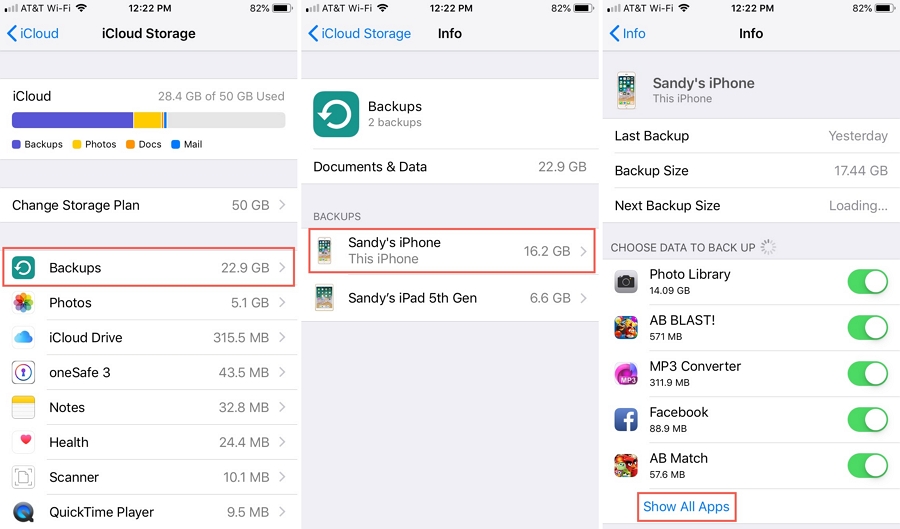
While it is essential to backup certain types of data, there are some types of data that you may not want to include in the backup. To choose the data that you would like to include in the backup, follow these simple steps:
- Step 1: Open the Settings from the Home screen and then tap on your name at the top.
- Step 2: Select “iCloud” and then tap “Manage Storage”.
- Step 3: Tap “Backup” and then choose the device under the “Backups” section.
- Step 4: Tap “Show all Apps” to find the apps that you don’t want to include in the backup.
- Step 5: Toggle them off and then tap “Turn off & Delete”.
6. Use iTunes to Back Up iPhone
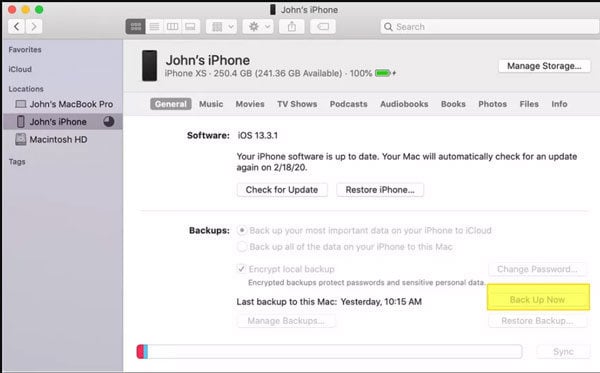
If your iCloud backup still doesn’t work, you should consider baking up the device via iTunes or Finder. This will be particularly helpful if you have a lot of large files in the backup. Follow these simple steps to do it:
Step 1: Connect the iPhone to the computer and open iTunes.
Step 2: Click on the device’s icon at the top.
Step 3: In the “Backups” section, make sure that “This Computer” is selected and then click on the “Back up Now” button to begin backing up the device to your computer.
If you are using Finder (macOS Catalina), follow these simple steps:
Step 1: Connect the iPhone to the computer and then click on it under “Locations”.
Step 2: Make sure that “Backup all of the data on your iPhone to this Mac” is selected in the “Backups” section and then click “Back Up Now” to begin backing up the device to your Mac.
