In this article, we look at some of the ways you can turn off Find My iPhone when the device is locked. The Find My iPhone feature is perhaps one of the data security features, helping iOS device users remotely locate or even erase their lost or stolen devices to keep their data private.
But it can also keep you from accessing your own device when you forget your password or you purchase an iPhone that is already locked. If this is the situation you find yourself in, the solutions below will prove very useful to you.
Use iToolab UnlockGo to Turn Off Find My iPhone When iPhone Is Locked
Perhaps the easiest way to turn off Find My iPhone on a locked iPhone is to use a professonal iPhone lock removal program – iToolab UnlockGo. This powerful tool allows you to remove the restrictions that Find My iPhone can impose on the device, allowing you to access all iOS features.
The following are the program’s top features;
- Turn off Find My iPhone easily even without the password.
- It will also remove the Apple ID connected to the device without the Apple ID or password.
- It supports all versions of iOS including iOS 14.
- Very easy to use, with a simple and easy to follow interface.
Here’s how to use UnlockGo to turn off Find My iPhone when the iPhone is locked;
Step 1: Download and install UnlockGo on your computer.
Step 2: Open the program and then select “Turn Off FMI” from the main window.
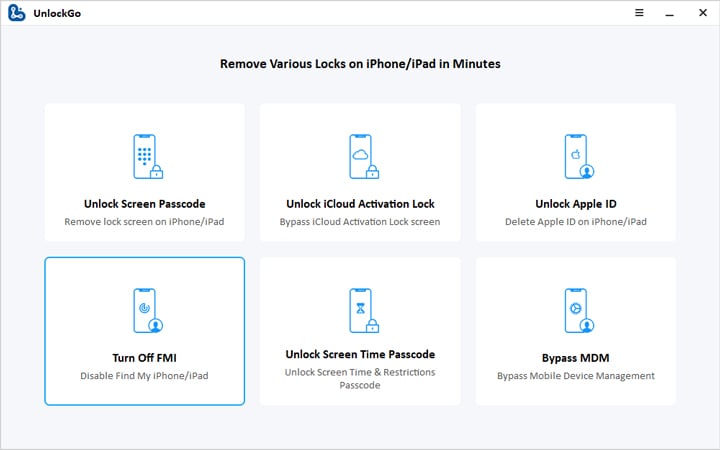
Step 3: Connect the iPhone to your computer and then follow the on-screen instructions to jailbreak the device.
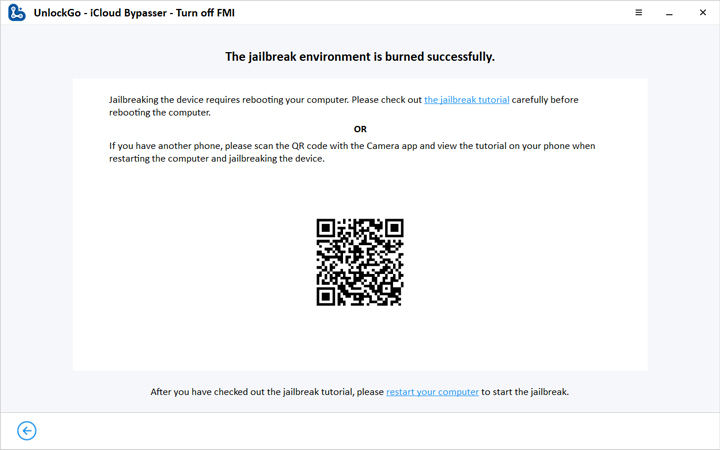
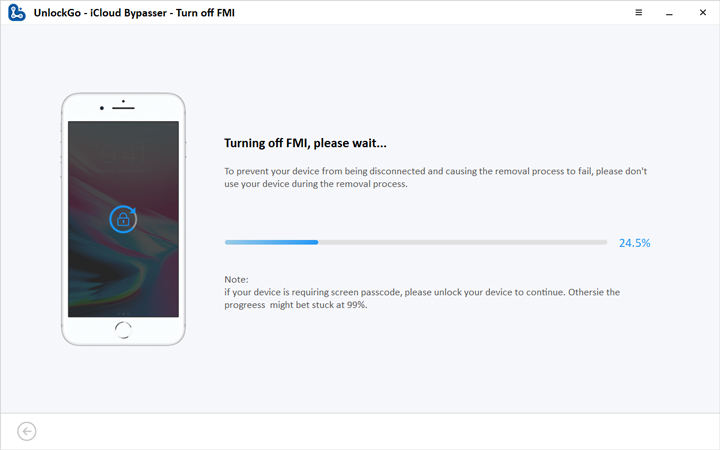
Step 5: In the next screen, choose “OFF” in the dropdown menu next to “Find My [Device]” and then click “Confirm.”
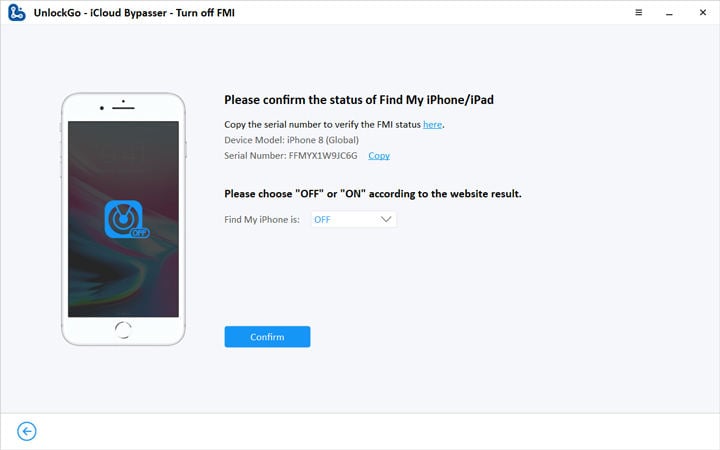
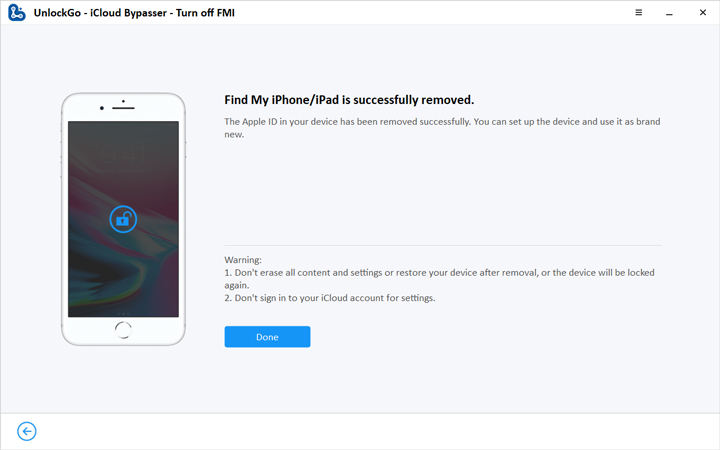
Step 6: The program will then begin removing the Apple ID from the device. Wait for the program to finish the process and you will be able to use the device as new, accessing all iOS features.
Get Back Your Password
If you would rather not use the third-party software, you can try to recover the lost Apple ID password. Follow these simple steps to recover the password;
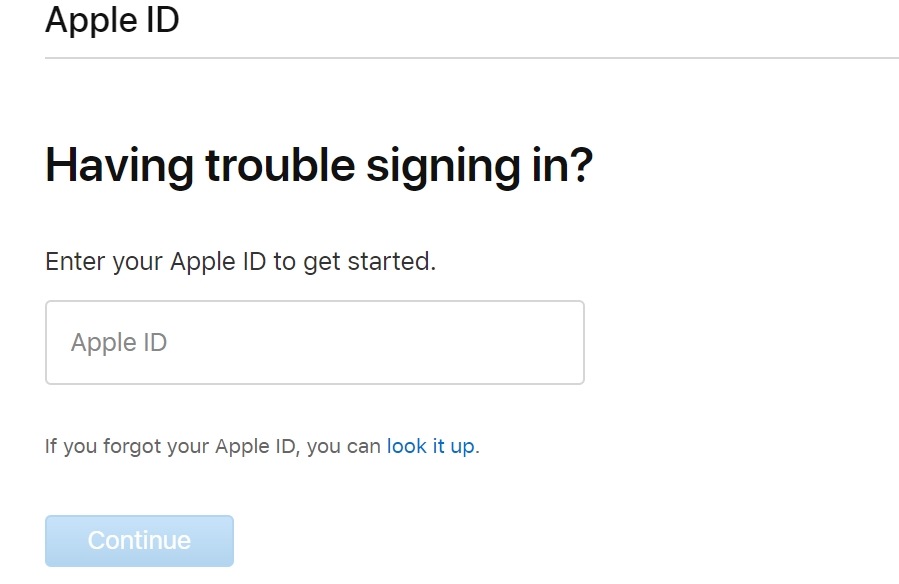
Step 1: On any browser, go to https://iforgot.apple.com/password/verify/appleid and enter your Apple ID. Click “Continue”.
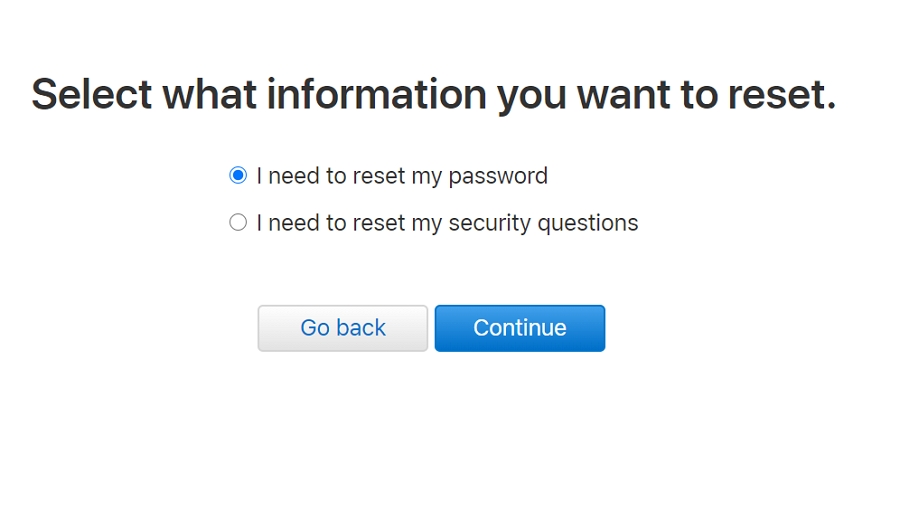
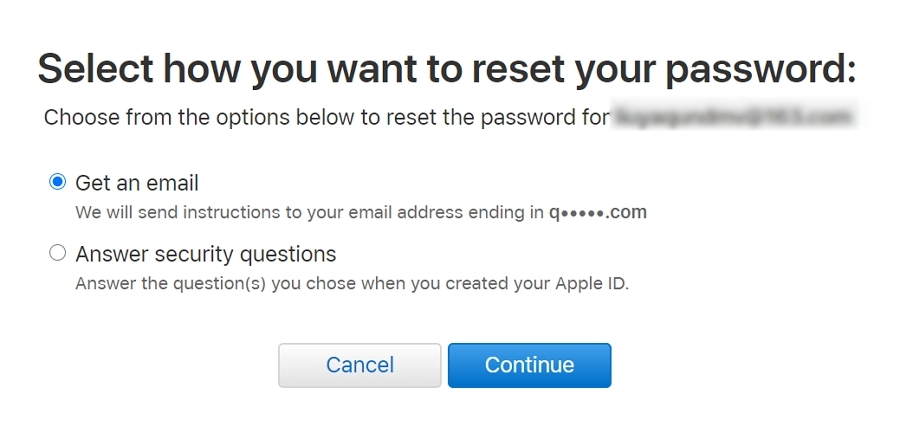
Step 2: Select “I Need to Reset my Password” and click “Continue”. You can then choose to answer the security questions or get an email to reset the password. Click “Continue” after making your choice.
Step 3: If you choose to get an email, Apple will send you an email with instructions to reset the password. Open the password and click “Reset Now”.
Step 4: Enter a new password and retype it to confirm and then select “Reset Password”.
You can then use the new password to access your device and turn off Find My iPhone.
Exploit a Flaw in iOS 12
If your device is running iOS 12, you may be able to exploit a flaw to erase your iCloud account information and consequently disable Find My iPhone. Here’s how to do it;
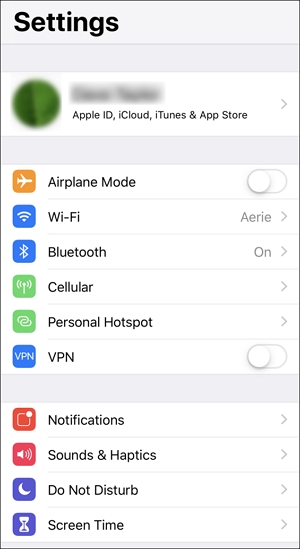
Step 1: Open the Settings from the device’s home screen.
Step 2: Go to “iCloud” and when prompted to enter your password, type in any number and then tap “Done”.
Step 3: A message will appear letting you know that the password you entered is incorrect. Tap “OK” and then “Cancel” to go back to the iCloud settings.
Step 4: Tap “Account” and delete the description. This will take you back to the main iCloud settings where you will see that Find My iPhone is already turned off.
Use the DNS Method
You can also use the DNS method to turn off Find My iPhone. This method will however only work on devices running iOS 8 and iOS 9 and it is only temporary. Here’s how to do it;
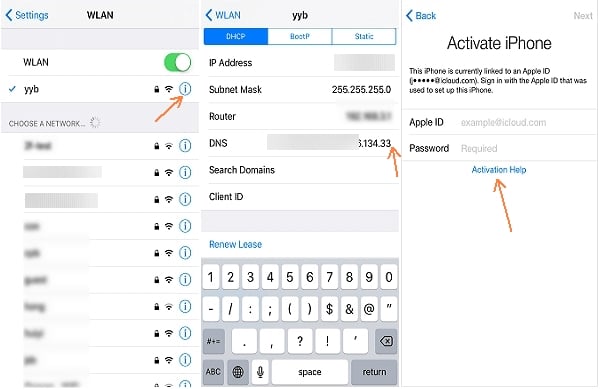
Step 1: Open the Settings from the Home screen and then tap on “Wi-Fi” to open the Wi-Fi settings.
Step 2: Tap on the (I) icon next to the Wi-Fi network to view the DNS information.
Step 3: Change the DNS IP address to 104.155.28.90 (if you are in the US. The address may be different for other regions)
Step 4: Tap the back arrow and then save the changes. Press the Home button and you will be able to go to the home screen with the device unlocked.
