Apple’s latest updates will enhance your privacy features and give you a whole new home screen experience, but only if your iPad will let you update it.
Theoretically, all you need to do is create a backup and then install the latest iPadOS 16 version from your settings menu. But what if things don’t go that smoothly? How can you fix an iPad that won’t update? In this guide, we will show you some effective tips to help you solve the issue.
Let’s get started.
- 1. Try iToolab FixGo to Fix iPad System Error [First Chioce]
- 2. Restart Your iPad
- 3. Make Sure Your iPad Has Enough Power to Upgrade
- 4. Free Up Space To Allow for Upgrade
- 5. Restart Your Wireless Router/Modem
- 6. Reset your iPad’s Network Settings
- 7. Re-download Your iPad’s Update
- 8. Update on Your iPad Using iTunes
1. Try iToolab FixGo to Fix iPad System Error [First Chioce]
Not only can iToolab FixGo resolve numerous software issues, misconfigured settings, and defunct configurations, it can do it all without any data loss. As these issues are often the root of behind a failed update, that means FixGo can resolve your upgrade issues quickly and easily.
If you’re struggling with an iPad that won’t upgrade, try using the FixGo system repair tool as follows:
iToolab FixGo
Fix 200+ iOS/iPadOS/tvOS Issues at Home Like a Pro
- Free to Enter/Exit iPhone Recovery Mode.
- Fix iPhone/iPad/Apple TV system problems and no data loss.
- Downgrade iOS 16 to any supported versions.
- Support all iOS devices and versions including iPhone 13 & iOS 16.
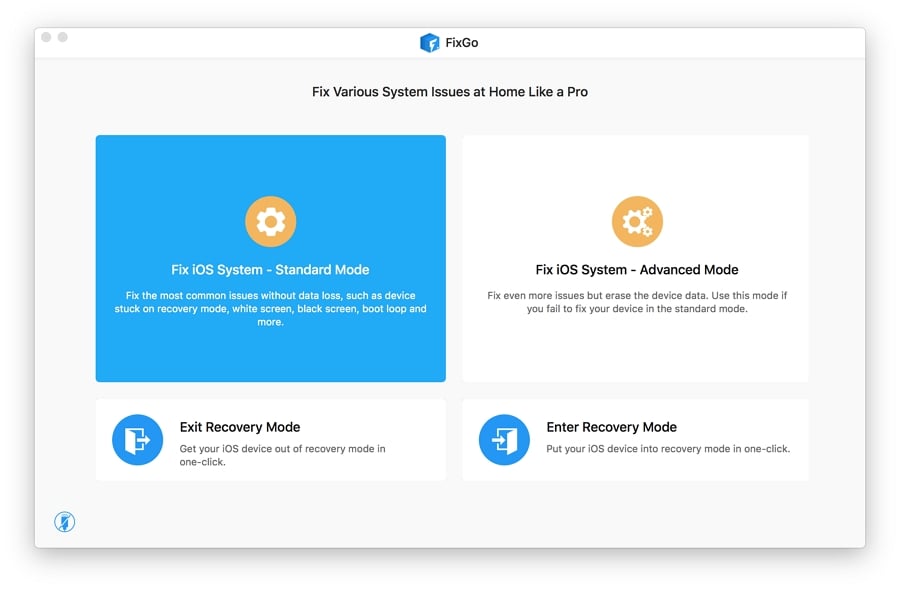
Step 1: Run FixGo as soon as you install it on your PC/Mac. Once you access the interface, click on Standard Mode and select Fix Now.
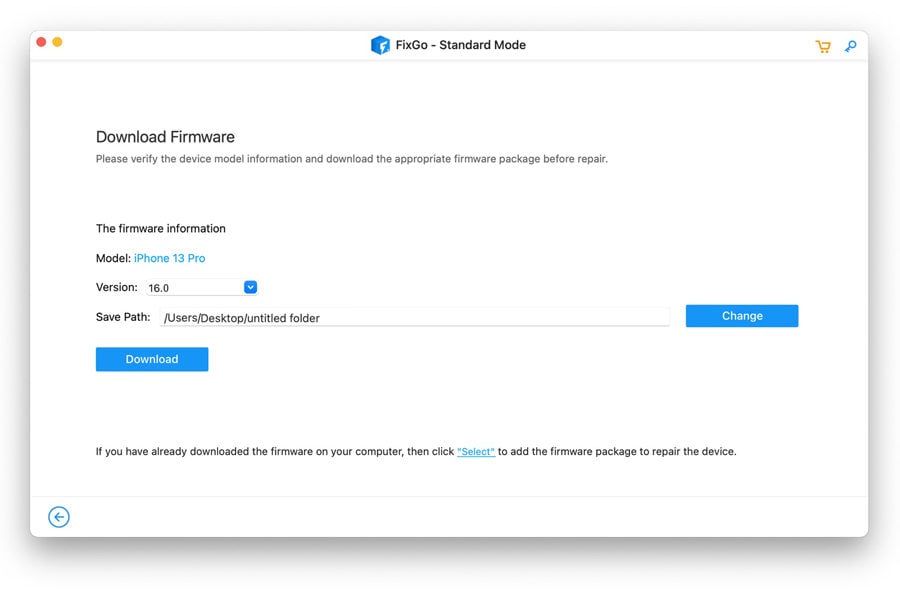
Step 2: Download the iOS firmware in your preferred folder of the desktop.
Step 3: To end the process, click on the Repair Now button to install the downloaded firmware. Now, you will be able to get WhatsApp notifications again.
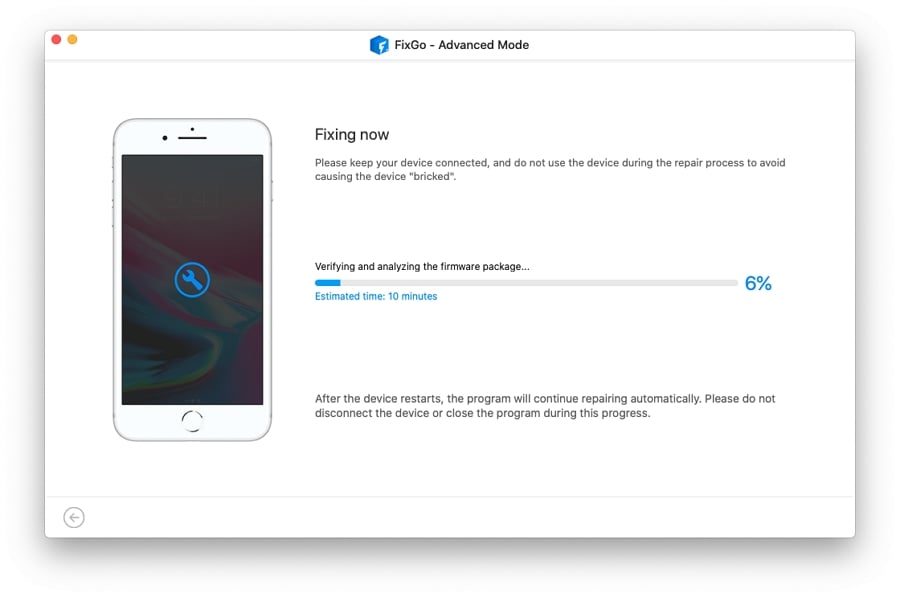
Once the repair process is complete, you can try upgrading your iPad again and be pretty confident about it working this time.
2. Restart Your iPad
Performing a soft restart can correct any random glitches that might be preventing your iPad from updating:
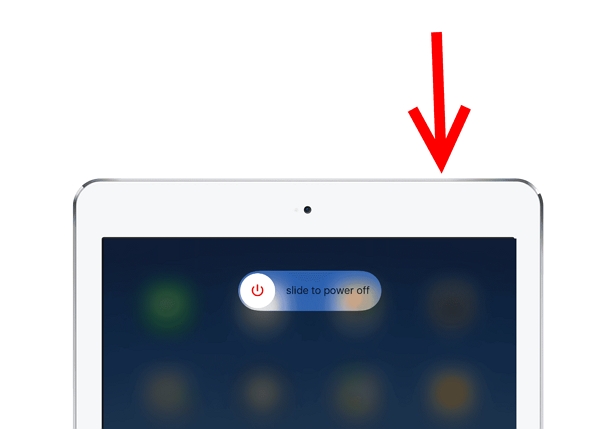
- Press and hold both the Side or Power button and either one of the Volume buttons for a few seconds.
- When the Slide to Power Off command appears, release the buttons and drag the slider to the right.
- Wait 30 seconds and then press and hold the Side/Power button until your iPad reboots.
3. Make Sure Your iPad Has Enough Power to Upgrade
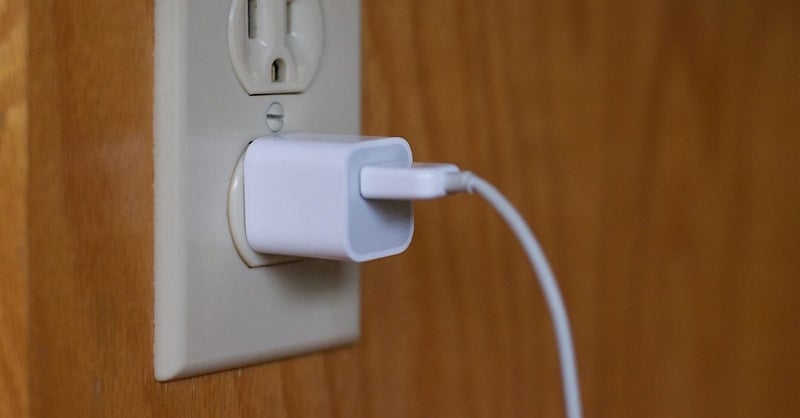
If your iPad has less than 50% of its battery life remaining, you won’t be able to upgrade unless you power up first. The quickest and most effective way of increasing your battery power is by using the AC adapter that came with the device to connect it directly to a wall outlet.
Once your battery is over 50% charged, you should be able to complete the upgrade without any further hitches.
4. Free Up Space To Allow for Upgrade
Some iPadOS upgrades will need up to 3GB of space to install so if yours is jam-packed with apps, music, photos, and movies, chances are, it won’t be able to complete the upgrade until you create some free space.
You can do this by removing any apps you don’t use anymore, backing up images to the computer, and deleting your internet and app cache history.
5. Restart Your Wireless Router/Modem
An unstable network connection can play havoc with your upgrading process and an inconsistent connection is behind many a failed update. Rebooting your wireless router or modem can resolve these problems quickly and easily, just follow these simple steps:
- Locate the power switch on your modem, press it, and hold it down until the device turns off.
- While the router is off, disconnect the AC adapter from the power source and leave it disconnected for around one minute.
- Plug the AC adapter back in and power up your modem.
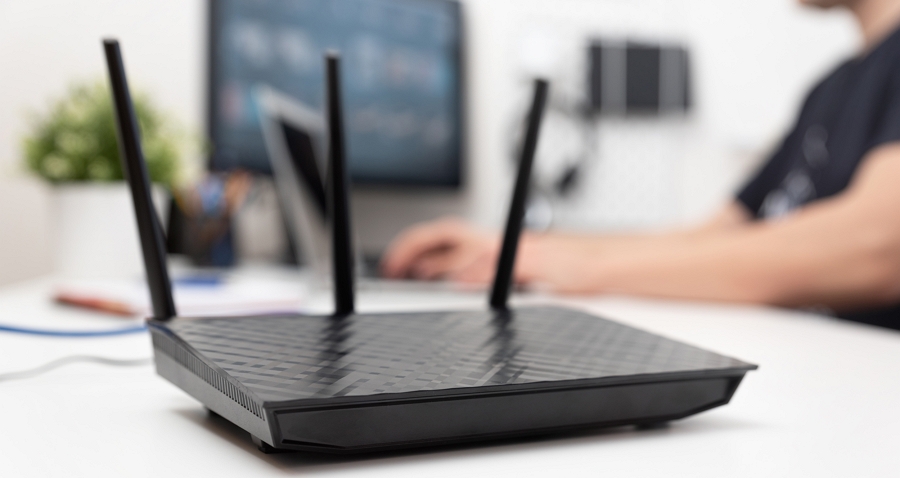
Once your router finds a steady signal, reconnect your iPad to the internet and re-start the upgrade process.
6. Reset your iPad’s Network Settings
Server errors and defunct settings are often lurking behind connectivity issues but can be easily rectified by reconfiguring your network settings. Unfortunately, it will also mean that any network configurations currently in place will be removed to be sure to make a note of them before you start.
Reset is one of the best ways of restoring your iPad to its former glory. This process deletes everything on your device, before installing a clean version of the operating system. You can then restore your files, apps, and other data from your iTunes back-up. Follow these steps to complete the process on an iPad with Face ID:
- Select the Settings menu from your home screen.
- Go to General.
- Scroll down until you see Reset and select this option.
- Select Reset network settings.
- Enter your passcode if required.
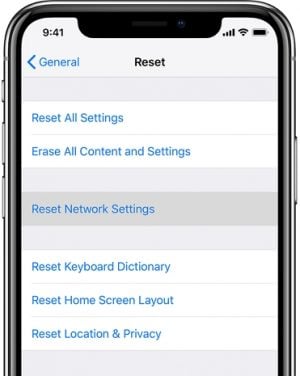
Once your iPad has completed the reset, it will restart and load the default network configurations, hopefully removing any errors in the process.
7. Re-download Your iPad’s Update
If you’ve already tried, and failed, to install the latest iPadOS update, chances are bits of that upgrade are now scattered about, getting corrupted, and stalling the upgrade process. Before you can update your iPad successfully, you need to get rid of all those pesky bits of code by following these simple steps:
- Go to Settings on your Home screen.
- Click on General.
- Select iPad Storage.
- Locate the update in the Software Storage section (look for iPadOS or OS).
- Click on the update to select it.
- Choose the Delete Update option.
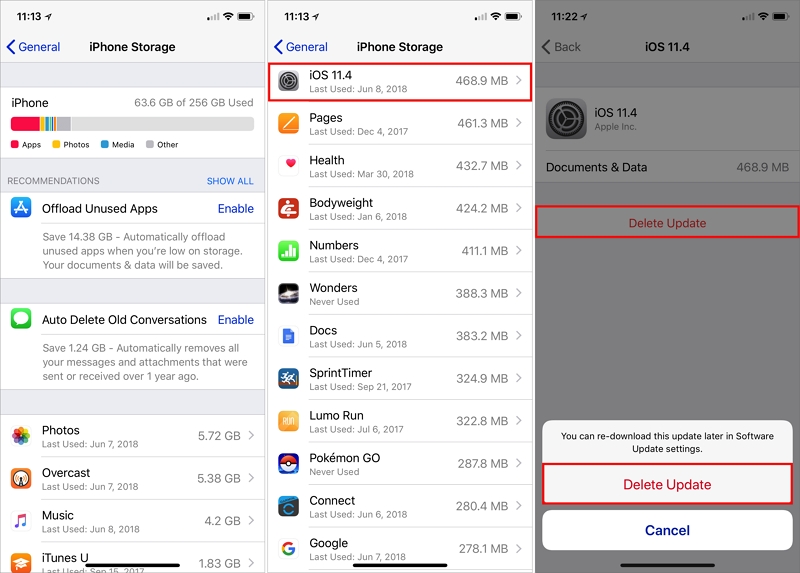
Once the scraps of former upgrades have been completely removed, you can restart the updating process.
8. Update on Your iPad Using iTunes
For those of you with the latest version of iTunes installed on another device as well as your iPad, you can perform a manual update that should help to eliminate software issues and rule out invalid settings as the causes of your upgrade frustrations.
Before you begin a manual update, make sure you create a backup of your iPad using either iTunes or iCloud. You will also need to connect your iPad to the internet. Once that’s done:
- Use a USB or lightning cable to connect your iPad to your computer.
- Open iTunes on your computer and wait for it to locate your iPad.
- Open your iPad in iTunes.
- Select Summary.
- Find the Check for Update option and click on it.
- Enter your iPad’s passcode if prompted.
- Following the onscreen instructions.
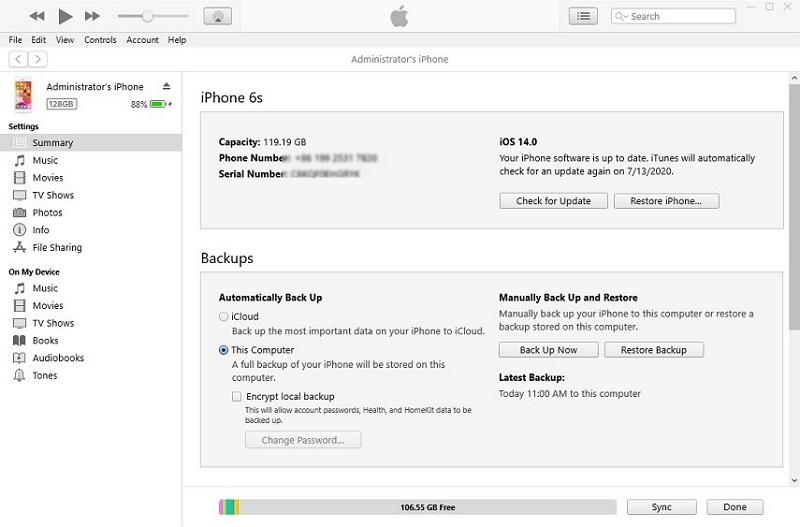
Wait until the entire update process is complete before you disconnect your iPad and then reboot it to ensure that all the changes have been installed correctly.
Conclusion
Now you’ll know just what to do when your iPad is not updating next time. A failed update doesn’t have to end in tears, especially as most of the issues are easily resolved, especially using an effective iOS repair tool like iToolab FixGo. Have any other questions about your iPad? Let us know in the comments section below.


