The solutions in this article will help you fix an iPhone alarm that doesn’t ring.
While it is possible that you may simply have forgotten to set up the alarm tone or to increase the volume to acceptable volumes, this problem can also be caused by software and hardware issues. These solutions will cover every possible cause, allowing you to fix the problem once and for all.
Let’s get started.
1. Turn Up the Volume
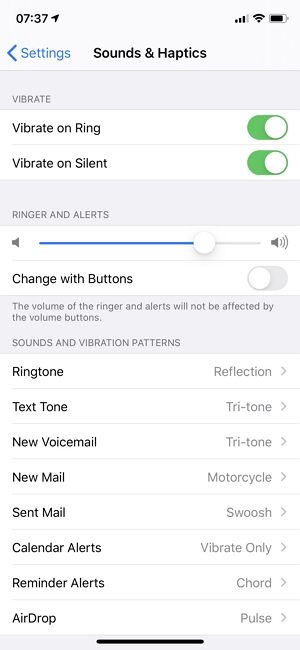
You will not be able to hear the alarm sound if the ringer volume is low. To turn up the iPhone’s ringer volume, just go to Settings > Sound & Haptics and use the slider under “Ringer and Alerts” to increase the volume as much as you can.
2. Set an Alarm Noise
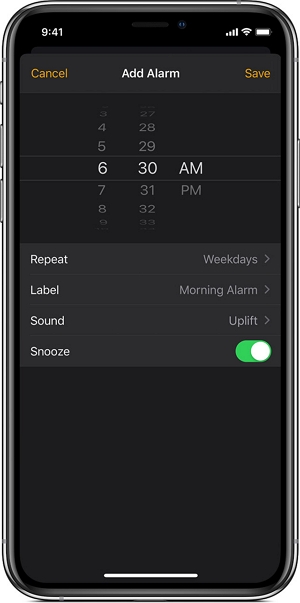
When setting the alarm, you will be asked to set the tone. Any tone will do, but when you select “None”, there will be no sound when the alarm goes off and you therefore will not hear the alarm.
To check if you have set a tone, open the Clock app and tap on the Alarm tab at the bottom of the screen. Tap on “Edit” at the top and then tap on the alarm.
If “None” is selected, tap “Sound” to choose something else as the alarm’s sound. When you’re happy with your selection, tap “Save.”
3. Check If Your Device Is Connected Elsewhere
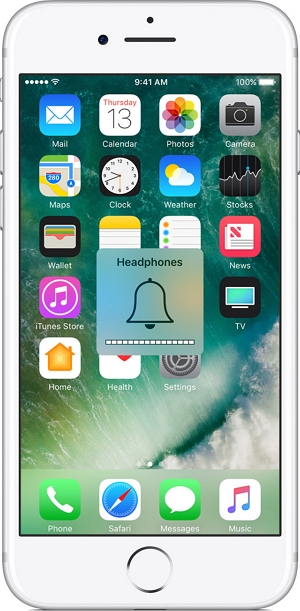
If the device is connected to a speaker or headphone, the alarm sound will be heard through the connected device and not on the device’s built-in speakers. Therefore, you may want to disconnect any connected devices to see if this is the problem.
4. Restart Your iPhone
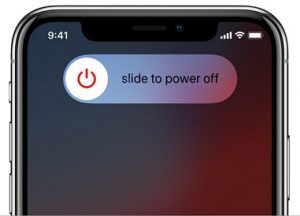
If you still don’t hear the alarm’s sound, we recommend performing a soft reset. This is essentially restarting the device, but it is an effective solution for many common iOS issues. Here’s how to do it:
Step 1: Press and hold the Side/Power button and one of the volume buttons at the same time. For iPhone 8 and older, press and hold the Power button only.
Step 2: When “Slide to Power” off appears on the screen, release the buttons. Drag the slider to the right to turn off the device.
Step 3: Wait at least 30 seconds and then press and hold the Power/Side button again to turn on the device.
5. Delete and Recreate the Alarm
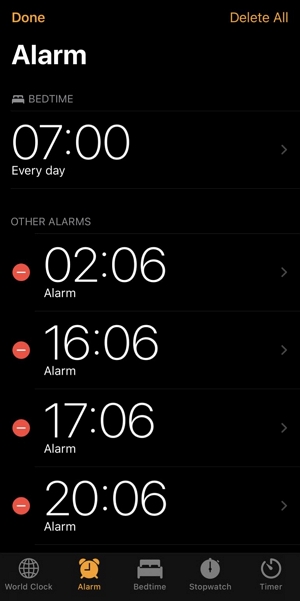
The alarm itself may fail to work if it is corrupted. The easiest solution, in this case, is to delete the alarm and then recreate it. Follow these simple steps to delete the alarm:
Step 1: Open the Clock app from the iPhone’s home screen.
Step 2: Select the alarm that you would like to delete.
Step 3: Tap on the red minus icon to delete the alarm.
Step 4: Delete all alarms that you may have set up and then reboot the iPhone.
Step 5: Then open the Clock app again and scroll down to tap “Alarm” or “Bedtime.” Tap on the plus icon at the top to create a new alarm.
6. Reset All Settings on iPhone
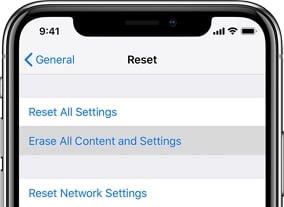
Resetting all settings on your iPhone is a great solution if the problem is caused by poorly configured options or conflicting settings. This will not affect the data on your device, but it will restore all your settings to defaults. Here’s how to do it:
Step 1: Open the Settings app and then tap “General”.
Step 2: Scroll down to tap “Reset” and then select “Reset all Settings”.
Step 3: Enter the device’s passcode when prompted and confirm the action.
7. Update Your iOS
Updating your iOS to the latest version is one of the best ways to fix issues like this one. This is because an iOS update will often come with patches that can address common bug issues.
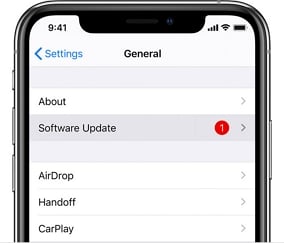
To update the iOS, go to Settings > General> Software Update, and if an update is available, select “Download and Install” to begin updating the device.
8. Try FixGo to Refresh the iPhone’s System
But if an update is not available, your only option to repair a problematic iOS system is to use a iOS system recovery tool. One of the best solutions for this purpose is iToolab FixGo.
This program is designed to help resolve any issue your iOS devices might be having like this one and other common issues such your iOS device stuck on the white/black screen, Apple logo, Recovery/DFU Mode, restarting loops, bricked with a frozen screen, or simply won’t turning on without losing data. Here’s how to do it:
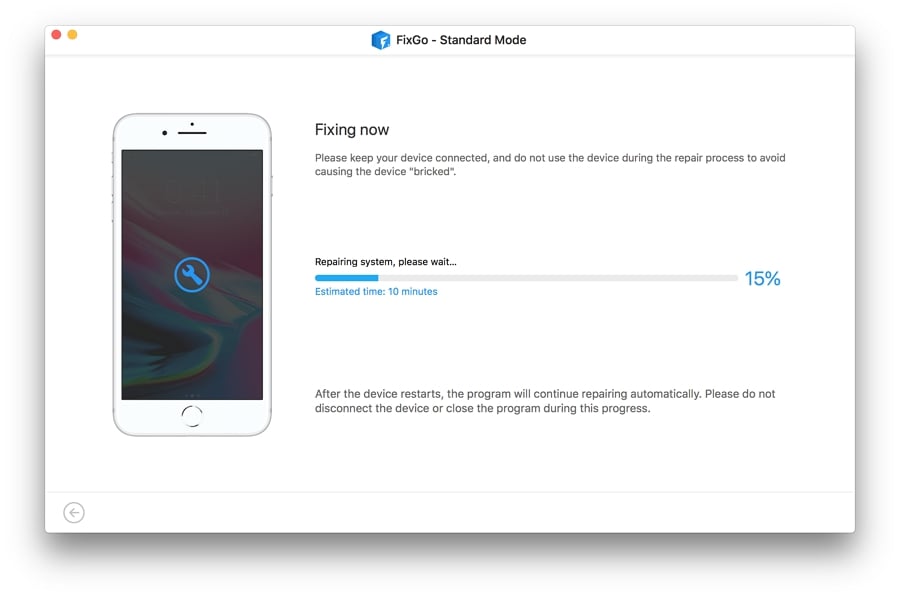
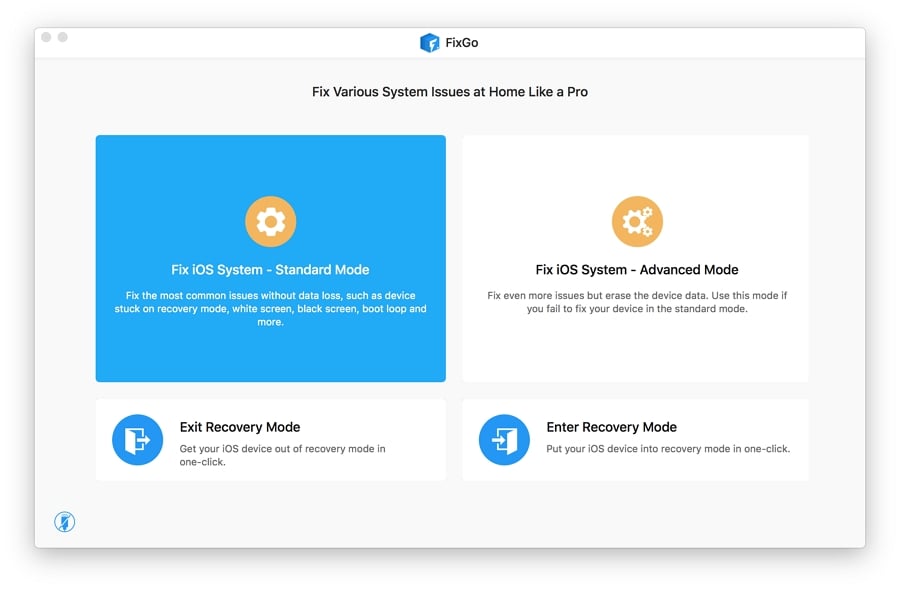
Step 1: Run FixGo and select “Standard Mode.” Use a lightning cable to connect the device to the computer.
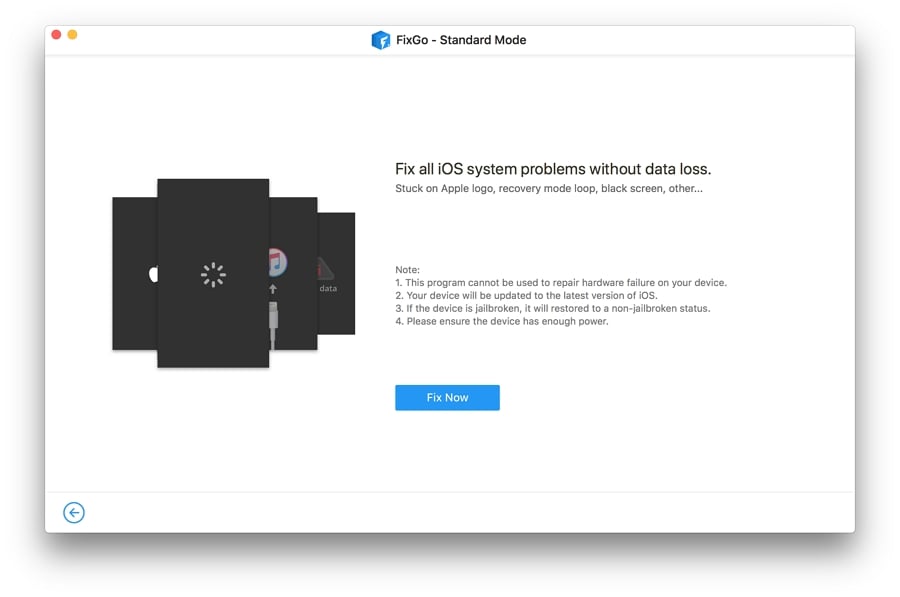
Step 2: When the program detects the device, click “Fix Now” to begin the process.
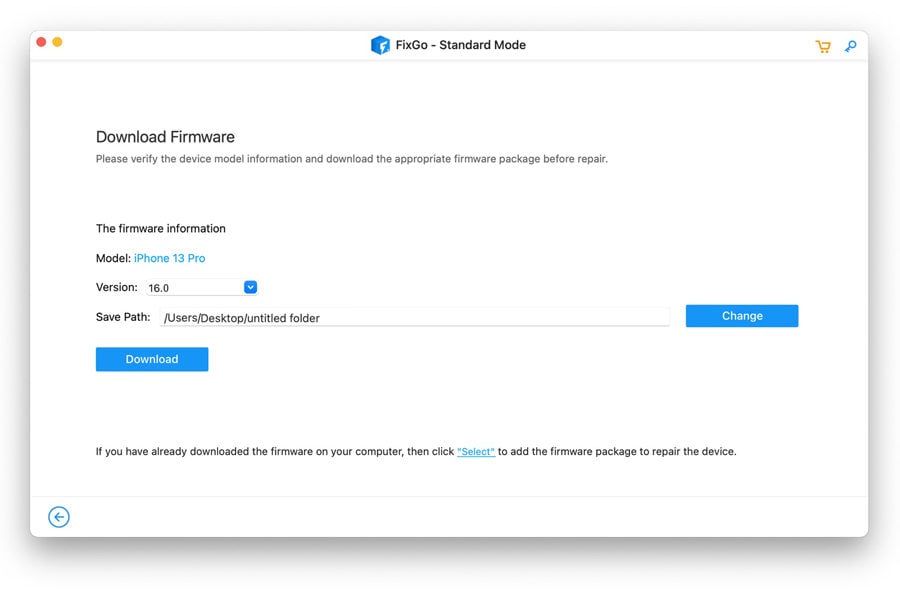
Step 3: To update the iPhone’s system, the program will need to download the latest firmware. Just click “Download” to begin downloading the necessary firmware.
Step 4: Once the firmware has been downloaded, click “Repair Now” and the program will start to fix the device. Your device will restart in normal mode soon after the repair process is complete.
