In this article, we offer solutions for when your iPhone screen stays on even when you don’t want it to. This can be problematic especially because it can drain the battery too quickly.
The solutions we outline below can be very helpful in solving this issue regardless of why it happening.
Let’s get started.
1.Fix iOS Issues with FixGo without Data Loss
This issue can be caused by software problems with the device. In this case, we recommend using iToolab FixGo to repair the device. This program can be used to fix iOS issues very easily and without causing data loss. Before we show you how to use FixGo to repair the device, let’s take a look at some of its features.
- It is one of the best ways you can prevent data loss from the device if it is not working properly.
- It is also a great solution for more than 200 iOS system issues including a device that is stuck on the Apple logo, blank screen and the recovery mode loop.
- It is fully compatible with all iPhone models and the lateset iOS version namely iOS 26.
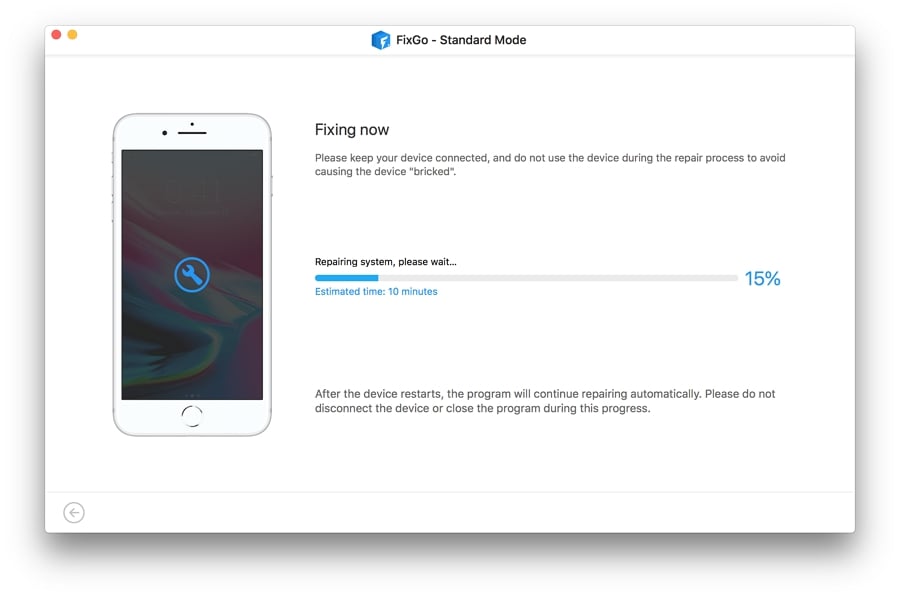
To use FixGo to repair the device, download and install the program on to your computer and then follow these simple steps:
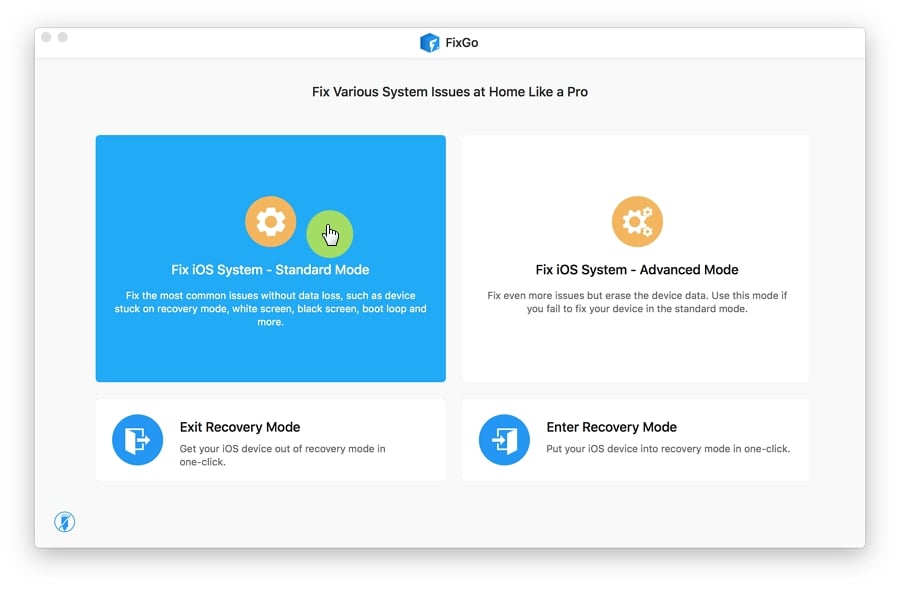
Step 1: Run FixGo and in the main window, click on “Standard Mode”.
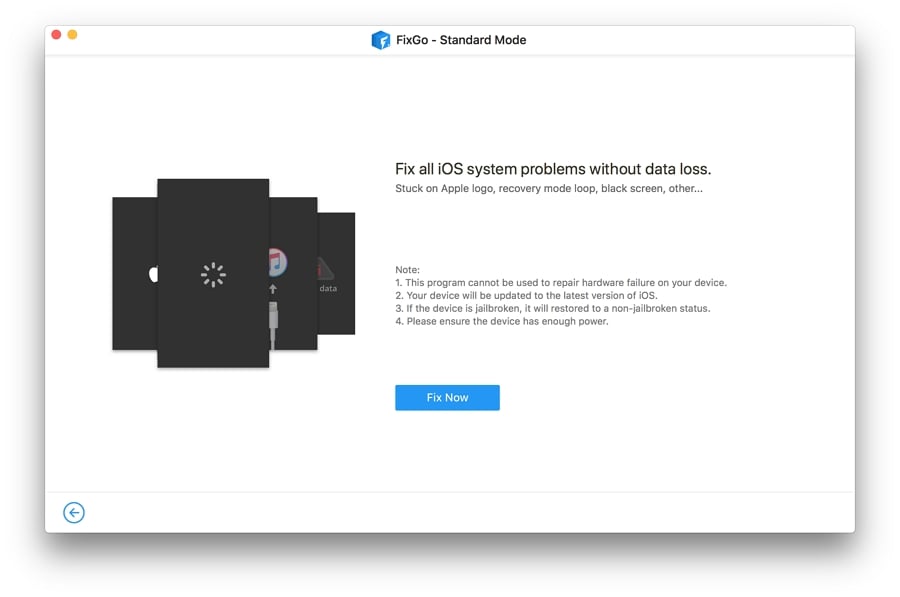
Step 2: Connect the iPhone to the computer using its original lightning cable and then click “Fix Now” to begin the process.
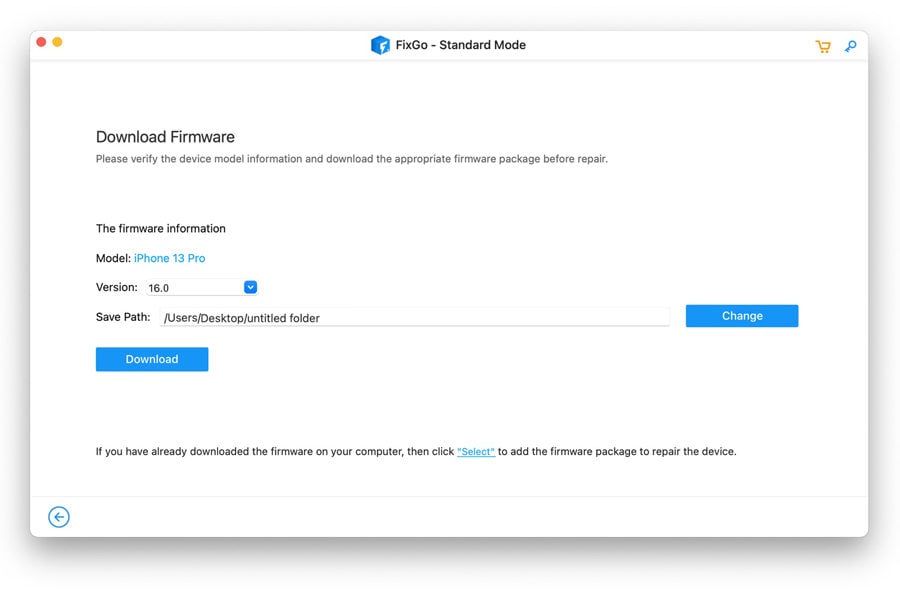
Step 3: You will then need to download the necessary firmware to update the device’s system. Simply click “Download” to start downloading the firmware.
Step 4: Once the firmware package has been downloaded, click on “Repair Now” to start updating the device’s system. Keep the device connected to the computer until the process is complete.
2. Restart your iPhone
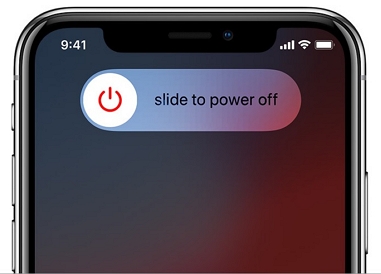
Restarting your device is one of the best ways to get your device working properly and may therefore help you fix this backlight problem. To restart the iPhone, follow these simple steps:
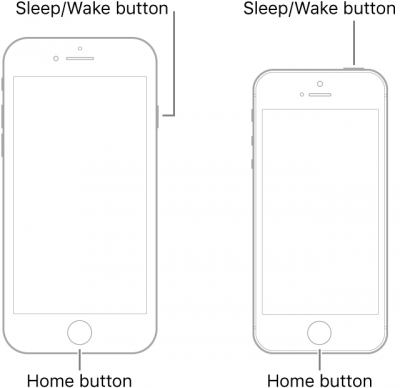
Step 1: Press and hold the Sleep/Wake button until the “Slide to Power” off slider appears on the screen.
Step 2: Drag the slider and wait for the device to turn off.
Step 3: Wait a few seconds before pressing the Sleep/Wake button until the Apple Logo appears on the screen.
3. Force Restart iPhone
If the device is still not responding then you may need to force restart the iPhone. Follow these simple steps to force restart your device depending on the model:
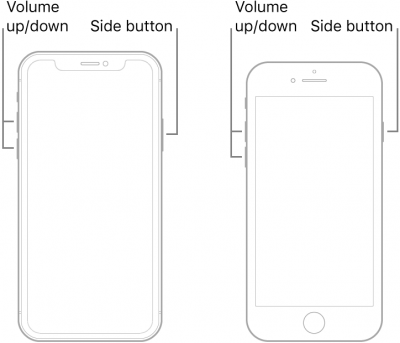
For iPhone with Face ID, iPhone SE (2nd Generation), iPhone 8 or iPhone 8 Plus:
Step 1: Press and release the Volume Up button.
Step 2: Press and release the Volume Down button.
Step 3: Press and hold the Side button until the Apple Logo appears.
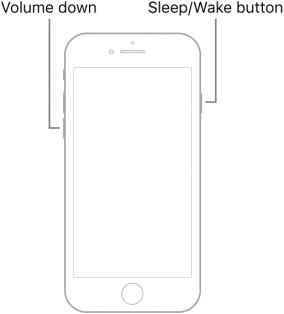
For iPhone 7 or iPhone 7 Plus:
Step 1 Press and hold the Volume Down button and the Sleep/Wake button.
Step 2: Release the buttons when the Apple logo appears.
For iPhone 6s, iPhone 6s Plus or iPhone SE (1st Generation):
Step 1: Press and hold the Sleep/Wake button and the Home button at the same time.
Step 2: Let go of the buttons on the Apple logo appears on the screen.
4.Change Auto-Lock Setting
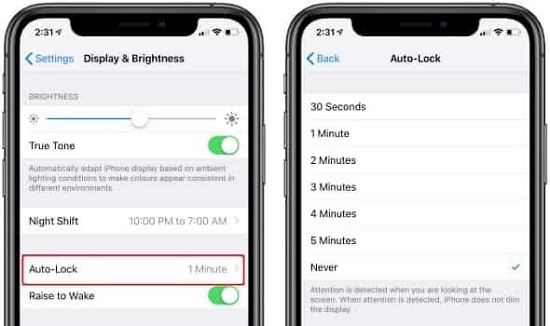
Your iPhone’s screen will turn off by default after one minute. But if for some reason this doesn’t seem like sufficient time, you can change it in the device’s settings. Follow these simple steps to do it:
Step 1: Go to Settings > Display & Brightness > Auto-Lock.
Step 2: Here, you can choose the amount of time you want the iOS device’s screen to remain on. Pick a value that works for you.
5. Use iTunes to Restore the iPhone
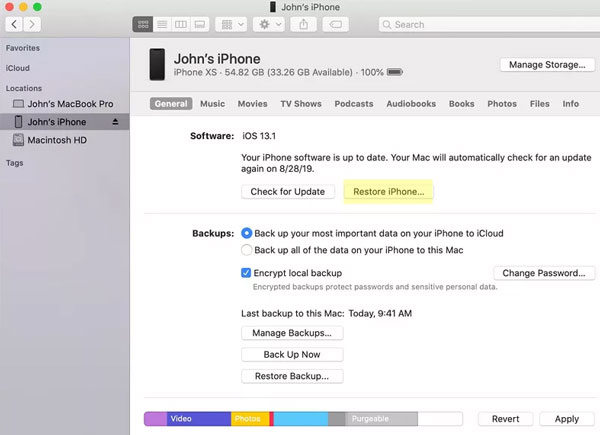
If the problem persists, then you can restore it in iTunes. This process works because it restores the device to its factory settings, thereby deleting some of the data and settings that may be causing the issue.
But it may be important to back up the data on the device before doing this as it may cause data loss.
That said, here’s how to use iTunes to restore the iPhone:
Step 1: Open iTunes on your computer and make sure that you are running the latest version of iTunes.
Step 2: Connect the iPhone to the computer using USB cables and you should see iTunes detect the device.
Step 3: Click on the icon at the top left corner of the scree and the select the “Summary” tab.
Step 4: Click on “Restore iPhone” and keep the device connected until the process is complete and the device restarts.
