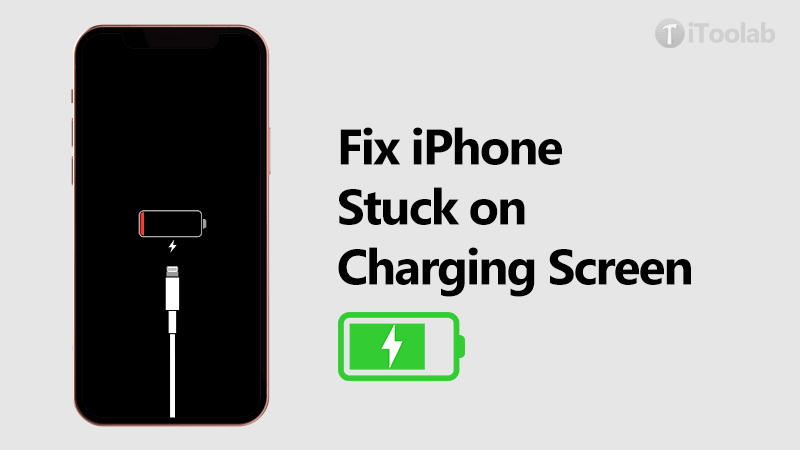
iPhone stuck on the red battery screen is a common problem that can occur when the iPhone’s battery is not working properly or is completely drained. In this article, we show you what to do when your iPhone is stuck on the red battery screen.The solutions listed here will be able to help regardless of the reason your iPhone is stuck on the red battery screen.
Why Is My iPhone Stuck on the Red Battery Screen?
Before we fix the problem, let’s quickly talk about some of its common reasons may cause iPhone stuck on the red battery screen.
- Your iPhone might not be charged enough or is not being charged properly.
- iPhone has been overheated due to charging, then it can cause the same issue.
- iPhone’s battery might not be calibrated properly and needs to be discharged first.
- iOS device is running on old or corrupt firmware.
- Bttery’s low performance, malware attack, or a software-related problem with the iPhone.
Before you try one of the solutions in this article, check the following:
- Make sure that the charging adapter, cable, and wall outlet and working properly. Your iPhone may show the red battery screen when one of these charging components is not working properly and the device’s battery remains critically low.
- Check if there is any dirt or dust in the charging port.
- If you are certain that the charging components and the charging port are not damaged, allow the device to charge for up to 30 minutes before attempting to fix the issue.
How to Fix iPhone Stuck on the Red Battery Screen?
If you have done all the above and the device is still stuck on the red battery screen, try the following solutions:
- 1. Use FixGo to Fix Potential Software Issues of iPhone
- 2. Restart Your iPhone
- 3. Restart Your iPhone
- 4. Heat the iPhone Slightly
- 5. Connect the iPhone to the Computer and then Disconnect
- 6. Contact Apple Tech Support
1. Use FixGo to Fix Potential Software Issues of iPhone
Sometimes the software issues can go deeper than a force restart can reach. In this case, the third-party software designed to help fix these software issues will come in handy. This program is iToolab FixGo and it will easily resolve these issues without affecting the data on your device. The following features make it the most advantageous solution in this case:
- FixGo will fix over 200 different iOS stuck and system issues including an iPhone stuck on the red battery.
- It is one of the go-to solutions when you want to fix the device without losing data.
- It supports all iPhone models from iPhone 5 to 14 running all versions of iOS including iOS 16.
- It is very easy to use: you don’t need tech expertise to fix your iPhone using FixGo.
Here’s how to use FixGo to fix an iPhone that is stuck on the red battery:
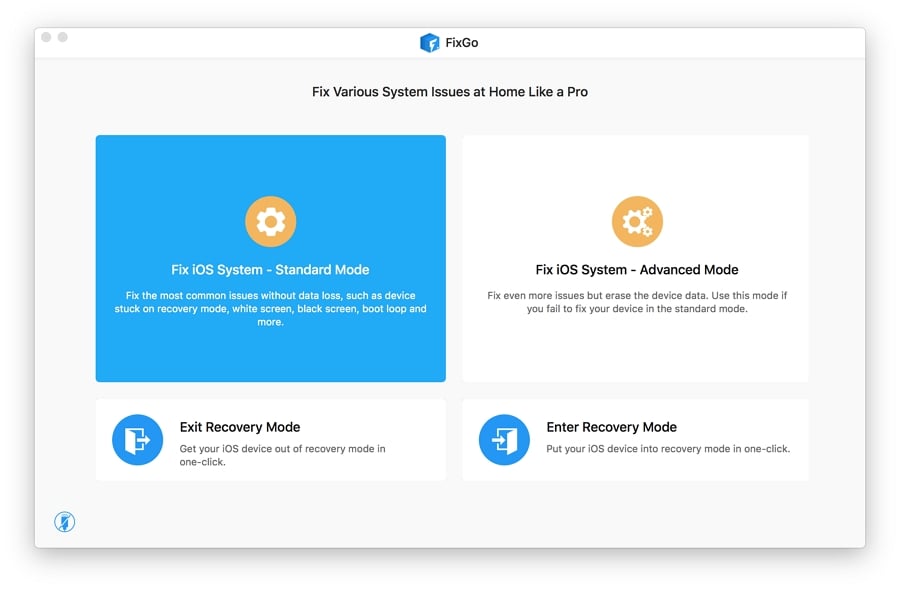
Step 1 Install FixGo on to your computer. Open it and then select “Standard Mode” in the main window. Connect the iPhone to the computer and click “Fix Now” to begin.
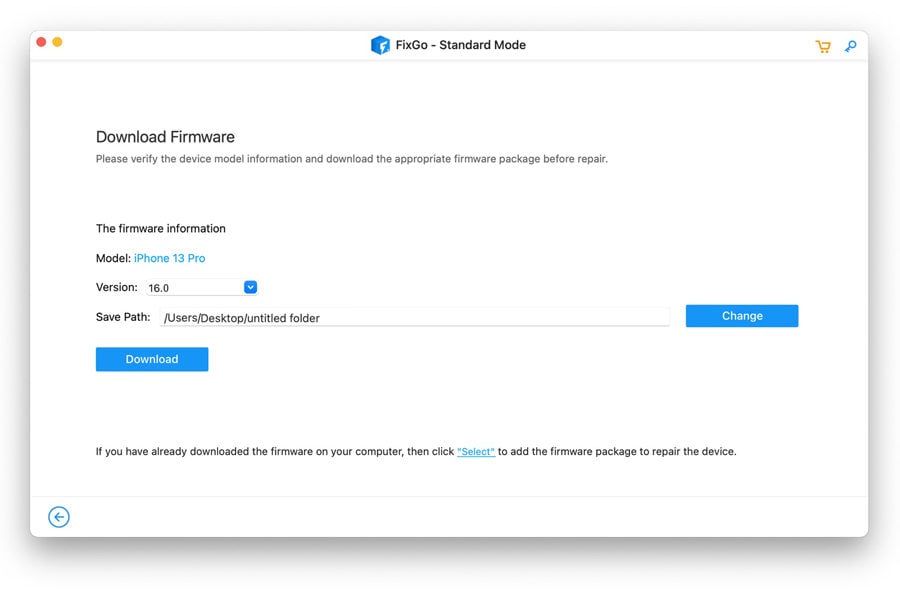
Step 2 Click “Download” to begin downloading the firmware needed to repair the device.
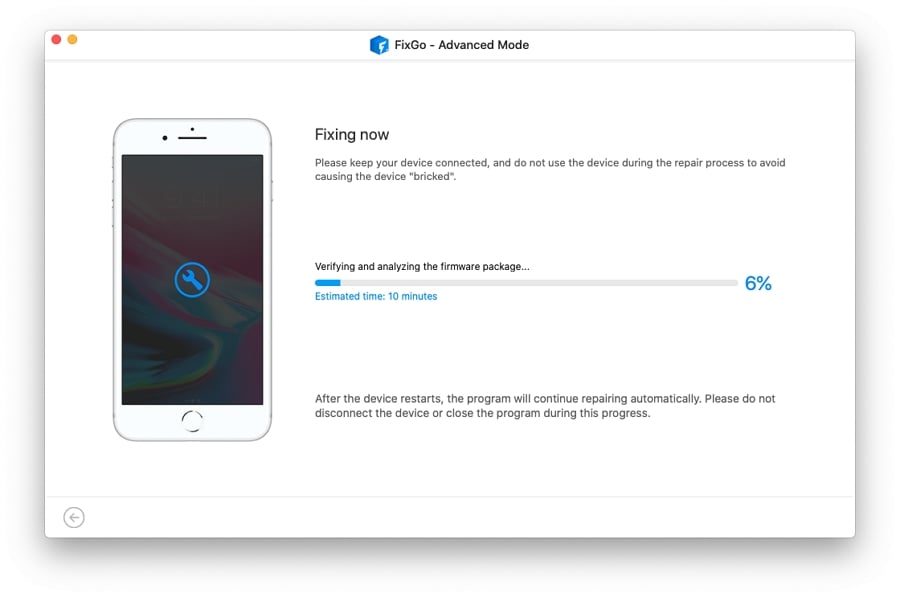
Step 3 As soon as the download is complete, simply click “Repair Now” and FixGo will begin fixing the device. When the repair process is complete, the device will restart in normal mode.
2. Restart Your iPhone
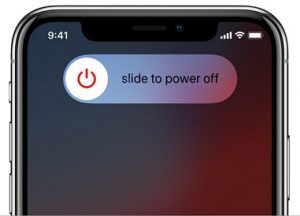
This problem can occur when the iPhone suffers from system issues or is plagued by software glitches. A simple restart can remove these glitches and hopefully fix the problem. Here’s how to restart your iPhone:
On iPhone X, XS, XR, 11 Series, and above: Press and hold one of the Volume buttons and the Side button until the power of slider appears.
On iPhone 8,7 and 6: Press and hold the Side button until the Power off slider appears.
On iPhone SE, 5 or earlier: Press and hold the top button until the power off slider appears.
Drag the slider to turn off the device. Wait a few seconds and then press and hold the Side or Top button to turn on the device again.
3. Force Restart iPhone
A force restart should be your next solution if a simple restart doesn’t work. This will go deeper in terms of clearing any bugs that may be affecting your device. Here’s how to force restart the iPhone depending on the model you have:
For iPhone 8, X, and Later models: Press and release the Volume Up button. Press and release the Volume Down button and then press and hold the Side button until the Apple Logo appears on the screen.
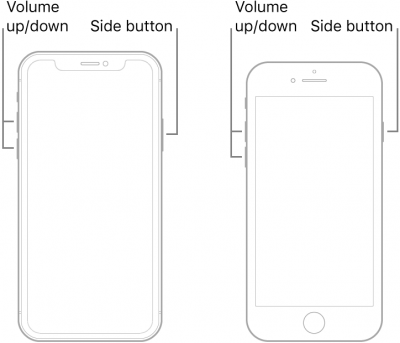
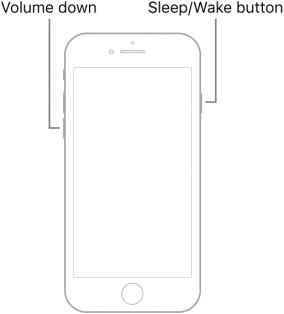
For iPhone 7 and 7 Plus: Press and hold the Side and the Volume Down button at the same time for about 10 seconds. Release them when you see the Apple logo appear on the screen.
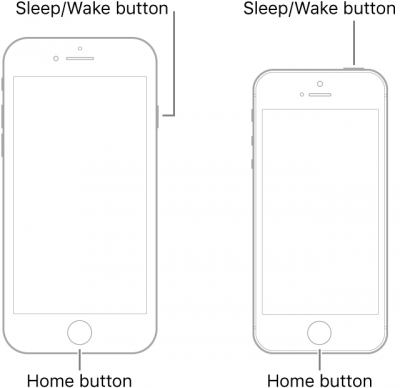
For iPhone 6s or earlier: Press and hold both the Side and the Home button for at least 10 seconds. Release the buttons when the Apple Logo appears.
4. Heat the iPhone Slightly
This method has worked for some people based on the many comments we have received on this issue. To safely heat the device, grab the hairdryer or a hot water bottle, and apply heat to the back of the iPhone for about 30 seconds. Then try to turn on the device.
5. Connect the iPhone to the Computer and then Disconnect
Disconnect the iPhone from the charging adapter and connect it to a computer. If the device powers on normally, keep it connected to the computer for a few minutes before unplugging it. Try to turn it on. If this doesn’t work, follow these simple steps:
Step 1: Using a lightning cable, connect the iPhone to the computer and open Finder (macOS Catalina and newer) or iTunes (Windows PC or macOS Mojave and earlier).
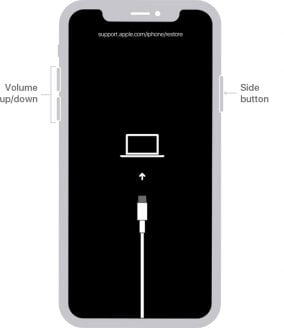
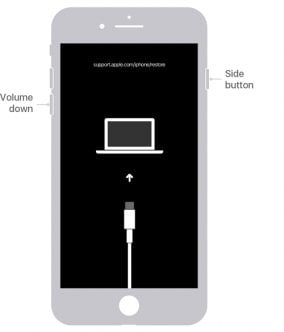
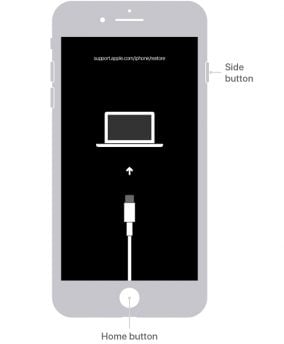
Step 2: Put the iPhone in recovery mode. Here’s how to do that for your iPhone model:
iPhone 8 and later: Press and release the Volume Up button. Press and release the Volume Down button. Then press and hold the Side button even when you see the Apple Logo. Do not release the button until the “Connect to iTunes” screen appears.
iPhone 7 and 7 Plus: Press and hold the Power and Volume Down buttons at the same time. Keep holding the buttons even if you see the Apple Logo. Release them only when the “Connect to iTunes” screen appears.
iPhone 6s and earlier: Press and hold the Home and the Side button at the same time. Release them only when you see the “Connect to iTunes” screen.
Step 3: Now disconnect the iPhone from the computer and connect it to a charger. The device should turn on normally. If it doesn’t start charging, press the power button until the Apple Logo appears.
Also Read: Enter & Exit iPhone Recovery Mode with 1-Click
6. Contact Apple Tech Support
If your iPhone is stuck on the red battery even after trying all the solutions above, we recommend contacting Apple Support to make an appointment at your local Genius Bar or any other Apple-authorized repair shop.
The technicians at the store will be able to determine if you need a new battery or if there is any other hardware issue that could be causing the battery issue.
It is not uncommon for a cracked screen or broken piece of glass can get into the device and burn the battery in a way that can affect the battery.

Conclusion
If your iPhone is stuck on charging, now this page shows a few simple, yet effective solutions to help you fix it. For stuck on iPhone 13/14 stuck on the red battery screen, the best way is to use best to try iToolab FixGo. In the end, please share your experience with us in the comments section below.
iToolab FixGo
Best Repair Tool to Fix 200+ iOS/iPadOS/tvOS Issues
- Free to enter/exit iPhone Recovery Mode.
- Easily fix stuck issues and system problems without data loss.
- Friendly to use and super easy for everyone.
- Support all iOS devices and the latest versions.


