Are you an Android user struggling to enable USB Debugging on the locked Android phone? There are various solutions discussed in different forums, and most of the time, those methods vary from device to device. So, users find it difficult to find the best method that suits their device model. This article will show you the best and easiest ways to enable USB Debugging in your locked phone.
What happens when you enable USB Debugging?
1. How does USB Debugging work?
Most of the time, USB Debugging meaning defines similarly. It establishes the connection between PC and phone via USB connection using the Android Software Development Kit (Android SDK). Once the connection establishes, users can send instructions from PC to mobile and vice versa.
Even when the phone is locked, users will perform different functions without any problem. USB Debugging is useful when users want to pull information in the device by means of log files.
2. Is USB Debugging Safe?
Besides all the positives USB Debugging presents, its main downfall is security. When users leave USB Debugging open, the device gets exposed every time it connects with the PC. This poses a great security threat since anyone can access the data. This concern is minimized if the device is connected only to the personal computer.
But the problem happens when the device is connected to any public workstation. Anyone having permission to access the workstation will have access to the device as well. This imposes a greater security threat on personal data.
We recommend not to tick the “always allow” option in the “Allow USB Debugging” prompt to reduce the concerns.
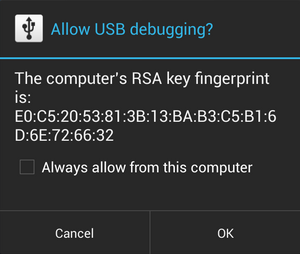
How to Enable USB Debugging on Android device?
It is a simple process to enable USB Debugging in an unlocked Android phone. Here, we will see how we can Android enable USB Debugging in a Samsung device.
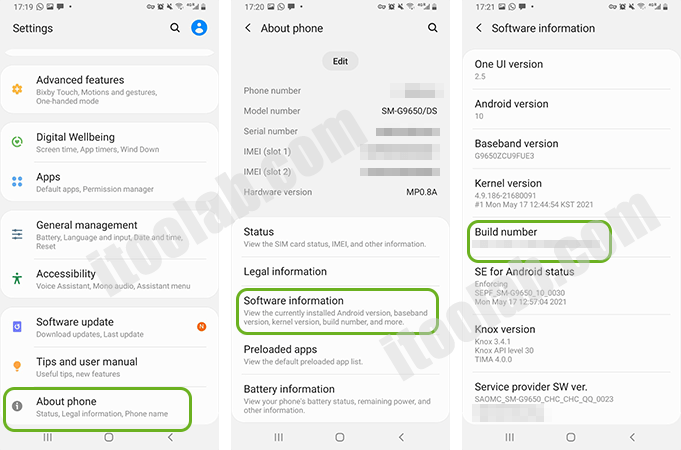
Step 1: Open the Settings app and tap on the About phone option.
Step 2: Tap on the Build number seven times under the Software information section. This prompts a message, “Developer mode has been enabled.”
Step 3: Tap on the back button, and under the Settings menu, search the Developer options.
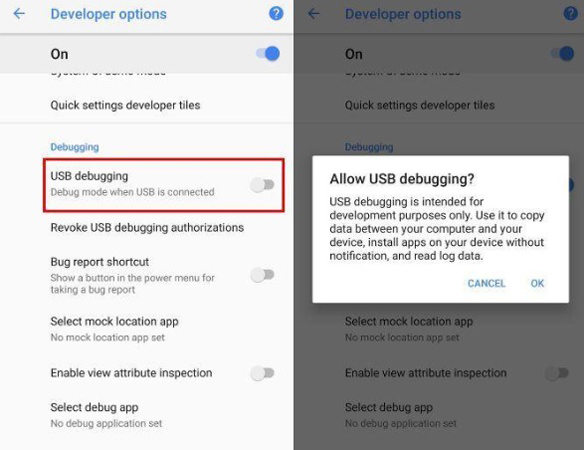
Step 4: Once you find that, tap on it, and turn on the USB debugging toggle.
Step 5: After the message “Allow USB debugging,” tap on the OK to continue. If allow USB debugging not showing up, retry turning the toggle on and off.
Video Tutorial: Enable USB Debugging on Xiaomi Devices
How to Enter USB Debug Mode on Android with Broken Screen?
In all the methods to turn on USB Debugging, OTG adapter, and the mouse are great options for devices with broken screens. This method only works for some models, and you need to check the compatibility on Samsung, Huawei, LG, Xiaomi, ZTE, HTC or Lenovo before testing it. This is a great method when the device is locked.
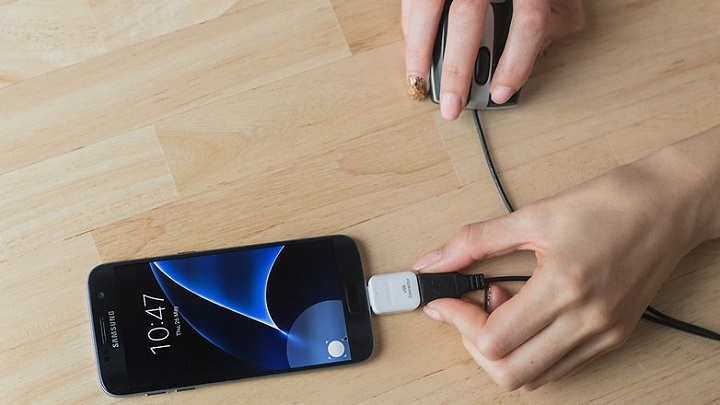
Here are the steps to enable USB Debugging on the broken screen
Step 1: Connect the Android device with the mouse and OTG adapter.
Step 2: Use the mouse to unlock the Android device and enable the USB Debugging to the Settings app.
Step 3: After enabling it, connect the device to the PC using the USB cable.
Step 4: The PC will recognize the device as external memory, and users can copy files, videos, photos etc.
By enabling this debug mode Android, users can perform any instruction from their PC.
How to Enable USB Debugging in Locked Phone?
It is frustrating when the phone is locked and unable to access the data. Your phone might be locked by FRP or locked by screen lock. Whatever the case, it is difficult to find a proper tool or software that can remove both these lock types. iToolab has introduced an amazing tool that supports removing the mentioned locks in a few minutes.
Using iToolab UnlockGo (Android), users can remove all types of screen locks, including PIN, pattern, fingerprint, and face unlock, without enabling USB Debugging. Sometimes it is hard to enable the USB Debugging manually, whereas UnlockGo (Android) will enable it during the FRP lock removal process. It supports major Android brands like Samsung, Xiaomi, Motorola, Huawei etc. Apart from that, it can unlock the screen lock of the Samsung S7 and below with no data loss.
- Enable USB debugging on locked device
- Bypass Samsung FRP lock on Android 5-13
- Unlock Android without any tech skill
- Remove all Android screen locks
- Quick factory reset Samsung devices
How to enable USB debugging on FRP-locked phones?
Step 1: Connect the Samsung device to the PC
Firstly, connect the Samsung device to the PC. Then click on the Remove Google Lock (FRP) option.

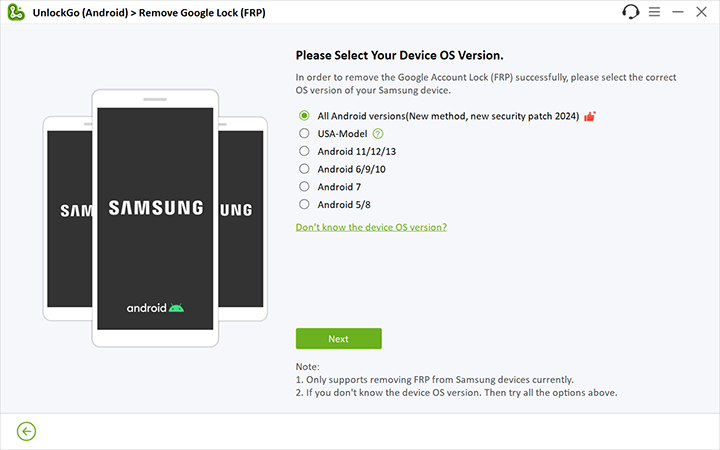
Step 2: Select the new FRP bypass solution
On the next screen, click on the Start button. Then select the first option, and click on the Next button.
Step 3: Enable USB debugging in locked Samsung
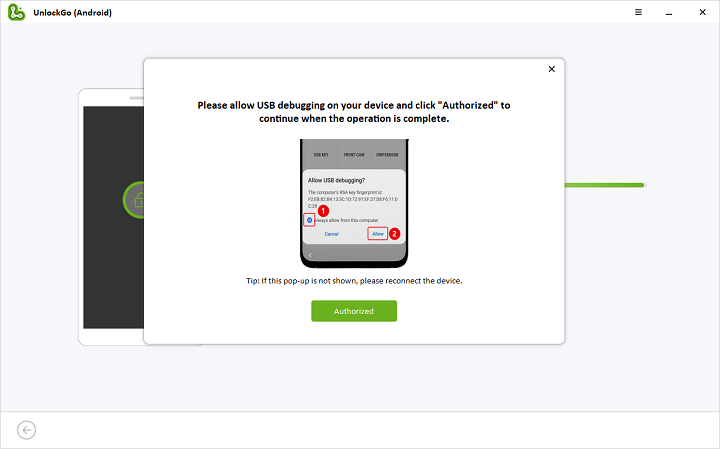
Now, follow the on-screen hints and enter the secrect codes on emergency call dial. Make sure you Samsung is being connected to your PC or Mac. Later, a pop-up will be shown on your phone. Just allow USB debugging in this computer.
Step 4: Restart and done
Once debugging is enabled, your phone should be rebooted automatically.
How to remove PIN/pattern lock on Android without USB debugging?
Step 1: Connect the device
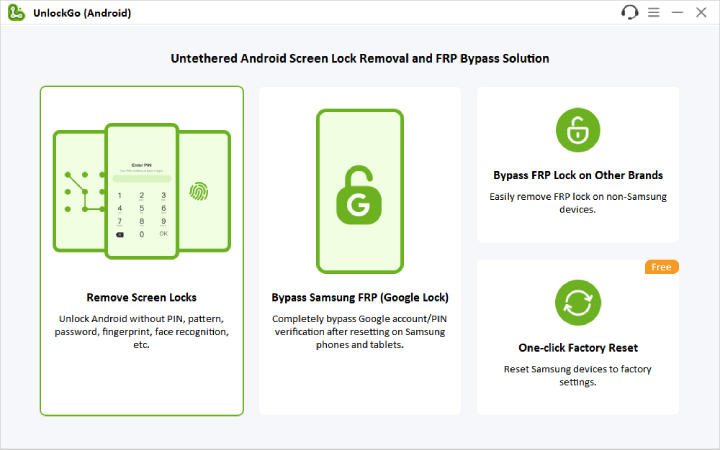
Open UnlockGo (Android) and connect the phone to the PC using the USB cable. Then click on the “Unlock Screen Lock” option in the software followed by “Start”.
Step 2: Verify device information
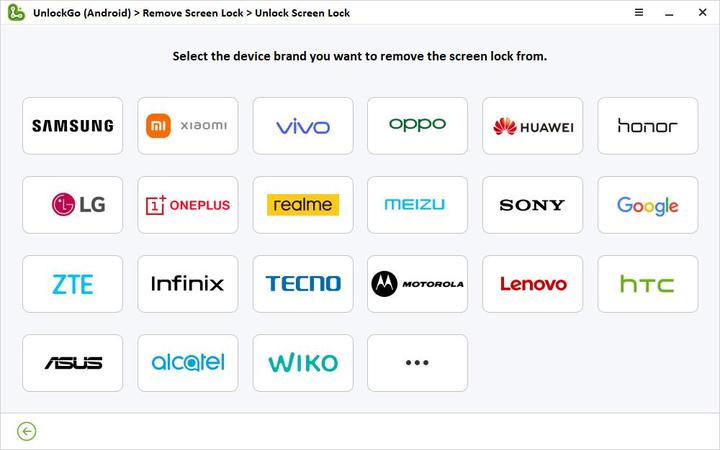
Check and confirm the brand of your device on the screen by clicking the “Unlock” button.
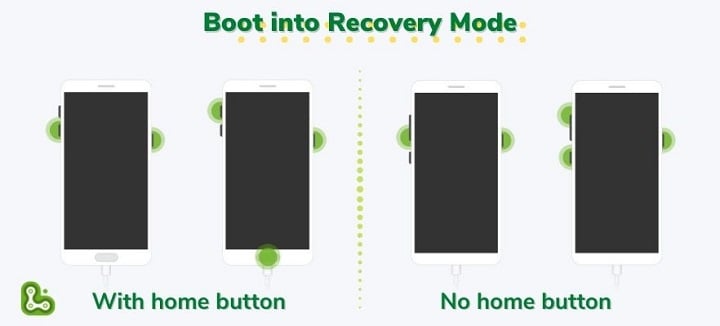
Step 3: Boot the device into recovery mode
The way to put the device into Recovery Mode varies depending on the model. If you are a Samsung user, there are 2 methods for the device with or without a Home button.
Step 4: Start unlocking
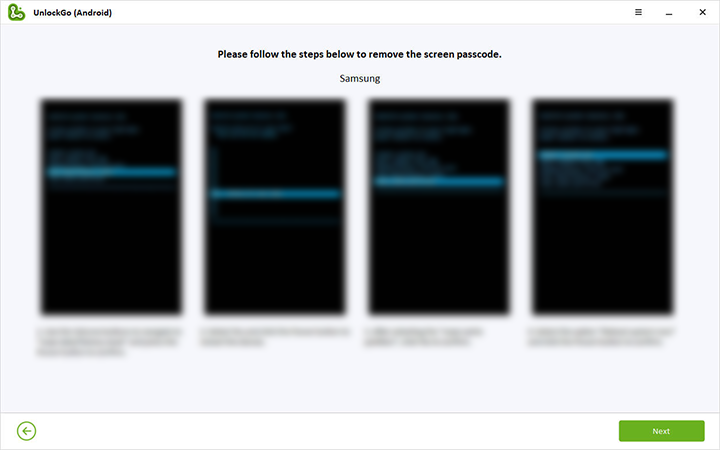
After booting into recovery mode, follow the instructions on the screen.
Step 5: Finalize unlocking
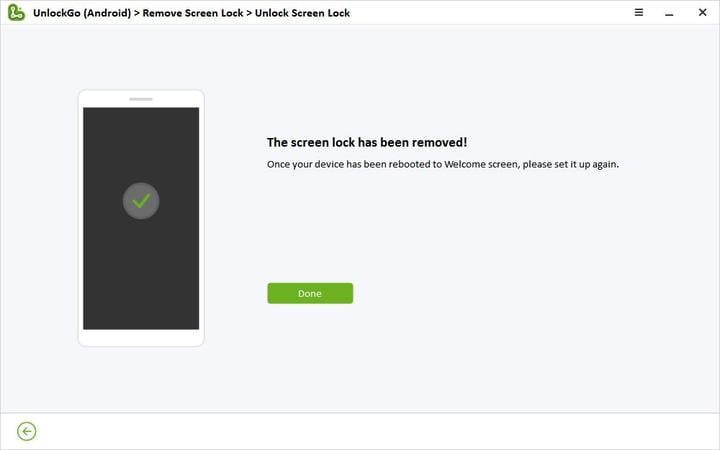
Click on the Done button and restart the device to set a new password. Now you have a device with a screen lock unlocked. Turn on USB debugging without restriction.
Conclusion
We hope this guide provided solutions to all the issues you had on enabling USB Debugging on a broken screen. Furthermore, if the screen has no damages and you want to remove the screen lock to enable the USB Debugging, we recommend using iToolab UnlockGo (Android). With this software, now it is easy to enable USB Debugging on Android 13/12/11/10 even if it is FRP locked.


Please help me my phone samsung Galaxy A3 core
This didn’t work for me Galaxy Fold 2 5G – I tried all the FRP options none worked. My device got FRP Locked USB Debugging was not enabled prior.
Hi jimmy, we’re unable to find your order. Can you please send an email to our support center? Please also include your order number in the email.
it didn’t work on my galaxy A35 5g
tried all frp unlock and nothing unlocked my phone I want refund now tired of trying plz help
Hi Dawn, we’re sorry for the inconvenience caused to you. We didn’t find any order under your email address Cila****[email protected]. To protect your personal information, please send an email to our support center with your order number.