Restore Google Backup to Android phone seems easy, but in reality, it’s simply not! To restore your Android phone, you have to factory reset your device, which makes you lose all your existing data on the device. Backing up your Android data on Google Drive is like stuffing your 2×2 closet with all your jackets, shirts, and jeans and still planning to throw in some winter outfits too. But it’s the storage that matters!
This is where you might want to need a tool that helps you to manage Google backup on Android. With RecoverGo Android, you can restore deleted files with easy step, download backup history into your computer and recover at any time you want. (More on this powerhouse, later in this article). Following is our detailed guide on how to restore Android phone from Google backup.
Offical Way to Restore Google Backup to Phone
Whether you have bought a new Android phone or factory reset your old one, you can easily restore the backup from Google backup. However, to restore the Android phone from the Google phone, you need to be on the setup screen of your Android phone.
Here’s how to restore backup from google drive to phone:
- On your Android phone’s setup page, click on the arrow in the center to get started with setting it up.
- Select the System language from the list and tap on next. Then, connect to the Wifi network by entering the password.
- On the privacy and policy page, click on Accept and Continue to move forward. If it prompts you to copy your data from the other device to this one, deny it.
- Next, enter your Google account login details, checkmark the boxes per your needs, and hit Next. Tap Accept on the Privacy and Policy page.
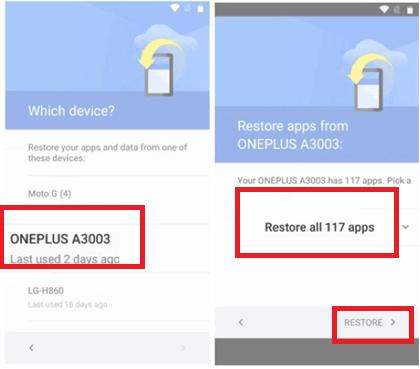
- Finally, choose the device you want to restore your data to the new one and tap on Restore your backup from Google backup. That’s it.

Advanced Way to Restore Backup from Google Drive without Factory Resetting
As time goes by, your Android phone has kept many photos and other vital data. You may back up these important data in Google Drive. But if you just accidentally deleted certain files or lost part of the data? Is there a way to restore backup from Google Drive without factory resetting? iToolab RecoverGo Android helps you solve this issue, which allows you to download Google Drive backup and keep history backup to computer.
RecoverGo (Android) – Recover Data after Restoring
389,390,209 people have downloaded it
Here’s how to restore Android phone from Google backup with RecoverGo Android:
Step 1 Download and launch RecoverGo Android on your computer, select “Recover Android Data from Google Drive”.
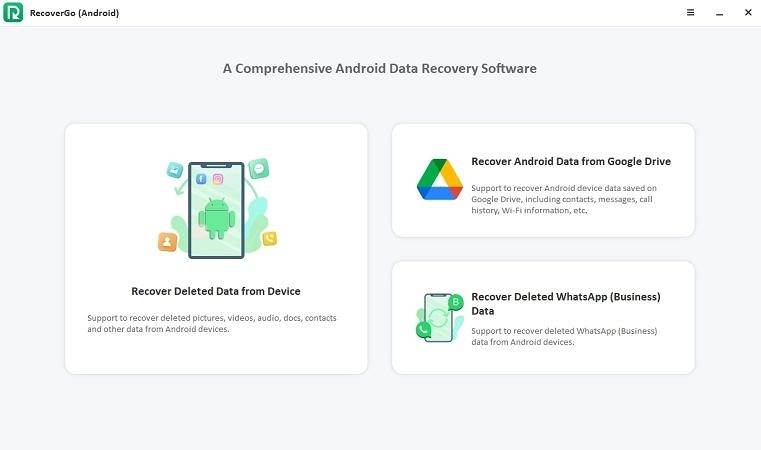
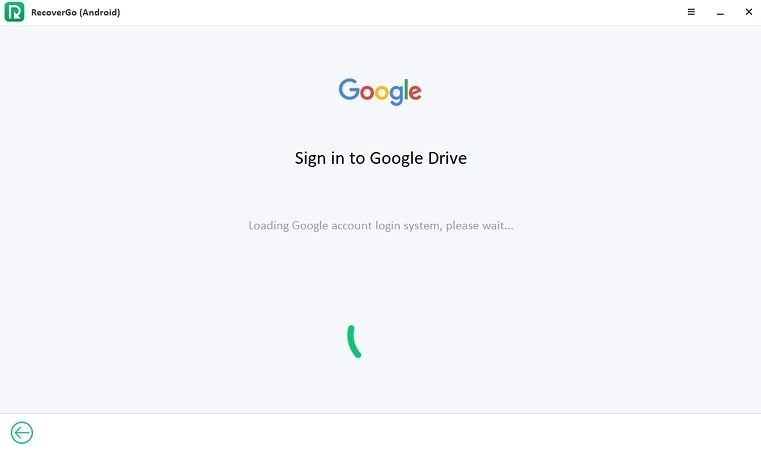
Step 2 Logging in with the Google account that you have the backup data.
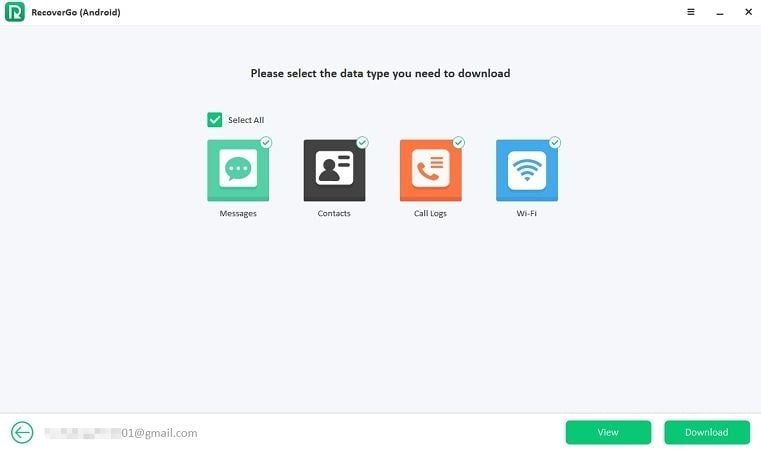
Step 3 Select the file type you want to restore. All the file type has been selected by default, you can also just select a certain file type.
Step 4 Wait for a while let the scan process finish.
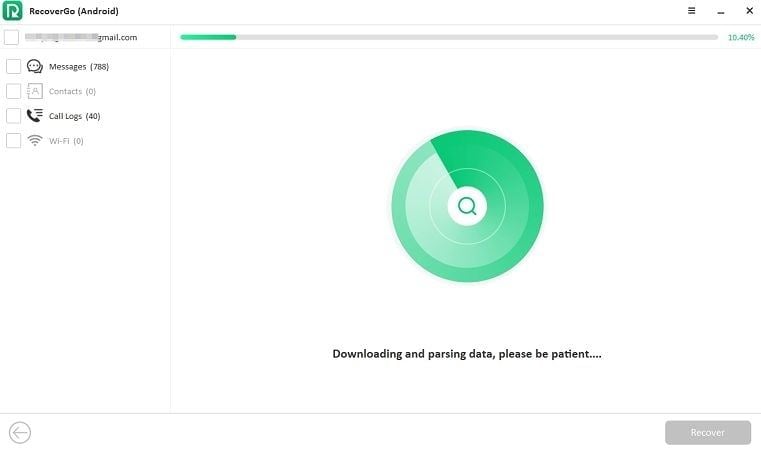
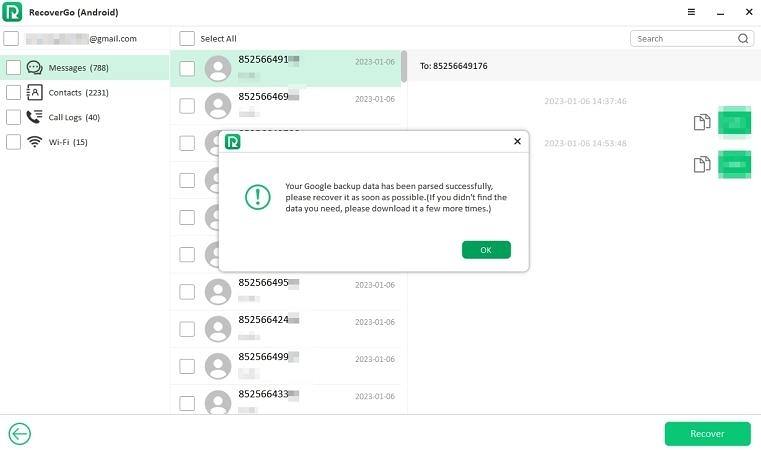
Step 5 All the data will be list after the scan process, you can preview data details and select the file you need to recover. Once the recover process finished, all the data will be restored to your computer directly.
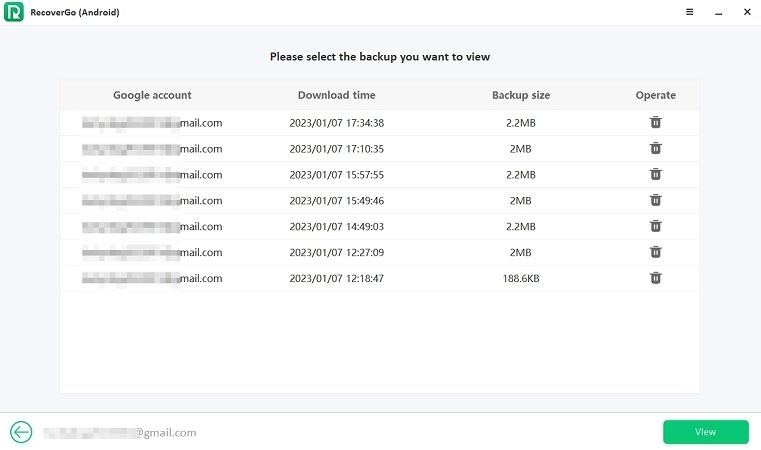
After downloading Google backup, the backup history will also stored in RecoverGo Android software, you can view and restore at any time you need.
Click on the View button and you can easily select the backup history and preview data details.

Click on the “View” button and you can easily select the backup history and preview data details.
Extra Tips: How to Enable/View Google Drive Backup
Whether you buy a new phone or factory reset your old one, Google backup isn’t enabled by default. If you want to recover Google Drive files, you’ll need to enable Google drive backup function. Google Drive only offers 15 GB of free storage, so make sure the backup file doesn’t exceed the limit. Also, if you are uploading a big backup file, make sure you haven’t hit the uploading limit of your Google Drive account. how to restore data from google drive.
Tip 1. How to Enable Google Drive Backup
Turning on Google drive back on your Android phone is as easy as restoring it. However, if you don’t know how to enable the Google Drive backup on your new device, follow the steps below.
- Navigate to Settings. And tap on Google >> Back up.
- Enable the back of your Android phone by tapping on the “Turn on”.
- Your device will automatically be backup up every 2 hours. However, you can also manually create the backup by tapping on Back up now.
- Turn on the Toggle for “Back up by Google One”. Under the backup details, you can enable the type of data you want to backup.
Tip 2. How to View Google Backup
The backup you create on your Android phone is stored in the linked Google Drive. However, finding it might seem a bit hassle. Here’s how to view the Google backup.
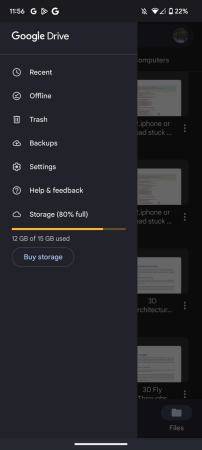
- On your Android phone, launch the Google Drive app.
- Tap on the three horizontal lines in the top right corner.
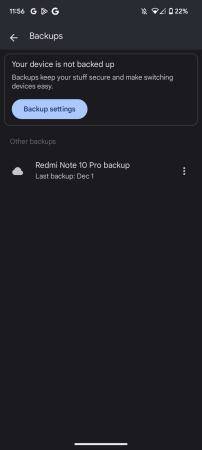
- Tap on the backup; it’ll show you all the backups stored on your account.
Final Words
Thanks to Google Drive integration, Android devices can be backed up and protected from any unexpected data loss. You can restore Google Backup whenever you needed. More over, with RecoverGo Android, this recovery step will be much simpler.


