“Can you put a disabled iPhone in Recovery Mode? I have accidentally entered the wrong passcode multiple times, and now my iPhone is disabled. How to put disabled iPhone in Recovery Mode?”
Getting your iPhone functioning again after it gets disabled is no easy feat. Recovery Mode can be an effective workaround to get things going, but it’s not without its problems. It is since the method to enter Recovery Mode varies with every new iPhone version. Nonetheless, you can follow the tips mentioned in this post to understand how to put a disabled iPhone into Recovery Mode.
Why Is My iPhone Disabled?
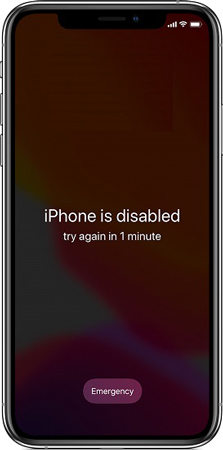
When your iPhone is disabled, it means you have entered the wrong passcode at least six times. If this happens, it means that Apple has frozen it from 30 seconds to even an hour. There could be various reasons why the wrong passcode could get entered on your iPhone.
The main one could be that someone else tried to turn off their device to unlock yours by typing out some digits when they know what’s coming next (really shady!). Moreover, if the incorrect passcode is entered for the 10th straight time, it will result in complete data loss.
Top 2 Ways to Put Disabled iPhone in Recovery Mode
Here, we will share two additional and valuable methods to put your disabled iPhone to Recovery Mode.
Way 1: Use iToolab FixGo to Put Disabled iPhone in Recovery Mode
If none of the conventional means work for you in putting a disabled iPhone into Recovery Mode, then the best solution is resorting to an iOS repair tool called iToolab FixGo. EixGo allows you enter and exit recovery mode in a single click! Not only does it eliminate the disabled phone problem, but it can also repair over 200 iOS/iPadOS system issues in a secure environment without causing any data loss. And you can use FixGo to fix all iOS 15 issues on your iPhone 13/12/11,etc.
Video Tutorial
Here is how to put disabled iPhone in Recovery Mode using FixGo:
📌 Step 1: Connect Your Device to A Computer.
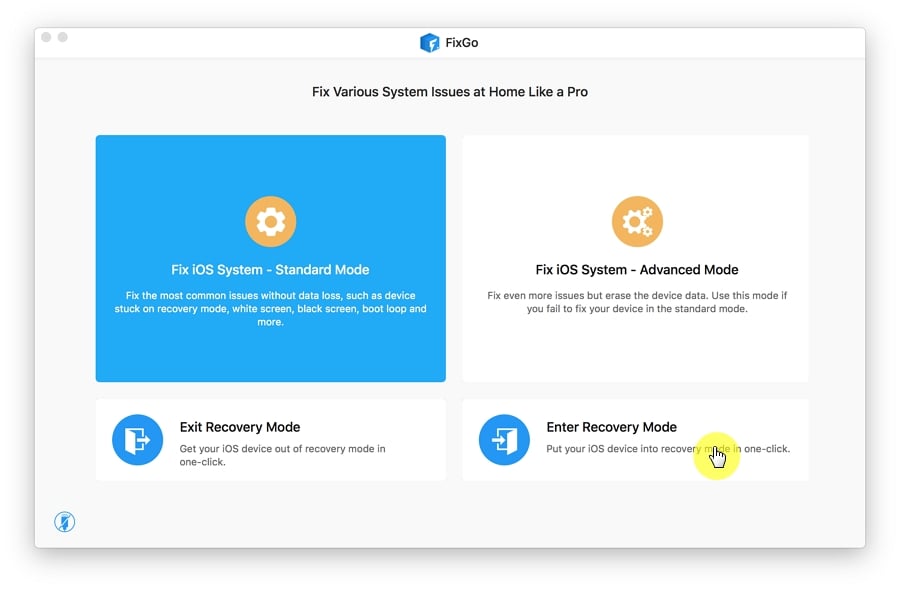
Connect the device to the computer using USB cable and then tap “Trust”. Then please click “Enter Recovery Mode” to begin the process.
📌 Step 2: Successfully Enter Recovery Mode.
Your iPhone will enter Recovery Mode in less than a minute and you should see the “Connect to iTunes” logo on the device’s screen.
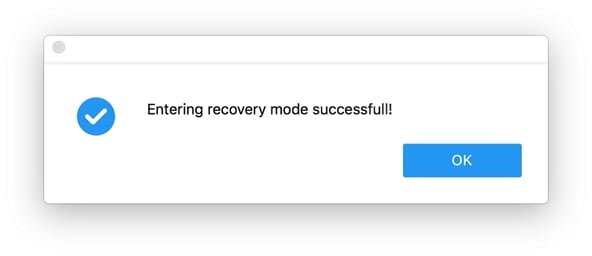
See! it’s super easy to use iToolab FixGo to put your disabled iPhone in recovery mode in just 1-click! It allows you to put any iOS device in recovery mode without pressing a button.
Way 2. Remove Disabled iPhone with iTunes (Data Loss)
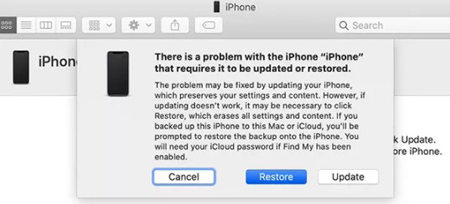
Apple recommends using iTunes to eliminate the disabled error from the iPhone. However, the technique doesn’t work if you connect the disabled device with iTunes that wasn’t recently connected. Please follow the steps below:
- Once you access Recovery Mode on your iPhone, open iTunes on the computer.
- iTunes will detect the device if you have already connected it to the PC using a lightning cable.
- iTunes will detect the device if you have already connected it to the PC using a lightning cable.
Common Ways to Put Disabled iPhone in Recovery Mode
Now that Apple has disabled your device, it’s time to get the device back from the dead. First, we’ve discussed why this happened. Now, in this section, we will share what steps you need to follow on how to put disabled iPhone in Recovery Mode once it is disabled! Still, it is vital to note that enabling Recovery Mode varies with different versions of the iPhone.
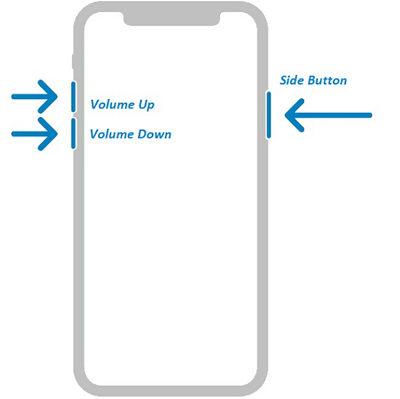
1. Put iPhone 8 or Later into Recovery Mode
The process to access recovery mode varies depending on the type of phone. iPhone 8 doesn’t have a physical Home button, so accessing Recovery Mode involves pressing various buttons. The steps are as follows.
- Connect your iPhone to a computer using a Lightning Cable. At the same time, open iTunes on the system.
- Now, hold your iPhone, and one by one, press and release the Volume Up button and the Volume Down button.
- Next, press the On/Off button and hold it until you see Recovery Mode on your iPhone’s screen.
2. Put iPhone 7 or iPhone 7 Plus into Recovery Mode
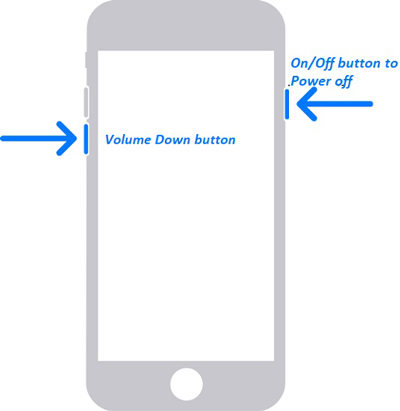
It doesn’t matter if iPhone 7/7 Plus comes without the Home button; you can still enter Recovery Mode quickly. Simply follow the instructions mentioned below to learn how how to put a disabled iPhone into Recovery Mode.
- First, you need to Press/Hold the On/Off button for approx. 3 seconds if it is turned on. Next slide to power off the device.
- Next, hold the Volume Down button, and connect the iPhone 7 with a desktop.
- Launch iTunes on the computer.
- After that, as soon as you view the Connect to iTunes on the iPhone screen, release the Volume Down tab.
3. Put iPhone 6s or Earlier or iPad with A Home Button into Recovery Mode
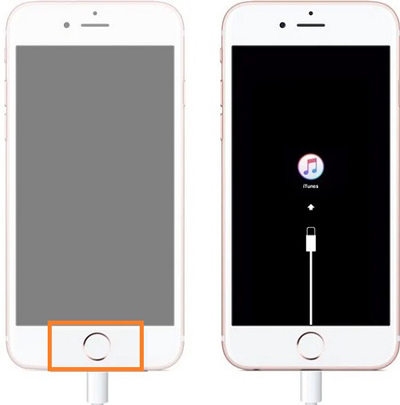
Despite being a primitive version of the iPhone, it is pretty simple to enable Recovery Mode on iPhone 6s or earlier models. Besides, you can apply the following steps to put your iPad with a Home button into Recovery Mode.
- Turn off the iPhone, and connect the device with any desktop system.
- Run iTunes on the PC/Mac.
- Next, press and hold the Home button of the iPhone 6 until you see the iTunes screen.
Also Read: How to Unlock a Disabled iPhone without Losing Data
Conclusion
Now you know how to put disabled iPhone in Recovery Mode. It is a useful skill to learn as the device offers no utility when it is disabled. We have shared methods for virtually every active version of the iPhone. Still, if you cannot get your way around it, the best option is to let iToolab FixGo remove the disabled iPhone.

