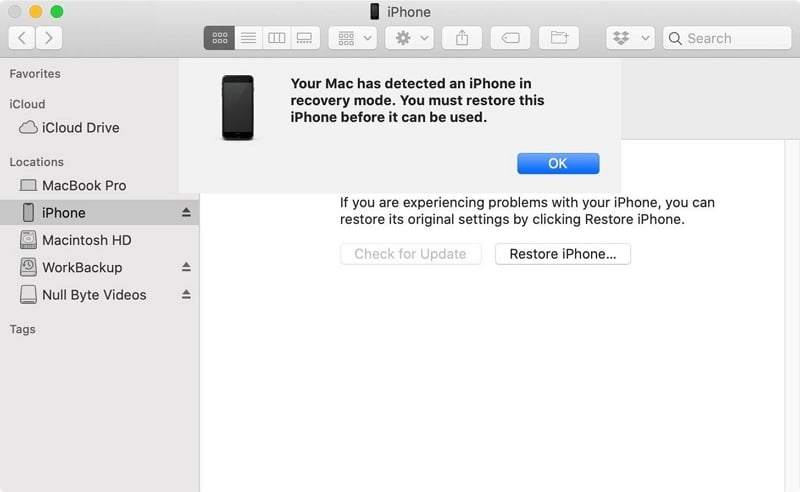
In this article, we aim to show you what to do when your iPhone won’t restore. These solutions are highly effective in getting to the bottom of the problem and allowing you to restore the device.
Let’s get started.
1. Try a Different Lightning/ USB Cable
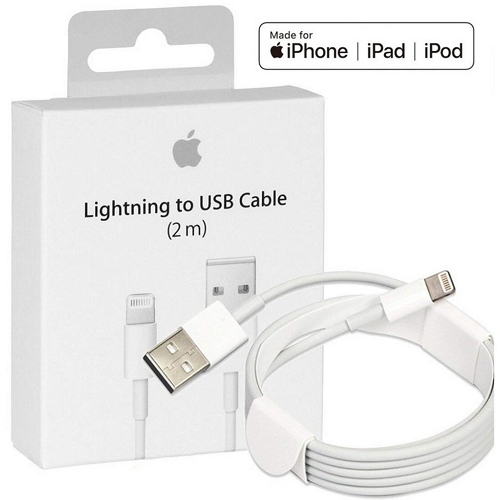
Most of the time, the iPhone may fail to restore because the lightning or USB cable you are using is broken. Therefore, the first thing you should do is replace the cable you are using.
Using a third-party cable that is not MFI certified can also interfere with the restore process. Make sure that the replacement cable that you decide to use is MFI certified.
2. Update iTunes or Finder
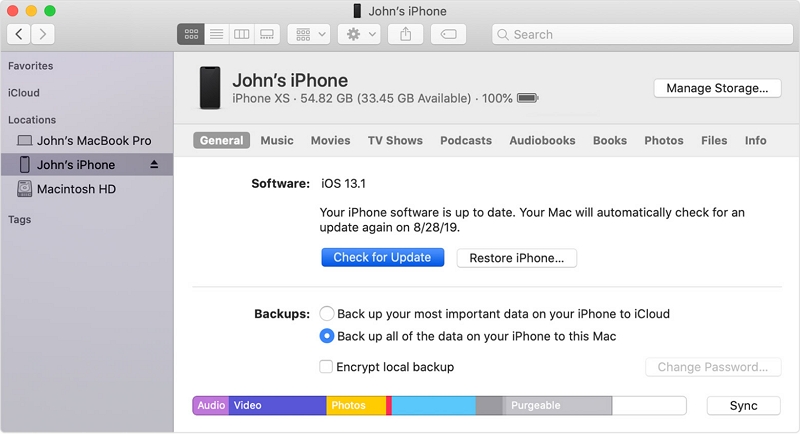
You may also experience problems restoring the device if iTunes is not up-to-date. To update iTunes, follow these simple steps:
On Mac:
- Step 1: Open iTunes on your Mac.
- Step 2: Click on the “iTunes” button at the left-hand side of the Apple toolbar at the top.
- Step 3: In the menu that opens, click on “Check for Update” and iTunes will automatically update or if it is already updated, you will see a notification saying that iTunes is already up to date.
On Windows:
- Step 1: Open iTunes on your PC.
- Step 2: Click on “Help” in the Windows menu bar.
- Step 3: In the menu that appears, select “Check for Updates” and if an update is available, iTunes will update itself. If it is already up to date, you will see a message that iTunes is already up to date.
3. Force Restart Your iPhone
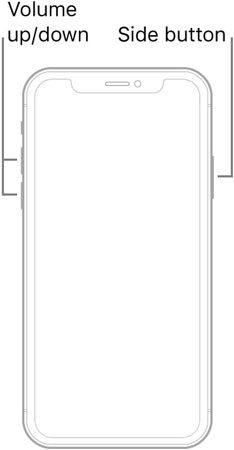
A hard reset can also be a great way to fix a device that will not restore. Here’s how to hard reset your iPhone depending on the iPhone model:
iPhone 6s and older: Press and hold the Home button and the Power button until the Apple Logo appears on the screen.
iPhone 7 and 7 Plus: Press and hold the Power button and the Volume Down button until you see the Apple Logo appears on the screen.
iPhone 8 and newer: Press and quickly release the volume up button. Press and quickly release the volume down button. Then, press and hold the Side button until the Apple Logo appears on the screen.
4. Reboot Your Computer
If iTunes is already up to date, then you may want to reboot your computer to eliminate any system issues with your PC or Mac.
To restart your Mac, click on the “Apple” button at the top-left corner of the screen and then select “Restart” from the drop-down menu.
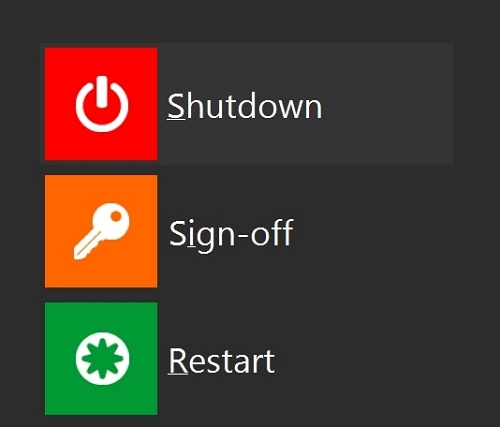
To restart the PC, click on the “Start Menu” and then select “Restart”.
5. Use a Different USB Port or Computer
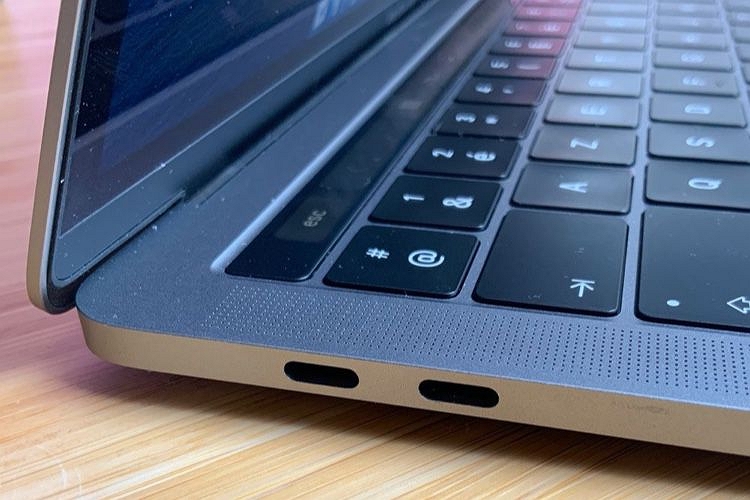
If the USB port you are using on the device is faulty, the restore process can fail. This is because a faulty USB port will not be able to supply enough power to charge the device through the entire restoration process. Therefore, if you are having trouble restoring the device, you may want to try using a different USB port or a different computer to restore the device.
6. Use FixGo to Update the Device’s System
If there is a problem with the iOS system, you may have problems restoring it. But there is a program that you can use to update the device’s system and get it working normally again, thereby allowing you to restore it. This program is known as iToolab FixGo and the following are some of its most notable features:
- It is one of the best ways to prevent data loss on a device that is not working as it should.
- It is also one of the best ways to fix more than 200 of the most common iOS stuck issues including a device that is stuck on recovery mode, apple logo, restarting loop, and other issues.
- It is fully compatible with all iOS devices and the latest iOS 14.
To use FixGo to update the iPhone’s system, download and install the program on to your computer and then follow these simple steps:
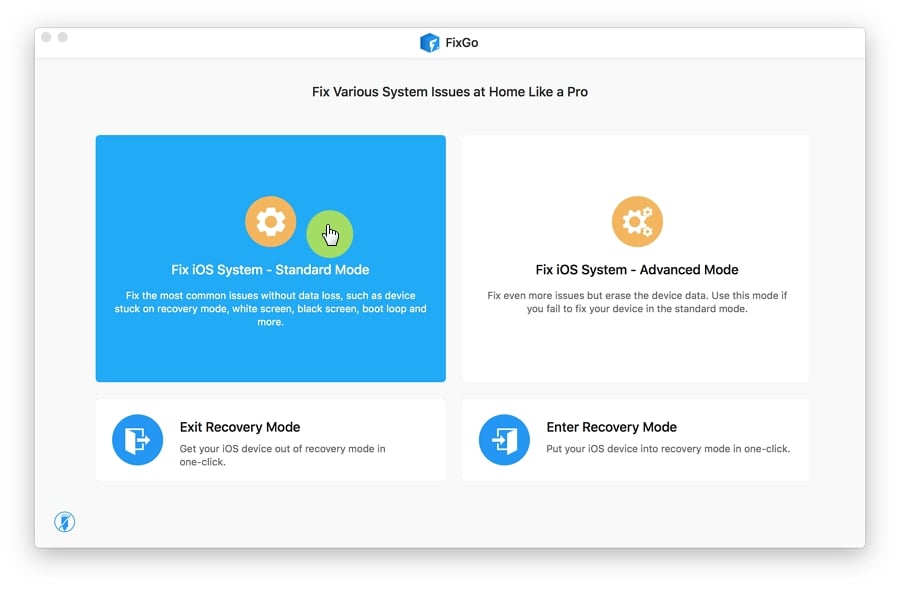
Step 1: Run FixGo and in the main window, click on “Standard Mode”.
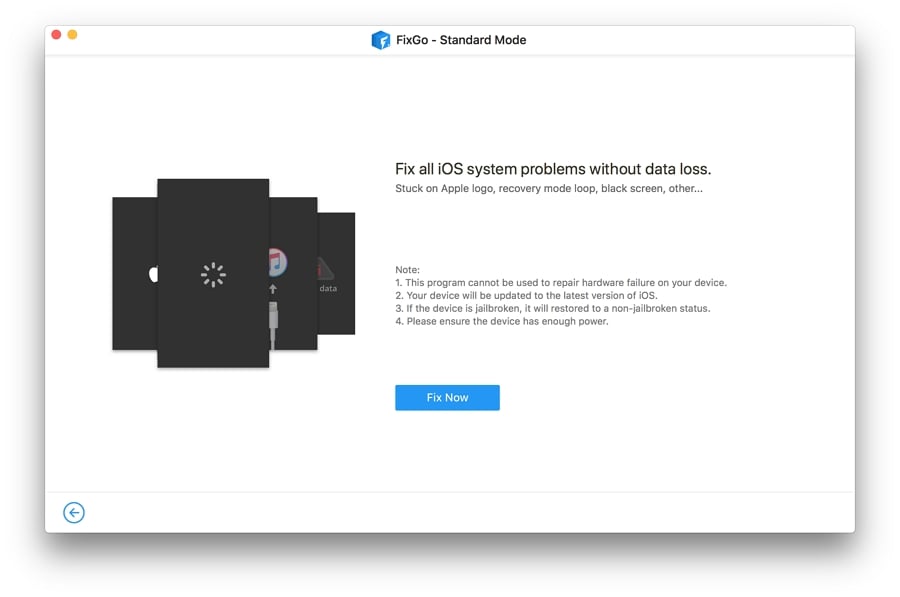
Step 2: Connect the iPhone to the computer using its original lightning cable and then click “Fix Now” to begin the process.
Step 3: You will then need to download the necessary firmware to update the device’s system. Simply click “Download” to start downloading the firmware.
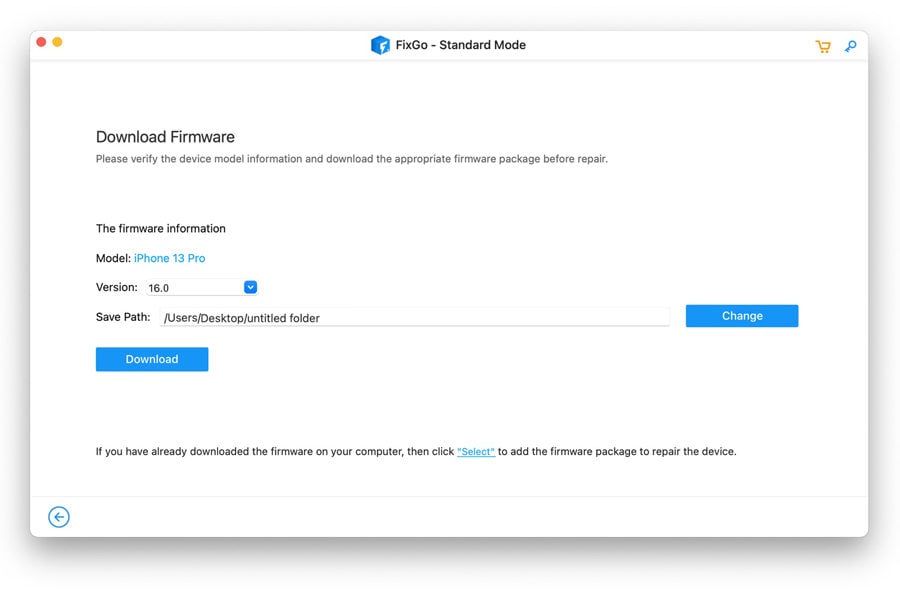
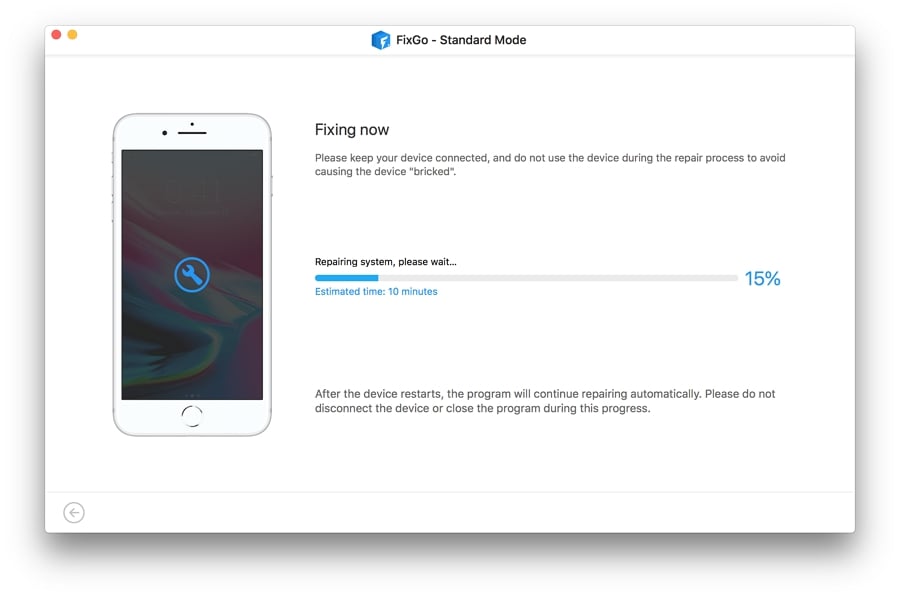
Step 4: Once the firmware package has been downloaded, click on “Repair Now” to start updating the device’s system. Keep the device connected to the computer until the process is complete.
7. Put Your iPhone in Recovery Mode
If you are still having trouble restoring the device in normal mode, then we recommend trying to restore it in recovery mode. Follow these simple steps to do it:
Step 1: Open iTunes on your PC or Mac running macOS Mojave or earlier or open Finder on a Mac with macOS Catalina.
Step 2: Then using the procedure described below, put the device in recovery mode:
iPhone 8 or later: Press and quickly release the Volume Up button, Press and quickly release the Volume Down button. Then press and hold the Side button until the recovery mode screen appears.
iPhone 7 and 7 Plus: Press and hold the Top or Side button and the Volume Down buttons at the same time. Continue to hold both buttons until the recovery mode screen appears.
iPhone 6s and earlier: Press and hold the Home and Power (Top/Side) buttons at the same time. Continue to hold both buttons until the recovery mode screen appears.
Step 3: When you see the option to “Update” or “Restore” the device on your computer select “Update” and iTunes or Finder will attempt to update the device without erasing the device. If the process takes more than 15 minutes, your device may exit recovery mode and you may need to start again.
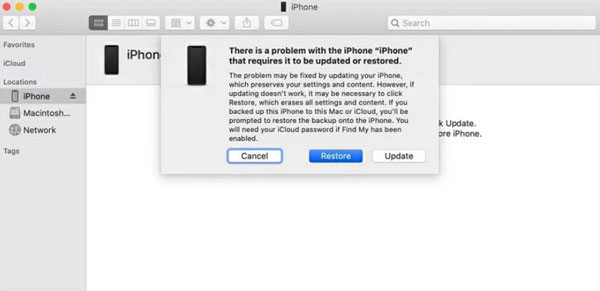
When the process is complete, set up the device again.
8. DFU Restore Your iPhone
If recovery mode doesn’t work, then you may need to put the device in DFU mode. DFU mode will be able to clear any software and hardware issues that could be preventing the restore process from completing.
A DFU restore is often one of the best ways to restore an iPhone that is experiencing software issues. Follow this DFU restore guide to put the device in DFU mode and restore it.
