Ideally, when you press the power button to turn on your iPhone, the whole process should take just a few seconds. So, you know that you have a problem when the device is stuck and won’t turn on past the Apple Logo. In this article, we will share with you what you can do when your iPhone won’t turn on past the Apple logo. Let’s get started.
Perform a Hard Reset
Sometimes simply restarting the device can fix the problem and get it working normally again. But since your device will not turn on, you will have to perform a hard reset. The following is how to hard reset your iPhone depending on your device’s model:
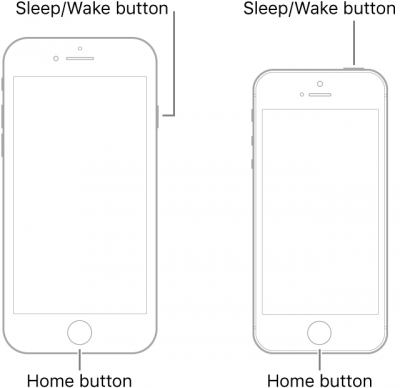
iPhone 6s, iPhone SE, and earlier
To hard reset the device, hold down the Home button and the Power button until the screen goes black and the Apple logo appears on the screen.
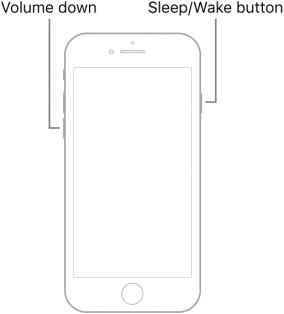
iPhone 7 & iPhone 7 Plus
To hard reset this iPhone model, press and hold the volume button and the power button simultaneously until you see the Apple logo appear on the screen.
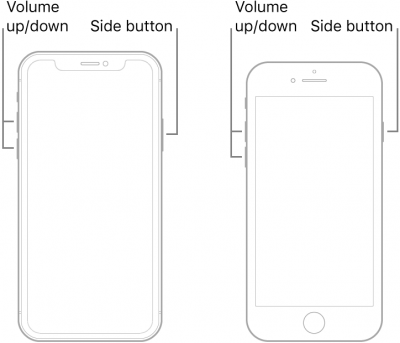
iPhone 8, iPhone X, iPhone XR, iPhone XS, iPhone 11
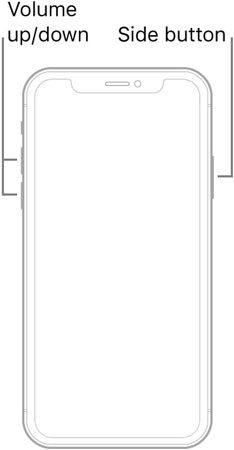
Press and release the Volume Up button and then press and release the Volume Down button. Then, press and hold the side button until the Apple Logo appears on the screen.
Use FixGo to Fix iPhone not Turning On Past Apple Logo without Data Loss
The best way to get a device working normally again when it is stuck on the Apple logo is to use iToolab FixGo. This is an iOS system repair tool that can fix up to 200 different iOS related issues including a device that is stuck on the Apple logo, iPhone stuck at black screen without data loss.
Before following the detailed steps to install and use this tool, let’s see how to perform the process of how to fix iPhone won’t turn on past on the Apple logo issue.
To use FixGo to fix a device that won’t turn on past the Apple Logo, follow these simple steps:
Step 1: Begin by installing FixGo on to your computer.
Step 2: Launch the problem after installation and click on “Standard Mode” in the main window to begin the process.
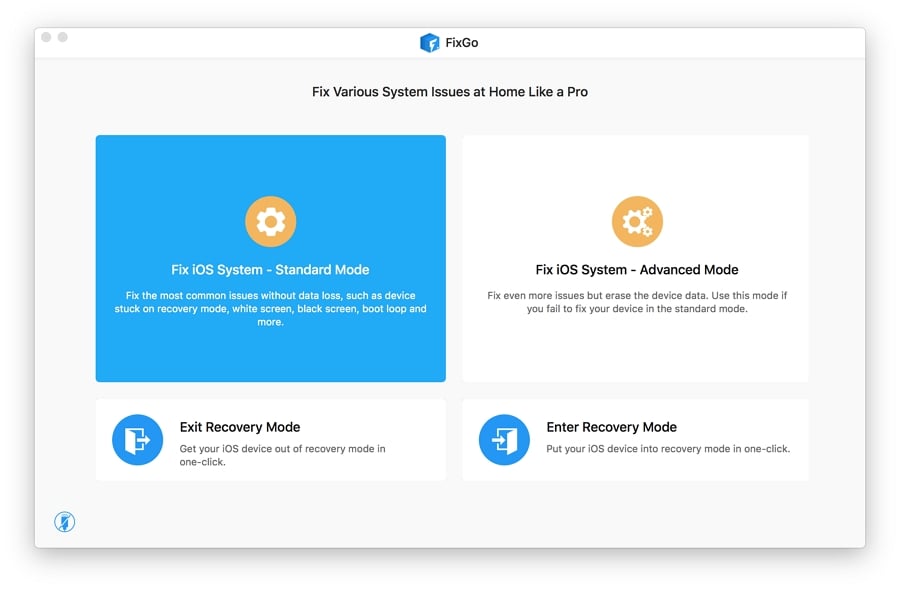
Step 3: Now, connect the iPhone to the computer using USB cables and wait for the program to detect the device. You will then need to download the latest firmware for the device to begin the repair process. The program already detects the most appropriate firmware for the device, all you have to do is click “Download” to begin downloading the firmware.
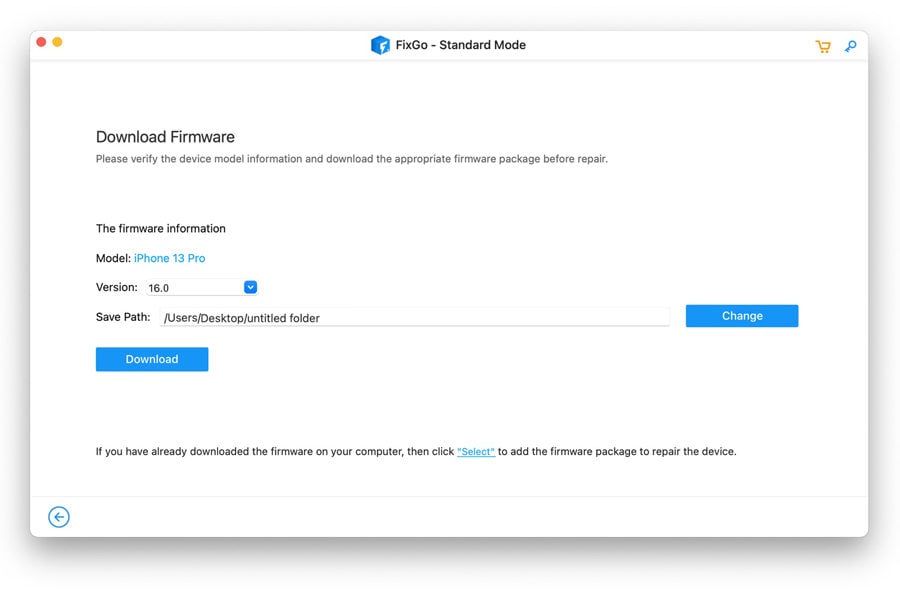
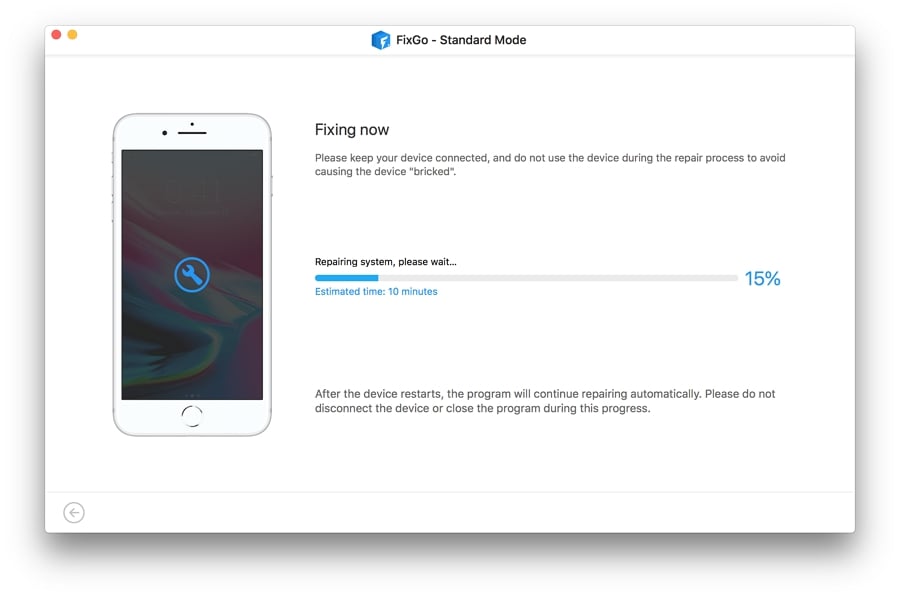
Step 4: Once the firmware download is complete, click on “Fix Now” and FixGo will immediately begin fixing the device. When the device has been fixed, the device will restart.
Put Your iPhone in Recovery Mode
Another great way to fix the problem, particularly if a hard reset doesn’t work, is by putting your iPhone in recovery mode. Here’s how to do that:
Step 1: Connect the device to your computer and open Finder (macOS Catalina 10.15) or iTunes (macOS Mojave 10.14 or PC). Make sure that the device appears on your computer.
Step 2: With the device connected to the computer, put it in the recovery mode using the following procedure, depending on your iPhone model:
- iPhone 8 or later: Press and quickly release the Volume up button and then press and quickly release the Volume Down button. Then press the Side button until you see the recovery-mode screen.
- iPhone 7 and iPhone 7 Plus: Press and hold the Top (Side) button and the Volume down button simultaneously. Keed holding the buttons until you see the recovery mode screen appear.
- iPhone 6s or Earlier: Press and hold the Home button and the power button at the same time until the recovery mode screen appears.
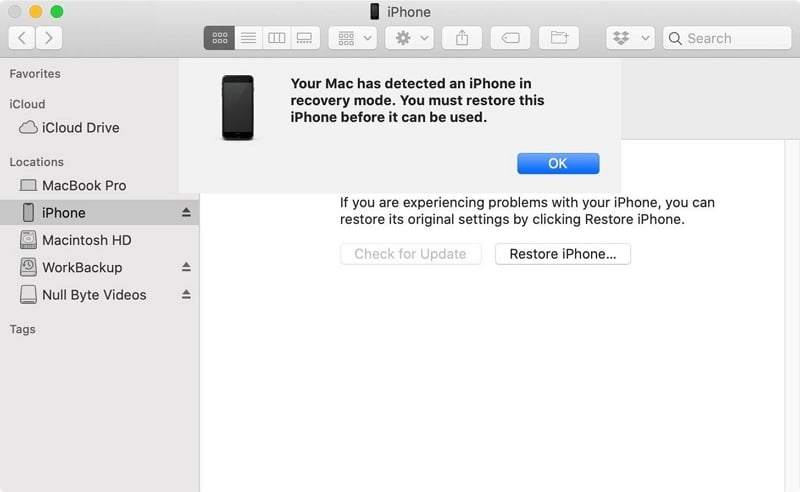
Step 3: In iTunes or Finder, you should see the option to “Restore” or “Update” your iPhone. Finder or iTunes will automatically attempt to update the device without erasing the data on the device.
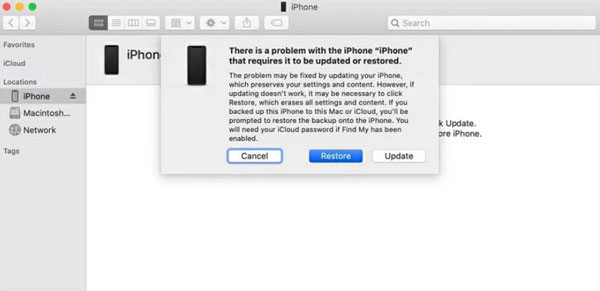
If the process takes more than 15 minutes, your device may have exited recovery mode and you may need to repeat steps 2 and 3.
Put Your iPhone in DFU Mode
If recovery mode fails to repair your iPhone, you may want to put the iPhone in DFU mode (Device Firmware Update). This will erase the iPhone and reload the firmware which should fix the problem. Follow these simple steps to put your iPhone in DFU mode:
Step 1: First, connect the iPhone to your computer and then open iTunes or Finder.
Step 2: Put the iPhone in DFU mode. The procedure for doing that will be different depending on the iPhone model:
- For iPhone 6s and earlier: Press and Hold the Power and Home button at the same time. Let go of the power button after 8 seconds, but continue to hold the Home button. When the iPhone appears in iTunes, let go of the Home button.
- iPhone 7 or 7 Plus: Press and hold the Power and the Volume down button at the same time for about 8 seconds. Let go of the Power button after 8 seconds but keep holding the Volume down button until the device appears in iTunes or Finder.
- iPhone 8 and later: Press and release the Volume up button and then press and release the Volume down button. Now press and hold the Side button and when the screen turns black, press and hold the Volume down button while still pressing the Side button. Keep holding the buttons for 5 seconds and then release the Side button, but keep holding the Volume button until your iPhone appears in iTunes or Finder.
Please note that if the iPhone fails to appear in iTunes, the process has not been successful and you may want to try putting the device in DFU mode again.
Step 3: Once the device is in DFU mode, click on “OK” in Finder or iTunes and then click on “Restore iPhone…” to begin restoring the device. Finder or iTunes will restore the device and when the process is complete, the device should be fixed.
