“How can I fake my iPhone location without jailbreaking?”
— From Apple Community
It may become necessary to change the location on your iPhone. Perhaps you want access to some iOS features or some apps that may not be available in your region or country. While you might be able to change your Apple ID’s country or region, this may not be the most ideal solution, especially if you only want to change your location temporarily.
How to Change iPhone Location without Jailbreak?
Most people seem to think that temporarily changing their location involves jailbreaking their device. But while you can choose to jailbreak your device, there are still some ways to change your location without having to jailbreak the device. Here are 5 useful ways for you to change iPhone location without jailbreak.
- Way 1. Use AnyGo to Change iPhone Location without Jailbreak (The Best)
- Way 2. Use iTools to Change iPhone Location
- Way 3. Edit the PLIST file to Change iPhone Location
- Way 4. Use iSpoofer to Change the Location on Your iPhone
- Way 5. Use Xcode to Change the Location on your iPhone
Way 1. Use AnyGo to Change iPhone Location without Jailbreak (The Best)
The best solution to change the location on your iPhone without having to jailbreak the device is to use iToolab AnyGo for iOS. It is very easy to use and won’t brick your device or install any suspect packages or malware on your device. The main benefits of using AnyGo are:

168,282 people have downloaded it.
- Change GPS location on iPhone/iPad in clicks (No Jailbreak).
- Simulate GPS movement along any custom path with joystick.
- Collect and import popular GPX route files for next use.
- Mock GPS location on up to 15 devices simultaneously.
- Works well with location-based social apps and AR games.
- Fully support the latest iOS 26/Android 16.
Download and install AnyGo to your computer and then follow these simple steps to change the location on your device:
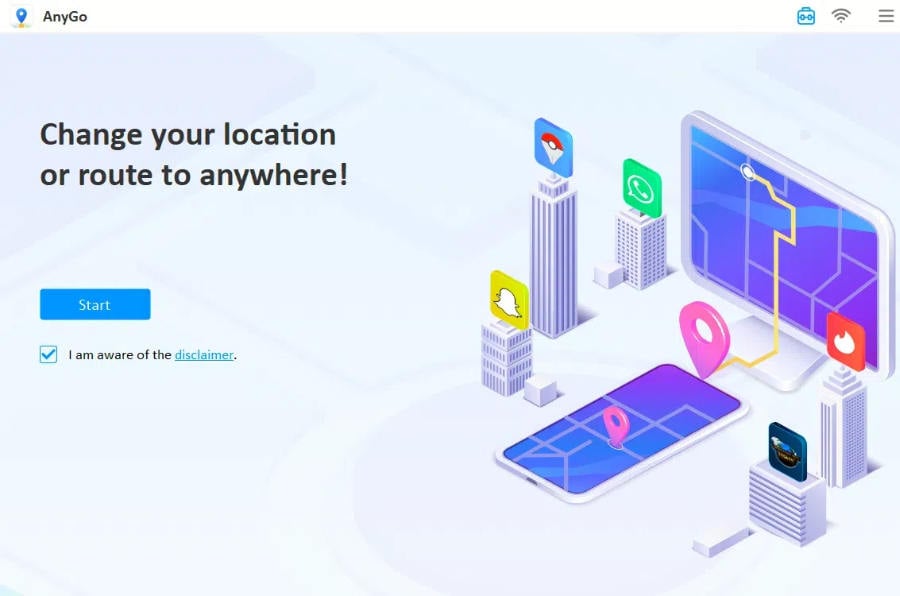
Step 1: Open the program after installation and connect the iPhone to the computer. Click “Start” and you will see a map indicating the current location.
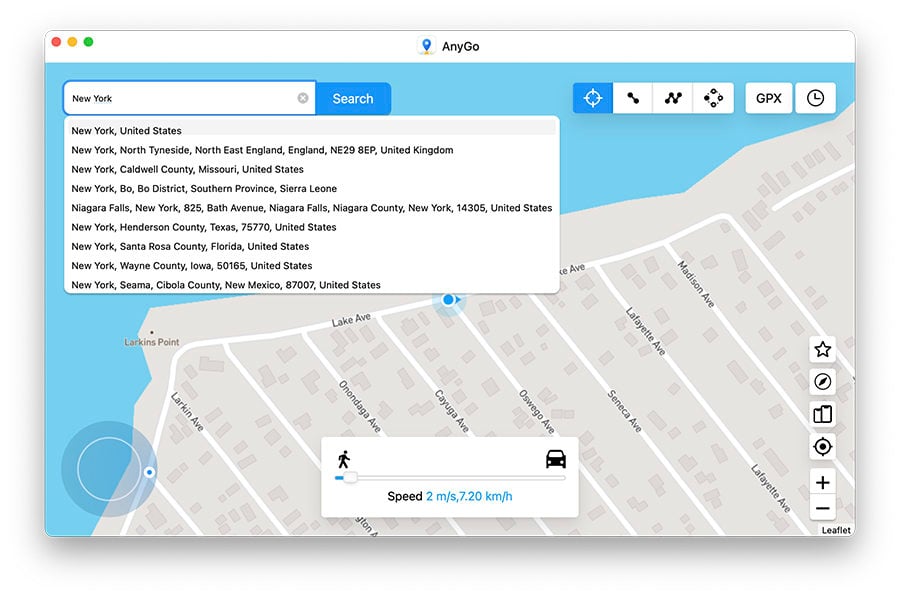
Step 2: To change the location on your device, click on the “Teleport” at the top of the screen. Enter the new location and then click “Search”
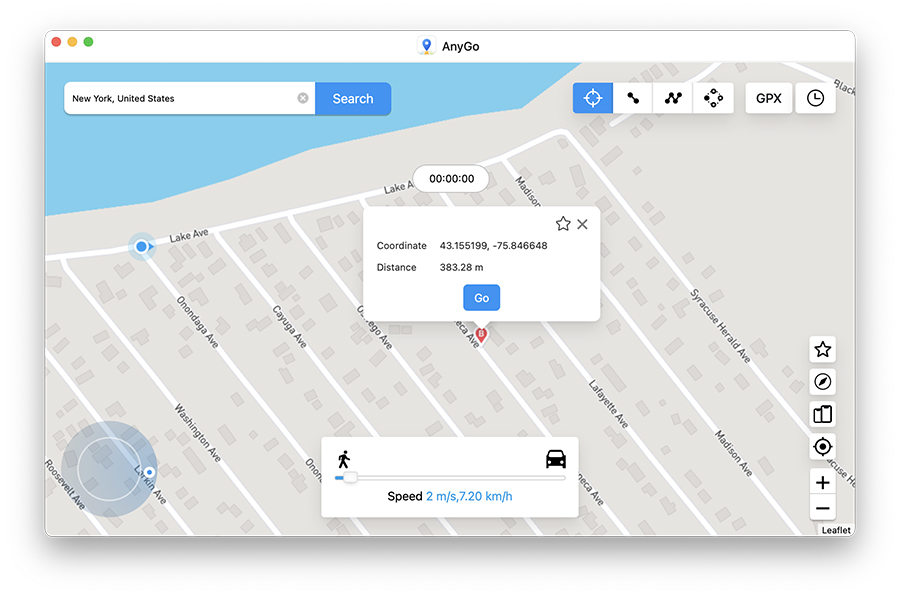
Step 3: The program will record that a new location and a popup will appear with the coordinates of the new location. Click “Go” to complete the process and the location on your device will change to the selected location.
Way 2. Use iTools to Change iPhone Location
Another way to change the location on your iPhone without having to jailbreak the device is to use a program known as iTools by ThinkSky. This tool works by allowing you to select a location that you can then trick the iPhone into thinking is your actual location. It works on devices running up to iOS 12.
Follow these simple steps to use this program to change the location on your iPhone:
Step 1: Install the program on your computer and then connect the iPhone to the computer.
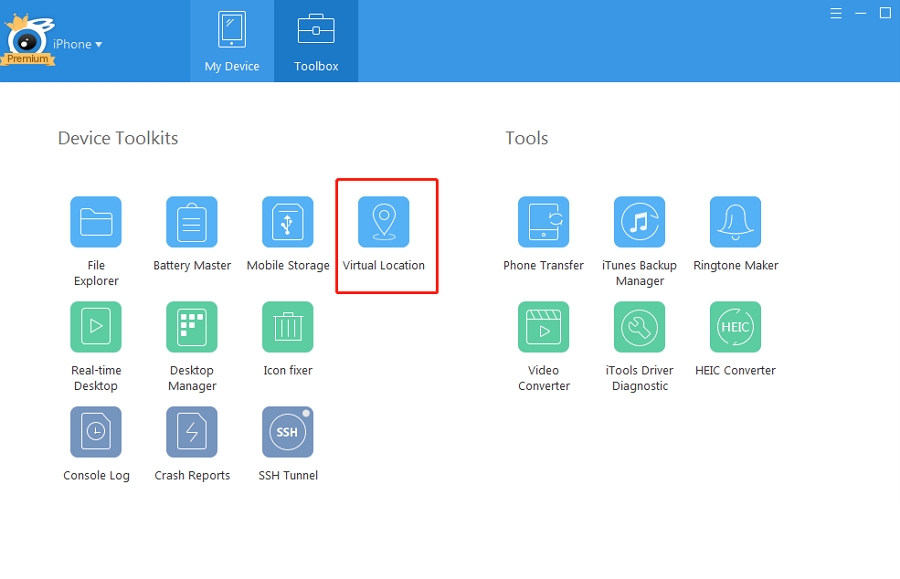
Step 2: Tap “Home” to go to the Home screen and then select “Virtual Location”. A textbox will appear, allowing you to enter the fake location. Click “Go” once the location is selected.
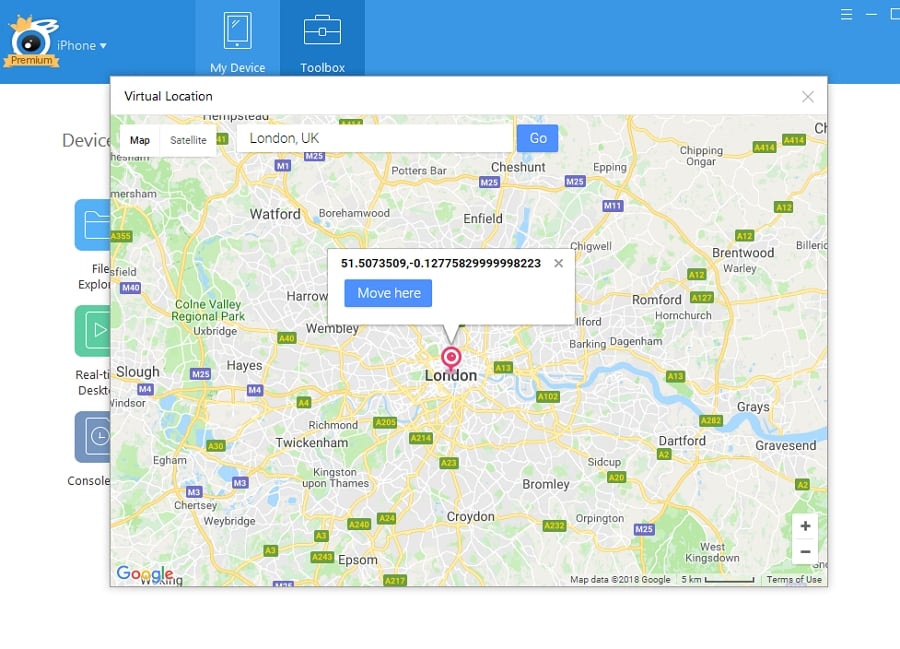
Step 3: A location marker will appear on the iTools screen. Click “Move Here” to change the location of the iPhone to the selected location. You can also just move the marker to select any other solution that you desire.
Read More: iTools Virtual Location Not Working? Here Is What to Do
Way 3. Edit the PLIST file to Change iPhone Location
You can also choose to edit the PLIST file to change the location on your iPhone. But this method will only work in devices running iOS 10 or earlier and you will require different tools to do it on Windows and Mac:
On Windows PC:
Step 1: Download and install the 3uTools program that you will need for this process.
Step 2: Make sure that iTunes is closed, before opening the tool. Then connect the iPhone to your PC using USB cables.
Step 3: Once 3uTools recognizes the device open the iDevice menu and then click on “Backup/Restore” at the bottom. Select “Back up iDevice”.
Step 4: Select a suitable location to save the backup and click on “Back Up Now” to begin the process.
Step 5: Click “OK” when the backup is complete and then exit the Backup window to go back to the “Backup/Restore” Screen.
Step 6: Select the backup that you just created and then click on “View” to open it in the Backup Viewer Tool.
Step 7: Click on the “App Document” tab on the left and then open the folder named “AppDomain-com.apple.Maps”
Step 8: Go to Open Library > Preferences and then double-click on the “com.apple.Maps.plist” file.
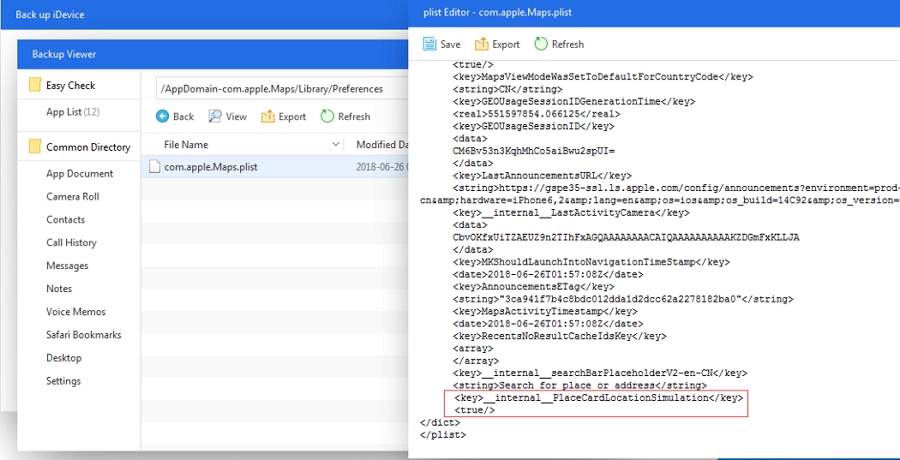
Step 9: Scroll down the text file that opens and then copy and paste the following text above the last <dict> tag:
<key>__internal__PlaceCardLocationSimulation</key>
Step 10: Make sure the next line reads:
<true/>
Step 11: Save the file and then click “OK” to make sure that the file has been saved. Exit all the open windows.
Step 12: Now choose the “Restore Data” option in the Backup/Restore screen. Select the backup that you just edited and then click “Restore Now”.
If you had turned on Find my iPhone, you may need to turn it off before restoring the backup. Just go to Settings > iCloud > Find my iPhone and turn off the feature.
Step 13: Once the restore process is complete, disconnect the iPhone from the computer and then open the Maps app on your device. Look for the fake location that you would like to use.
Step 14: When the pin appears on the map, click on “Simulate Location” to change the location on the device.
On Mac:
Step 1: Install iBackupBot on to your Mac. Once the tool is installed, leave it closed and open iTunes.
Step 2: Connect the iPhone to the computer and click on it when it appears in iTunes.
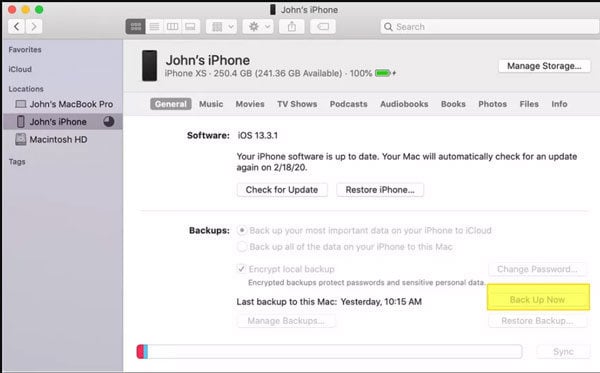
Step 3: Select the Manually backup and restore section and then select “Backup Now”. It is very important to make sure that the Encrypt iPhone option is not selected.
Step 4: When the backup process is complete, close iTunes, and then open iBackupBot. The tool will open this latest backup.
Step 5: Find the “com.apple.Maps.plist” and open it. It is one of the following locations:
- System Files > HomeDomain > Library > Preferences
- User App files > com.Apple.Maps > Library > Preferences
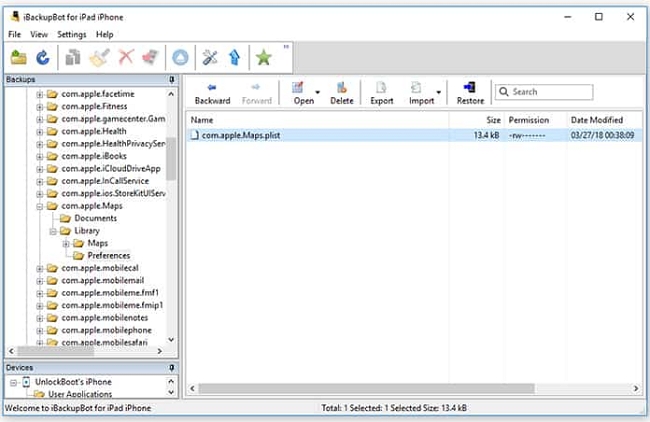
Step 6: Once the file is open, find the <dict> tag and then paste the following code right below it:
<key>__internal__PlaceCardLocationSimulation</key>
<true/>
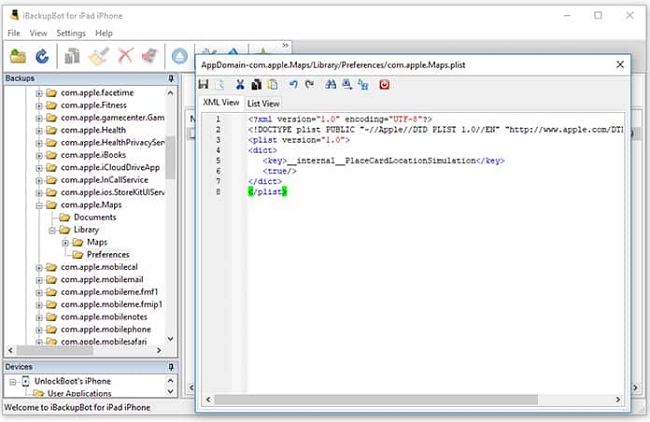
Step 7: Save the file and close iBackupBot. Without disconnecting the iPhone, go to Settings > iCloud > Find my iPhone to turn off this feature.
Step 8: Now select “Restore to device” to restore the edited backup to your device.
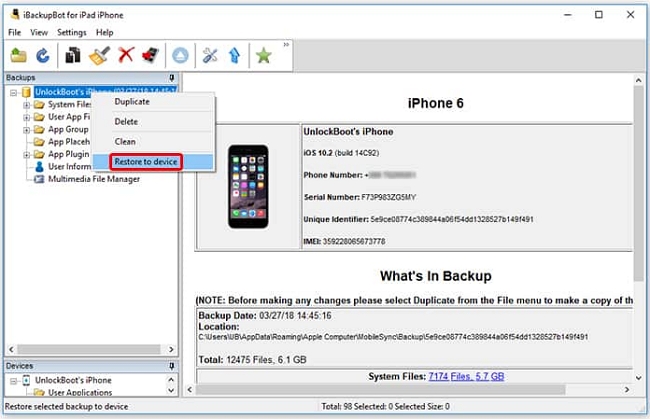
Step 9: Now open Apple Maps and find the location you want to change to. Click on “Simulate Location” to change any location you want.
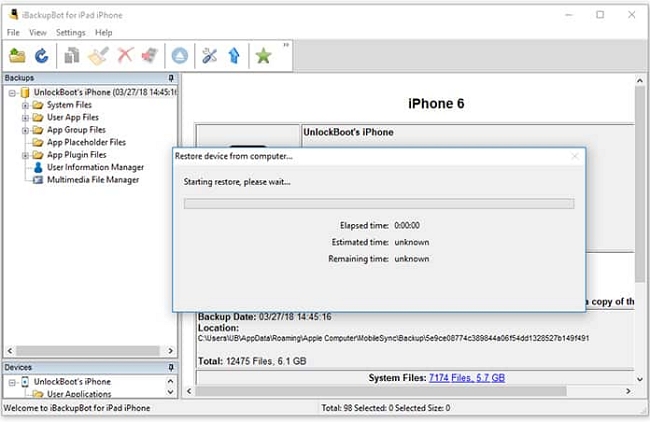
Note: To go back to your actual location, restart the iPhone.
Way 4. Use iSpoofer to Change the Location on Your iPhone
You can also very easily spoof the location on your iPhone using iSpoofer, a program that allows you to change the location on iPhones running iOS 8 to iOS 13 as well as iPadOS. Here’s how to use it:
Step 1: Download and install the iSpoofer to your computer.
Step 2: Connect the iPhone to the computer and then open the iSpoofer. Select “Spoof” and when you see a message indicating that you are using the free trial version of the program, select “Continue Trial”.
Step 3: When you see a message saying that you may need to download the iOS Developer Disk Image, click “OK” to continue.
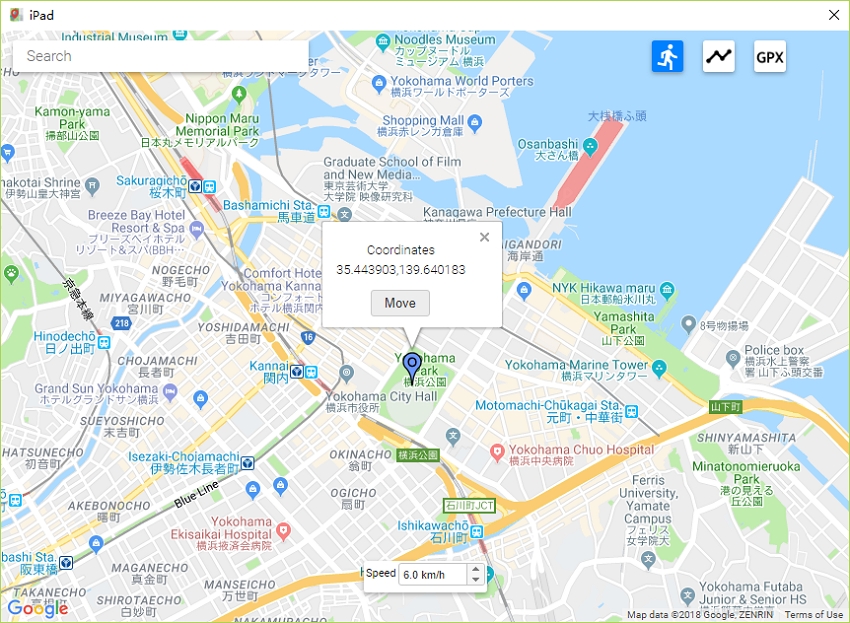
Step 4: Use the search function to search for a location on the map or click on the exact location you would like to spoof.
Step 5: Click “Move” to immediately change the location.
Way 5. Use Xcode to Change the Location on your iPhone
Xcode is another program that you can install on your program to fake the location on your device on your Mac computer. To use it, follow these simple steps:
Step 1: Go to the App Store on your Mac and search for Xcode to install it on your computer. Open the program after installation and then click on “Single View Application”. Click “Next” to continue.
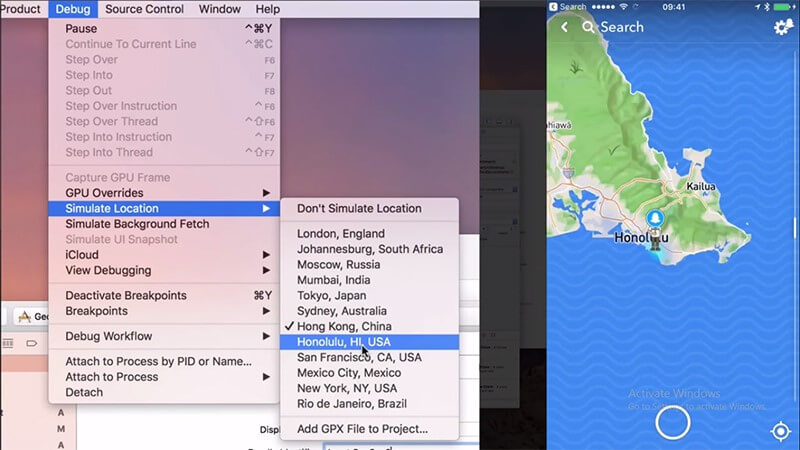
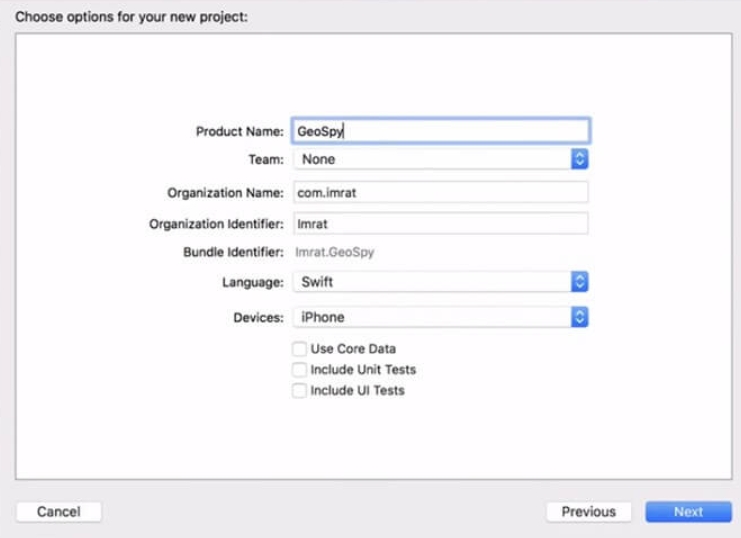
Step 2: Name the new project and then click “Next” to continue.
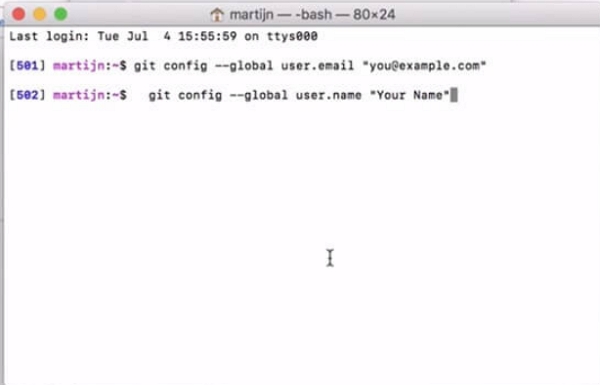
Step 3: You will see a popup appear on the window, asking you to execute some GIT commands. Open “Terminal” to execute the commands. Make sure that “[email protected]” and “your name” with your actual email and name.
Step 4: Set up a development team and then establish a connection between your device and Mac.
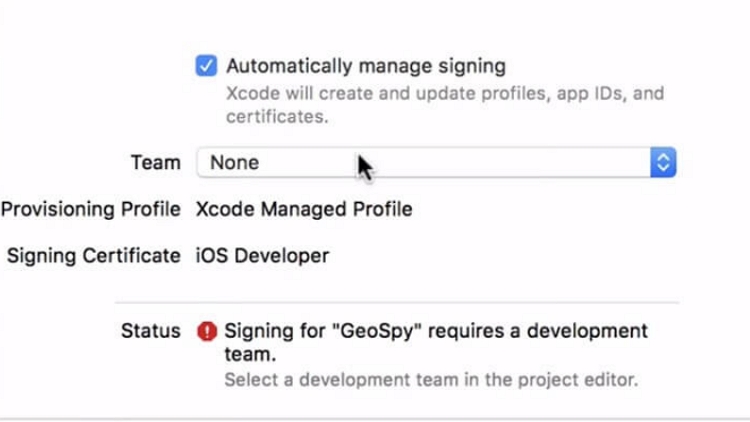
Step 5: Now select the device and build option and make sure that the device is unlocked. Wait while the program processes the symbol files.

Step 6: Once the process is complete, click on the “Debug” menu at the rip and then select “Simulate Location” to change the location on your iPhone.

Comparison of 5 Ways to Change iPhone Location without Jailbreak
Now you have know 5 ways to change your location, However, before you choose the best solutions, let’s compare each of these solutions to give you a snapshot of each method.
| 5 Ways | AnyGo | ThinkSky | PLIST | iSpoofer | XCode |
|---|---|---|---|---|---|
| Ease of Use | 4 steps | 7 steps | More than 15 steps | 5 steps | 8 steps |
| Time of Operation | 3 mins | 10 mins | 45 mins | 10 mins | 35 mins |
| Compatibility | Up to iOS 15 | Up to iOS 12 | iOS 10 and older | Up to iOS 13 | Up to iOS 13 |
According to the table, we can know that AnyGo is the perfect solution to spoof location on iPhone. While other methods claim to enable location change easily, they usually fail in the complex steps. It’s wast time to change location. Compatible with most iOS devices and iOS versions, AnyGo can help you change location in just a few minutes.
Conclusion
Change iPhone location without jailbreak is not an easy task. You can choose any method that you prefer. However, our highly recommendation is AnyGo for iOS, which is 100% safe and effective. Now download it and start changing GPS location on iPhone like a Pro!

