Having a Mi Account can be useful for accessing Xiaomi’s cloud services and unlocking certain features, but it can also pose a problem if you forget your login credentials or buy a used device that still has the previous owner’s account linked to it.
In such cases, you may need to perform a Redmi 7 Mi account bypass to regain access to your phone because your Redmi device can’t let you in until you fulfill the Mi account verification process.
But fortunately, you are reading the guide that shares several proven ways for Redmi 7 Mi account removal, along with step-by-step instructions and some tips to avoid getting locked out again in the future. So, let’s get started!
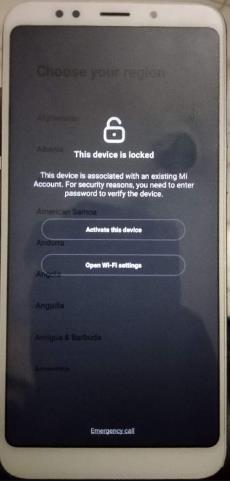
Part 1: Things You Need to Know Before Remove Mi Account
Before you proceed with Redmi 7 Mi account bypass, there are a few important things you should keep in mind to avoid any potential risks.
Don’t forget to back up your data that you don’t want to lose because removing your Mi account will wipe off all the data and settings from your Redmi 7.
If you delete your Redmi 7 Mi account you will lose access to various Xiaomi features and services that need a Mi account to function like Xiaomi Cloud, Find device, Mi messaging, Mi TV subscriptions, Mi Community, Mi store coupons, and vouchers, Youpin coupons and vouchers, Mi finance loans, transport cards, and key cards.
Part 2: How to Permanently Delete Redmi 7 Mi Account?
If you have decided to delete your Mi account on Redmi 7, you might be wondering how to permanently delete it. Make sure you read the precautions discussed in the above section before proceeding to remove your Mi account, once you are prepared follow these steps wisely.
1. To delete your Redmi 7 account, you need to browse the official Xiaomi website, which redirects you to a login page where you need to enter your Xiaomi account credentials.
2. As you sign in to your Mi account, a pop-up window will appear on your screen guiding you about the account deletion. Click on Delete Mi Account, once you click it, Mi asks you for the verification code.
3. Tap on Send to receive a code on the number you registered.
4. As you receive the code, enter that and click Submit and then click on Delete account to remove the Mi account permanently.
Part 3: How to Remove Redmi 7 Mi Account without Password / Authorization
When you proceed with Redmi 7 Mi account bypass, it usually requires a password or authorization from the account holder, which can be problematic if you forget.
But this section will reveal every possible method that helps to get rid of the Redmi 7 account remove without authorization or password including some free methods, so keep reading to find out more.
- 3.1 Reset Mi Account Password
- 3.2 Contact the Previous Owner
- 3.3 Visit Mi Service Center
- 3.4 Use Mi Account Unlock Tool
3.1 Reset Mi Account Password
It’s quite normal to forget a Mi account password, but it can be reset easily using another smartphone or computer by using these steps.
1. Go to the Mi account sign-in page on another computer or phone.
2. Choose the Forgot password option below the log-in page.
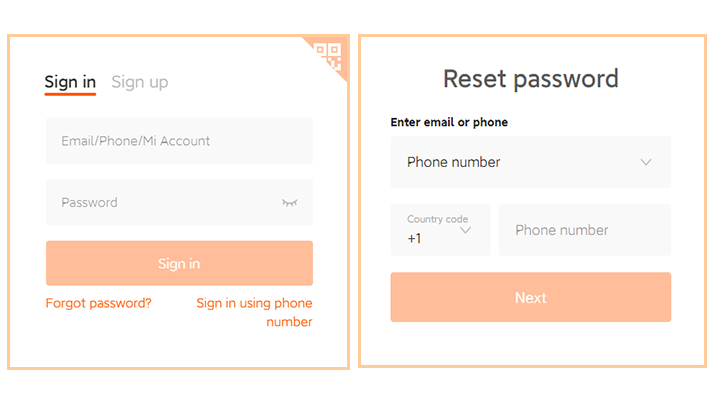
3. Enter any credentials you remember associated with your account i.e. registered contact number, Mi ID, or email ID, and then click Next.
4. If the credentials are correct, you will receive a pop-up that notifies Account verified.
5. Choose any verification method and then tap Send.
6. The ID that you entered in the box appears lastly on your screen will receive a Verification Code, enter this code to verify your identity and then click Submit.
7. Now, enter the new password and click Submit button.
3.2 Contact the Previous Owner
The moment you purchased your favorite Redmi 7 or another model from its original owner delights you a lot. But always make sure that the phone you buy must be accessed easily and its Mi account should be removed.
If the real owner handover his phone without deleting his Mi account or you forgot to ask for login details of that account, then you can’t access your Redmi phone and need to contact the previous owner urgently to ask for the logins of that account for the Redmi Mi account bypass.
3.3 Visit Mi Service Center
You may need to visit a Xiaomi/Redmi phone service center if you are experiencing issues that cannot be resolved through the above troubleshooting steps.
Before visiting the service center, it’s good to bring the necessary accessories as well as screenshots of errors you received while unlocking your phone. Check the warranty status of your device as well as the location and operating hours of the nearest service center.
Moreover, remove SIM and memory cards that you don’t want to damage during the repair process.
3.4 Use Mi Account Unlock Tool
The Mi account unlock tool is designed to help you unlock your Xiaomi phone when you are looking for a Redmi Mi account bypass solution. All you need to do is boot your phone in recovery mode and follow the process accordingly.
1. Download the Mi account toolkit on your computer.
2. Now extract the available .zip file and then run the .exe file as an administrator on your PC.
3. Enter your Redmi phone in recovery mode by pressing the Power and Volume Up keys together.
4. Connect your device to the computer using a genuine USB cable.
5. Now, head to the Mi account unlock tool and tap Information to confirm if the device is connected properly.
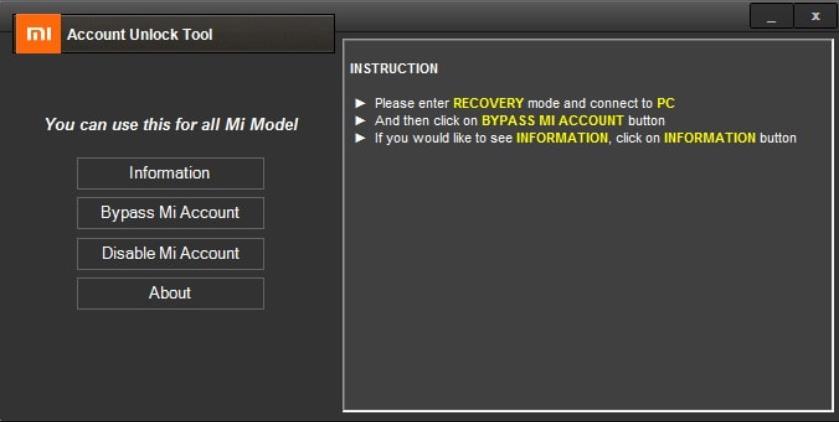
Note: If you can’t find the device in the tool’s log window, it proves that the device is not detected by the software. In this case, re-connect your device or install Xiaomi USB drivers.
6. Click on Bypass Mi account and then your device reboots automatically.
Extra Tip: How to Bypass FRP on Redmi 7?
After factory resetting your Redmi 7, your phone may be locked by Mi account. If the device has been bound to a Google account, you’ll be locked out by Google lock until you enter the correct Google credentials.
We discussed all the possible solutions to recover and delete the Mi account successfully but when it comes to bypassing FRP you should think a little to tackle it with a solution that is secure and easy.
So, when it comes to Redmi FRP bypass, iToolab UnlockGo (Android) should be your best choice. You can bypass FRP on Xiaomi/Redmi with 3 simple steps.
Why you should choose UnlockGo (Android)?
How to bypass Redmi 7 FRP with UnlockGo (Android)?
First, download UnlockGo (Android) program on your PC and then launch the tool.
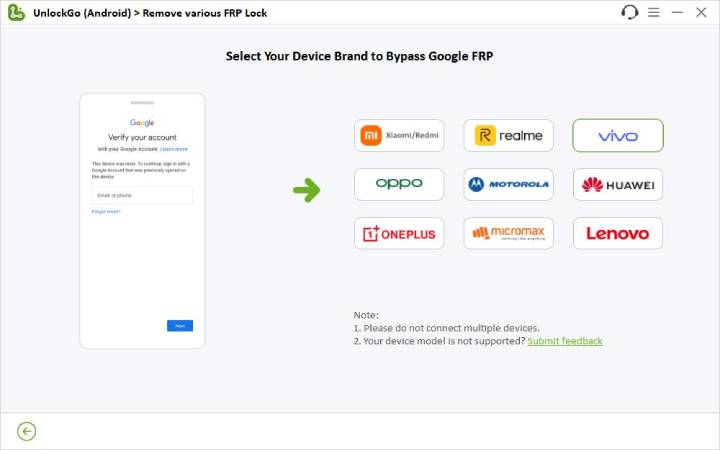
Step 1 Select Bypass Google FRP to get started.
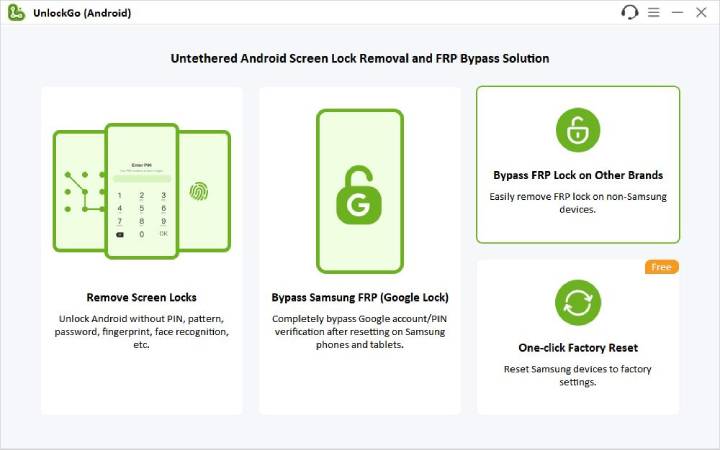
Select your device brand. Click Start to continue, then connect your Redmi 7 to your PC.
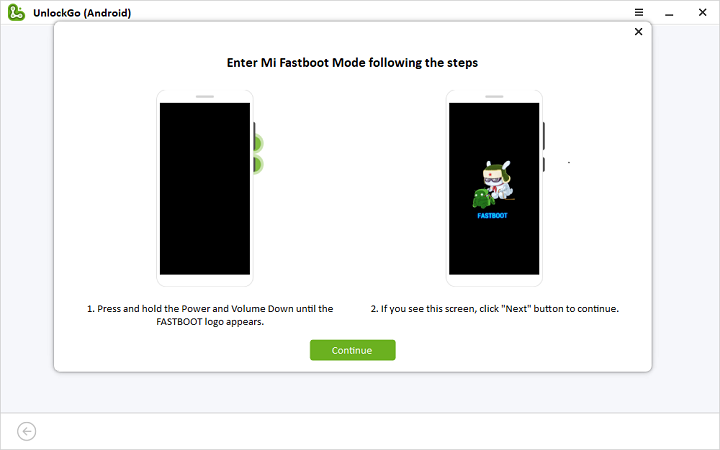
Step 2 Follow the on-screen instructions to put your Redmi 7 into Fastboot mode. Once done, click Next to continue.
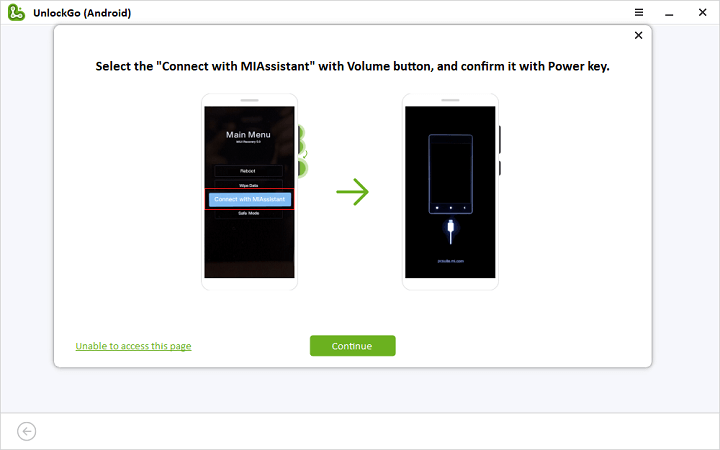
Step 3 The recovery mode interface will show up. Select Connect with MIAssistant and click Continue to start the bypass process.
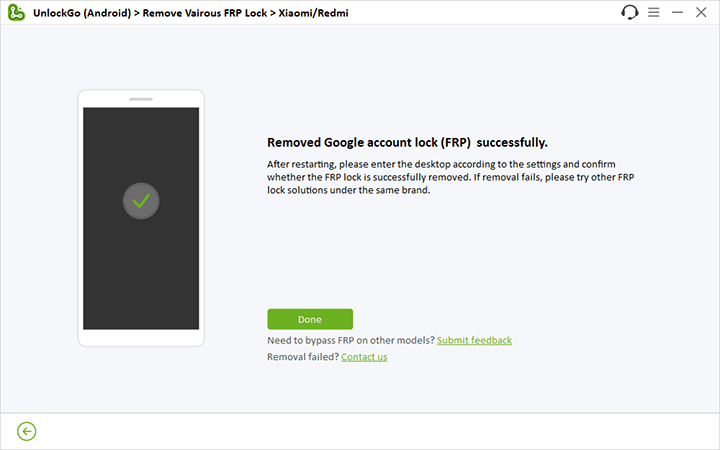
After a few seconds, the Google lock on your Redmi 7 will be removed successfully.
Conclusion
I hope reading this article delights you that Redmi 7 Mi account bypass is now possible with free methods that are quick yet effective.
If you have any other problems of your mobile phones, you can leave a comment below. You can also join our official Telegram to receive the latest tips.


How can help me about for reset mi account miu19